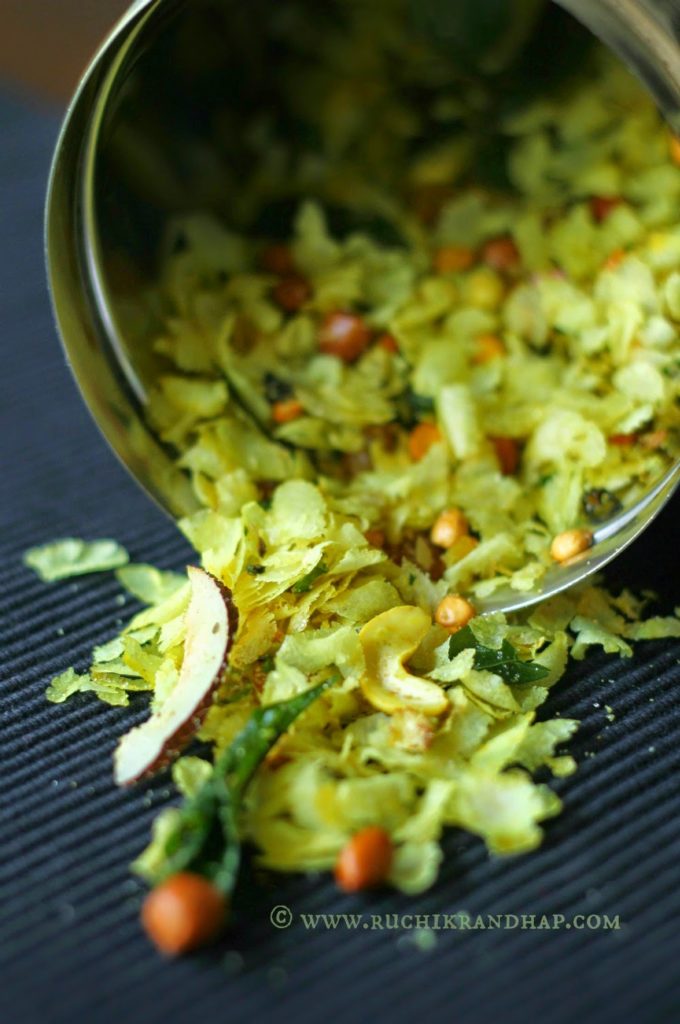
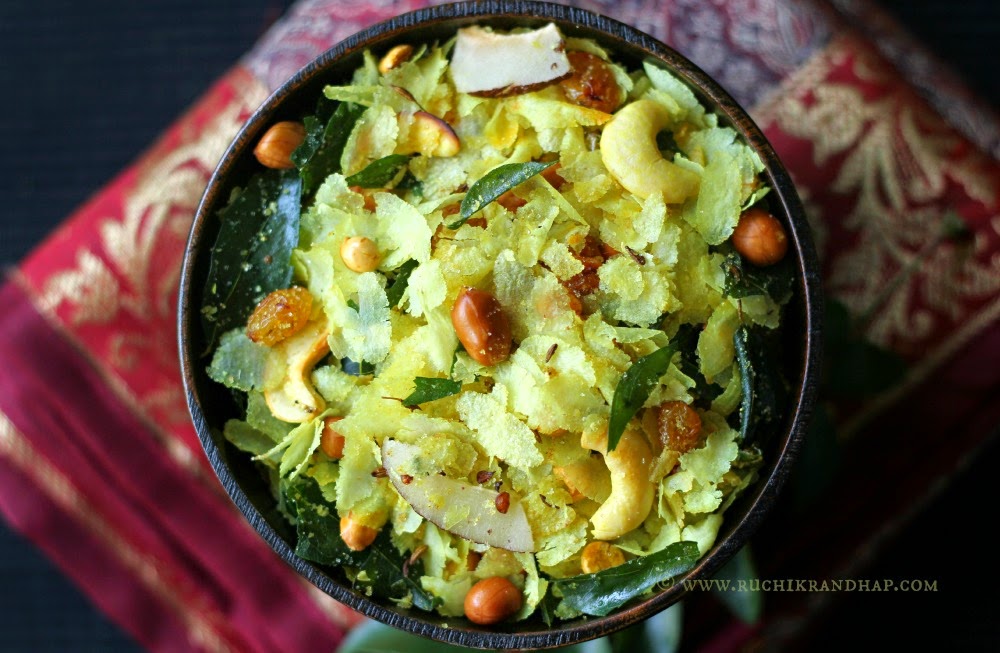
A big thank you to Aunty Ivy Rebello for her simple and delicious recipe! 🙂
Chuda | Poha Chivda | Spicy Beaten Rice Snack
Prep time: 15 mins | Cook time: 10 mins | Yield: Approx 3 cups
Ingredients:
- 2 cups thin poha / beaten rice * see notes
- 2 – 2-1/2 teaspoons fine / caster sugar
- 1/2 teaspoon (or to taste) table salt
For the tempering (ingredients listed in the order they appear):
- 2 tablespoons oil
- 1/2 teaspoon mustard seeds
- 1 teaspoon cumin seeds / jeera
- 1 big pinch asafoetida / hing
- 1/2 teaspoon turmeric powder / haldi
- 3-4 small green chillies (I used the very spicy variety) * see notes
- 6-7 sprigs (approx 3/4th loosely packed cup) curry leaves * see notes
- 2 tablespoon small raw peanuts with skin
- 1 tablespoon cashew nut halves
- 2 tablespoons raisins / kishmish
- 3-4 small slivers (thin slices) copra / dried coconut *optional
- 2 tablespoons pre roasted bengal gram / chutney dalia / hurikadale
3. Add the green chillies and fry them for a few seconds, then add the curry leaves and fry them on a medium high heat for a half a minute or until they are evenly fried and turn crisp.
4. Toss in the peanuts and fry them until the colour of the skin changes to a deeper shade. Then in go the cashew nut halves – fry them lightly and toss in the raisins – fry until they change colour to a light brown. All these ingredients should be fried on a medium heat to avoid burning.
5. Finally add the copra and the roasted bengal gram and given them a toss for a few seconds.
6. Now the tempering is ready – add the beaten rice and remove the pan from the heat – if you continue to fry it over the heat the beaten rice flakes will burn or get over fried, shrivel up and break (and turn powdery when you store the chivda). Once the rice flakes have been added the heat of the pan is sufficient to turn them crispy.
7. Add the salt and sugar and mix gently until all the flakes have been coated well with all the ingredients and the colour of the flakes has changed to yellow. Check the taste and adjust the sugar and salt if required.
8. Allow the chivda to cool completely before transferring into an airtight container. Serve as a tea time snack along with piping hot coffee or tea – the combination is unbeatable!
Notes:
1. Usually 3 varieties of beaten rice is available. The thickest flakes are used in the preparation of Maharashtrian style Poha. The thin variety is popular in South India – you can use this variety or best, if you can get the chivda poha (extremely thin flakes).
2. I used the spiciest variety of green chillies. If you are using the less spicy variety you can increase the quantity. When fried in oil the spiciness usually reduces so once the chivda is prepared and you taste it if you feel that the spice of the chillies is less you can add some more chillies by separately frying them in 1 teaspoon oil in a small pan and then carefully remove only the fried chillies and add them to the chivda – don’t add the oil as it will make the chivda oily.
3. I like to use lots of curry leaves. Feel free to decrease or increase the quantity


Hello, I tried this recipe for this Diwali . Turned out v well but not as pretty as yours.
Perfect proportions . Cannot stop myself from munching on it. Thank you.
Thanks for the feedback Rachna! So glad you enjoyed the chivda 🙂
Hi Shireen, how to get beaten rice crispy
Hi Swetha,
You can spread it out on a microwave safe plate and microwave it for about 15-20 seconds. Then let it cool, it will turn crisp
Nice preparation evening snack for kids all enjoying this diwali in our area ..maharastian snack nice.. pola also consume well..
Thank you and nice to know that!