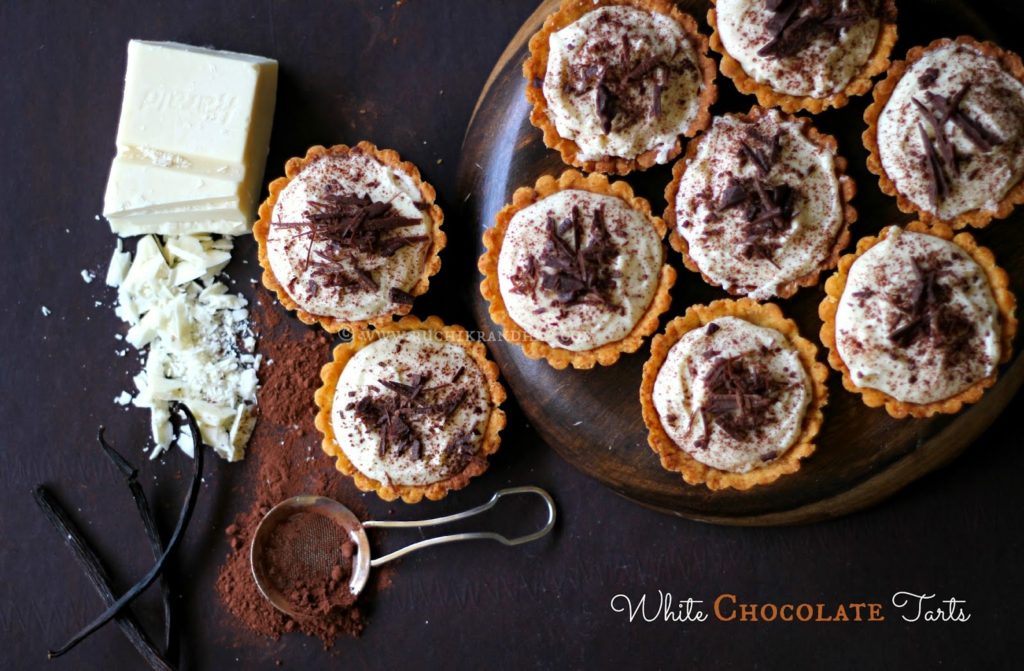
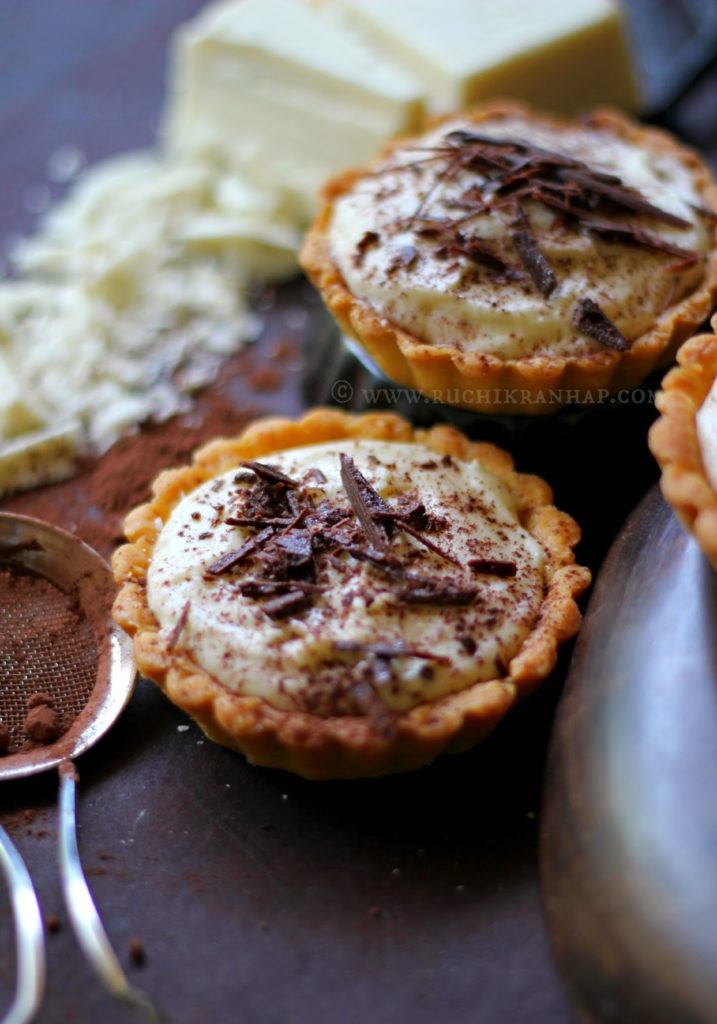
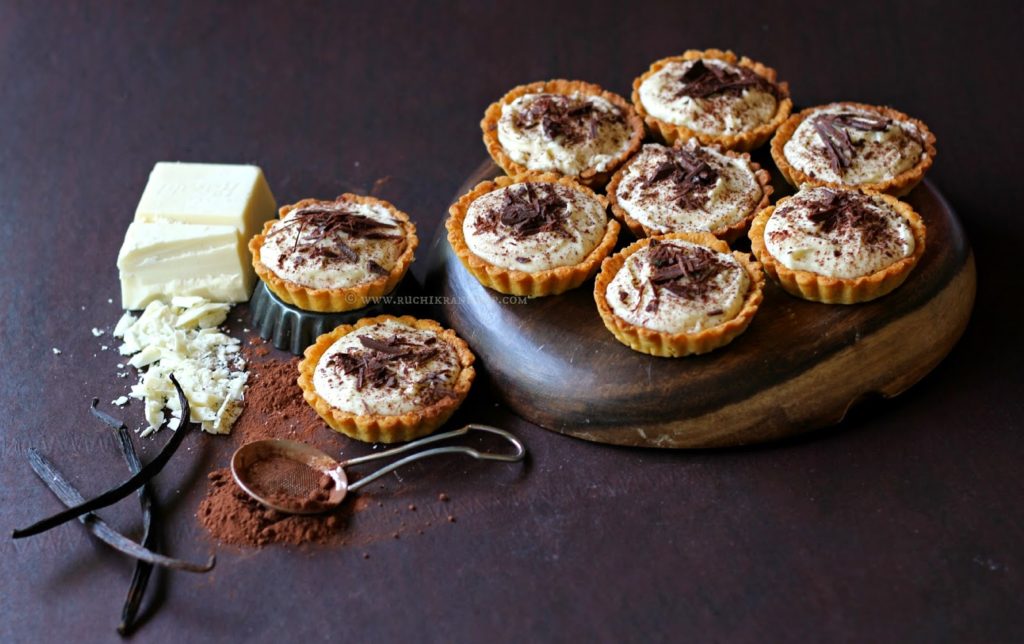
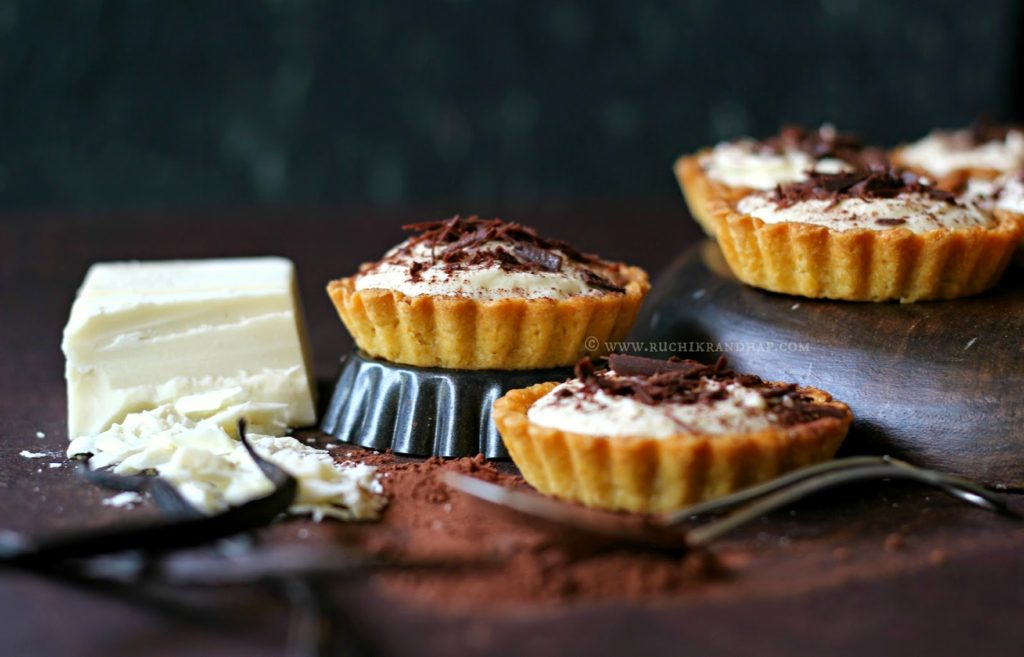
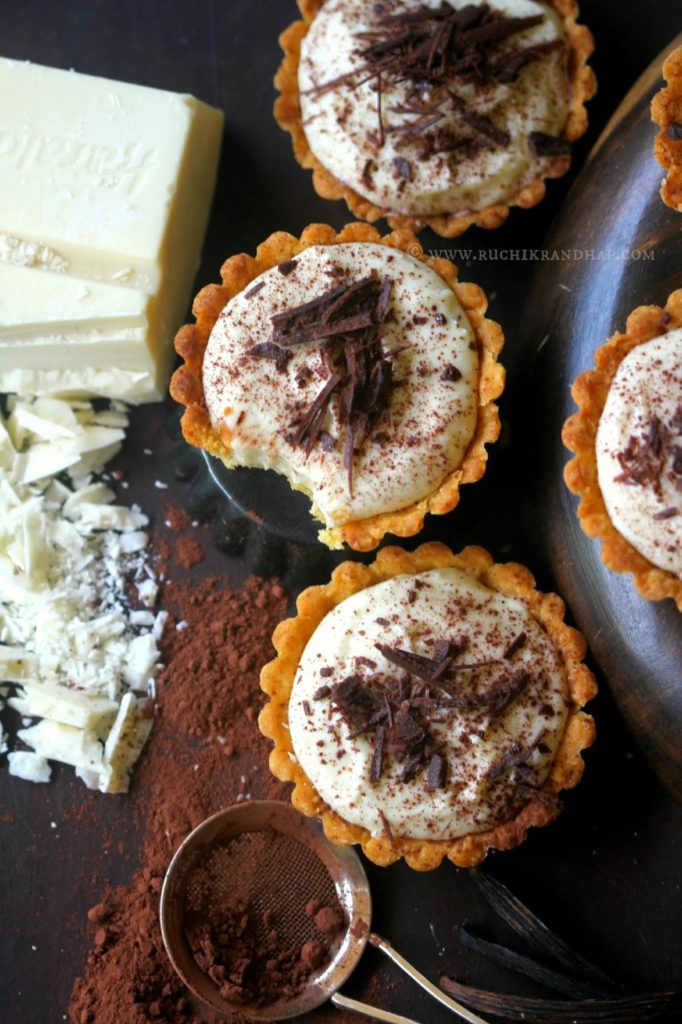
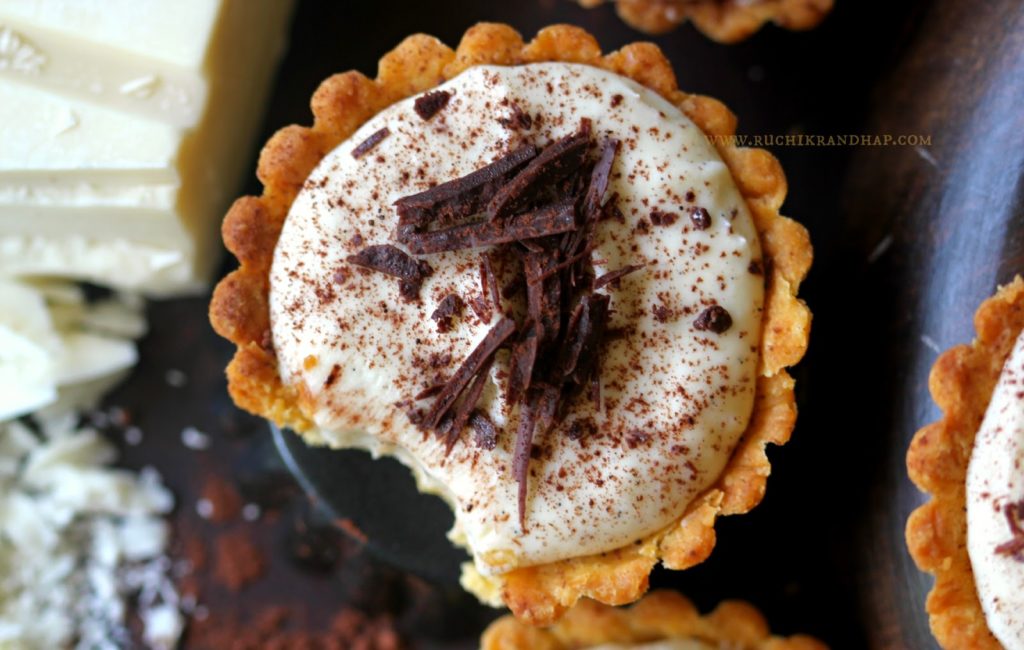
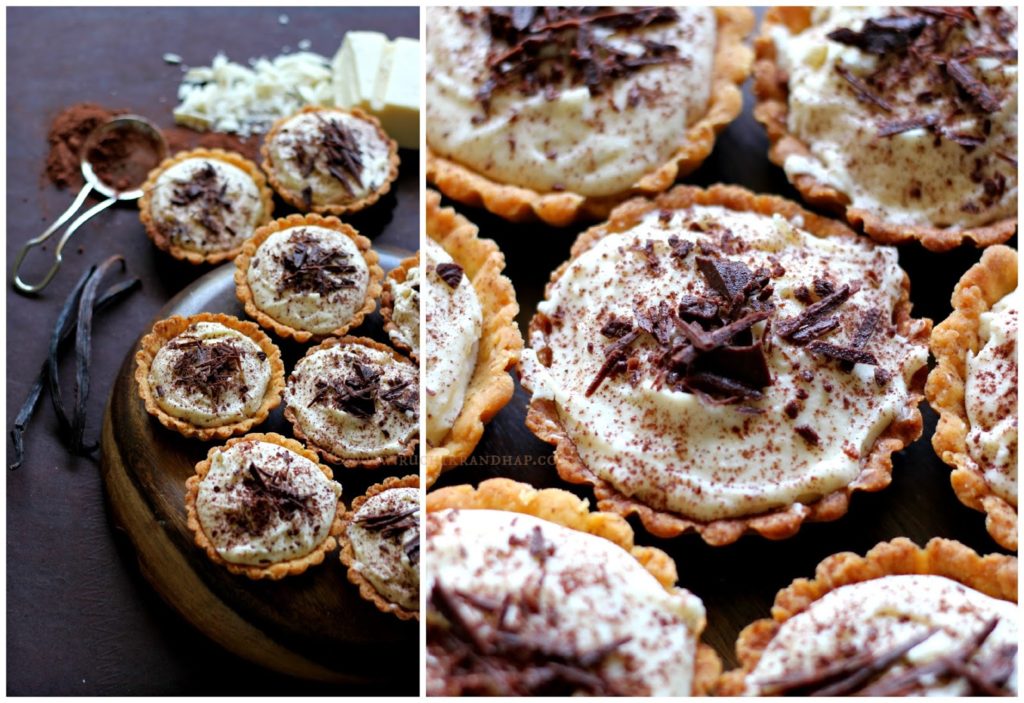
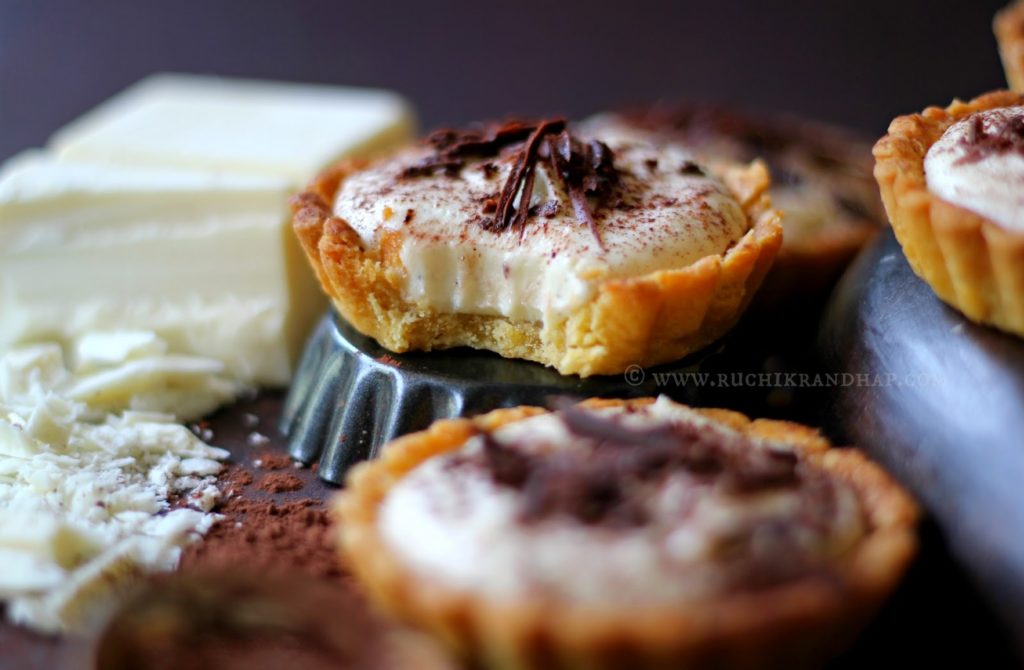
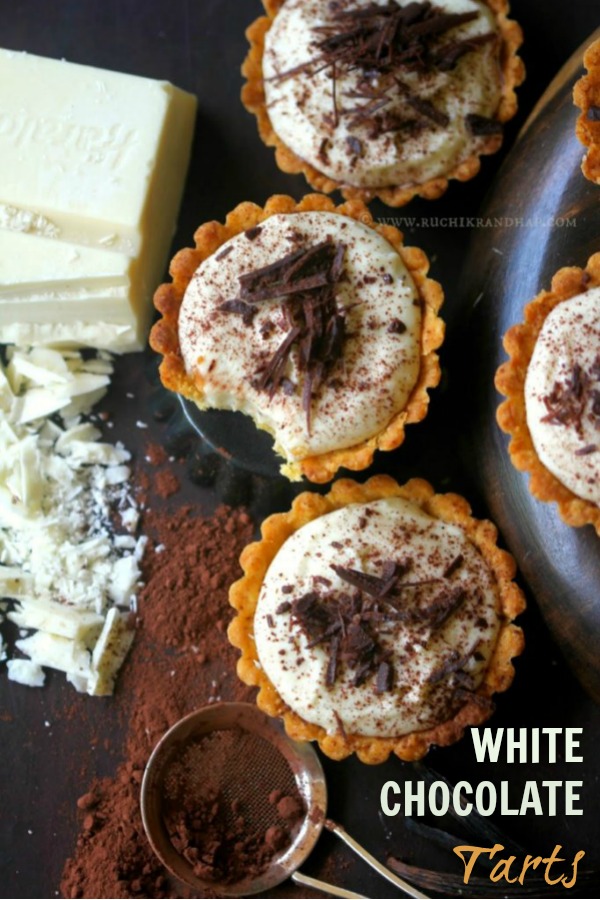
A few weeks ago when I set out to bake the first batch of Christmas goodies I had a few recipes in mind that I wanted to try. My cousin came home that day and flipped through my recipe book and said we should try these tarts as she loved white chocolate. Reluctantly I agreed as I had no experience making tarts from scratch. Previously I had made quiches using store bought tart shells and as always I was always hesitant to dabble with recipes that required making things from scratch. The fear of failure always keeps me from trying new things unless someone pushes me into it. Well, I got that push from my cousin that day who very confidently said that we should give it a try and that it would be a fun learning experience. Since I had her around, my little elf to give me company we set out to make these tarts with just 4 tart moulds. Four for a batch of 12 tarts as per the recipe. Sheer madness! Since we had just jumped into making these tarts without having an inkling of how much time it would take us with just 4 moulds we spent pretty long making them. However, the final result was mind boggling! Such beautifully crumbly, melt-in-your-mouth tarts with a gorgeous white chocolate filling that were begging to be polished off in one go!
I packed off some tarts to my aunt’s place and everyone who tasted them said they were very professional and of 5 star quality! Without sounding like a donkey praising it’s own tail I can only say that I was humbled yet elated in one go. I had no expectations whatsoever and never thought that they would be pretty much like stuff bought from a patisserie! I am so thankful to my cousin Nilisha Lobo for giving me that much required push.
Now coming to the photography part of it, I don’t remember any other photo shoot where I may have taken more than 90 shots of the food displayed. I simply loved taking pictures of these beautiful tarts. I just went on and on trying to evade the 2yr old lurking in the background but since the older brother is a trained sous chef cum photography assistant he kept her off the crime scene (and got clawed in the bargain). By far these tarts are my most favourite subject this year and I hope that I do better work in the coming year too!
If you love white chocolate then these tarts are waiting to be tried! If you’ve never tried making tarts from scratch, trust me, it’s not that hard. There’s always a first time! Just read the recipe and notes thoroughly before you begin. If you have any doubts just email me on ruchikrandhap@gmail.com. You can also leave me a comment below on this page or message me on my Facebook page
Save this recipe on Pinterest!
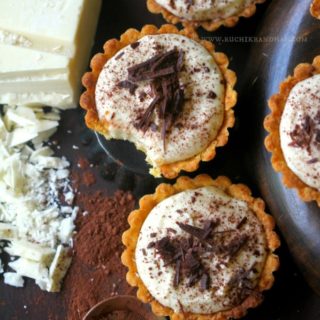
White Chocolate Tarts
White chocolate tarts are a must try for any white chocolate fan! They make for very pretty & delicious festive treats!
Print
Pin
Rate
Ingredients
For the tart shells:
- 225 grams / 8 oz plain flour plus extra for dusting
- 2 tablespoons caster sugar
- 150 grams / 5-1/2 oz chilled butter diced
- 2 egg yolks
- 2 tablespoons cold water use only as much as required
- plain chocolate curls to decorate
- cocoa powder for dusting
For the filling:
- 1 vanilla bean
- 400 ml / 14 fl oz double cream * see note#1
- 350 grams / 12 oz white chocolate roughly chopped
Instructions
To make the tart shells:
- In a large bowl add the flour and the sugar and rub in the butter until the mixture resembles fine breadcrumbs.
- In a separate bowl place the egg yolks and about 1 tablespoon of the water and whisk together. Add this mixture into the bowl of flour and knead into a smooth dough without any cracks - knead for at least 1-2 minutes . If required use up the remaining tablespoon of water. If the dough feels too sticky dust a little extra flour. Wrap the dough in clingfilm and chill for 20 minutes
- On a clean working surface dusted with a little flour roll out the dough into a large, even chapathi and line the tarlets with this.
- Prick the base of the tartlets with a toothpick, cover with clingfilm and chill again for 15 mins. While the tartlets are chilling, preheat the oven at 200 degrees C / 400 degrees F
- Place beans or black eyed peas (chawli) in each of the bases and bake for 10 mins. Remove the beans and continue baking for another 5 mins. Remove from the oven and set aside to cool * see note#2
To make the filling:
- Place the chopped white chocolate in a heatproof bowl (big enough to accommodate the chocolate+cream mixture)
- Split the vanilla bean lengthways and scrape out the seeds with the tip of your knife. Place the seeds in a saucepan along with the cream and heat until almost boiling and then pour this into the bowl of white chocolate and stir until the chocolate melts.
- Whisk the mixture with an electric whisk until thickened and the whisk leaves a trail when lifted (this could take a good 4-5 mins of non stop whisking)
- Chill this mixture in the refrigerator for 30 minutes and then whisk it until soft peaks form (like whipped cream)
- Fill the tart shells with this filling (use a spoon or piping bag - see note# 4 before proceeding) and chill them for 30 minutes
- Decorate with chocolate curls and dust light with cocoa powder. Serve
Notes
1. You can use fresh cream like Amul (in India) or Al Marai (in the UAE) 2. Baking tarts with the beans in them is called as blind baking. This is necessary in recipes that call for unbaked fillings like puddings or cream pies so it is essential that the crust be baked fully. To prevent the dough from puffing up and turning shapeless we add the beans to weigh it down and retain the desired shape. 3. Do not chill the dough for more than 20 mins as mentioned in step#2 while making the tart shells. If the butter in it hardens the dough will be hard to roll. If it so happens that you have placed it in the fridge for more than 20 mins then try to keep it out at room temperature till it becomes pliable enough to roll without sticking to the working surface. At any cost do not try short cut methods of microwaving the dough if you have made a mistake. You will be left with a sticky mess. 4. Once the tarts are baked and before you put in the filling make sure they cool down completely. We are working with extremely delicate and crumbly, short crust pastry like bases which will crumble if you apply too much pressure. Try lifting them from top using all your fingers so the entire tart shell is well supported and doesn't break off easily while lifting them. They tend to be more sturdy once you have chilled them for a few hours. So ideally prepare them a few hours in advance before filling them up.
Disclaimer
The nutritional values are only indicative.
Tried this recipe?Please leave a comment & rate the recipe below or share a photo on Instagram and tag me @ruchikrandhap
Hey Shireen, gorgeous looking tarts, would love to grab some if technology permits :):)
That one just looks amazing… wow!!! I have been wanting to bake a tart but hate to do it in the big pan… gotta hunt for the mini moulds… 🙂