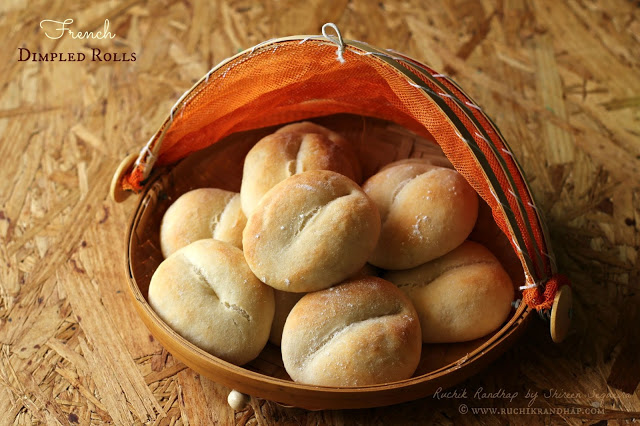
It’s been a while since I baked breads and so I decided to post this lovely recipe from my archives. From the time I started to bake breads I’ve always wanted to do simple stuff that tasted great eliminated the need to buy store bought bread. Ever since I started to replicate the Nandos style peri peri livers at home I’ve been on the lookout for bread to go along with the dish. Bread that resembled the rolls that we get at Nandos and the ones that were slightly chewy on the outside while being incredibly soft and spongy on the inside. A few recipes that I found online flopped and eventually I turned to a book from my collection, The Bread Bible by Christine Ingram and Jennie Shapter that had a recipe for French rolls that promised the same results as the Portuguese version that we have fallen in love with.
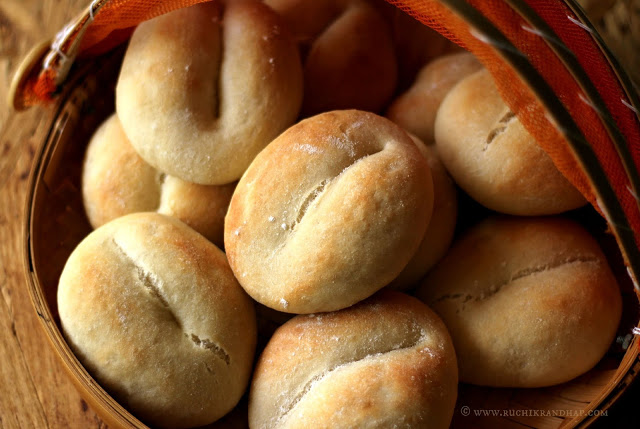
The bread was a complete success on my first attempt although the rolls didn’t look exactly like the ones in the book but they were so delicious that my little boy enjoyed them so much! Imagine his joy when he was welcomed back from school with a plate of piping hot Nandos style chicken livers served with warm rolls that came right out of the oven. After a couple of tries I managed to get the dimples exactly the way they should look.
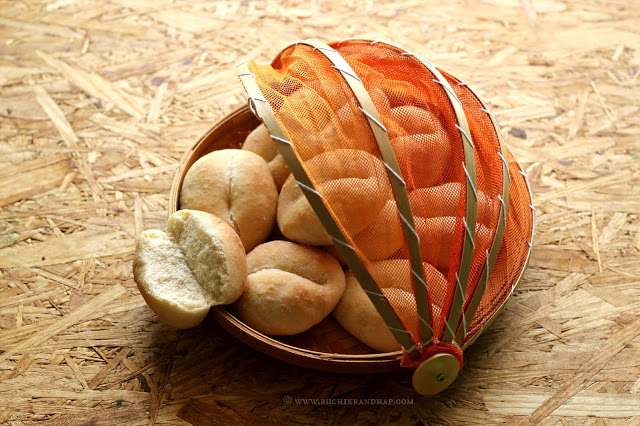
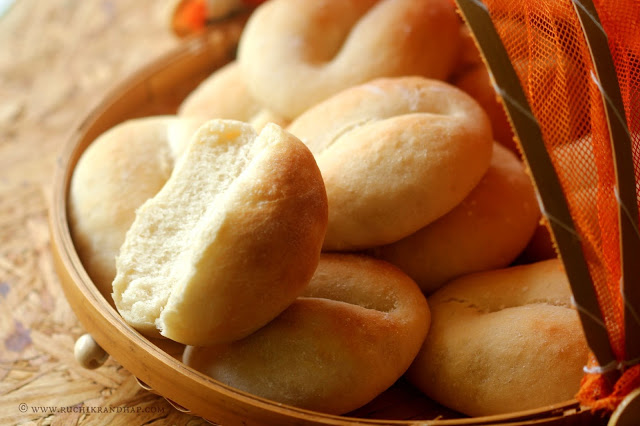
Even if you are a novice baker you must try these rolls as they are super easy to make and taste wonderful. They have a slightly hard crust which will soften a bit once the rolls cool down. It is best to eat them fresh and they go perfectly well as an accompaniment to a savoury dish or as an evening snack, slathered with Nutella, jam or even plain butter.
So keeping up with the promise I made to myself (to try out a new bread recipe every month), here’s the bread for the month of August, a recipe I picked at random as I couldn’t be part of the challenge hosted by the bread baking group this month. Hope you enjoy it!
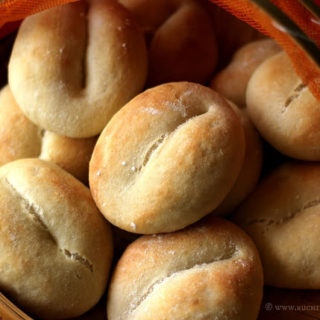
French Dimpled Rolls
Ingredients
- 400 grams 14 oz bread flour (or plain flour/maida)
- 1-1/2 teaspoons dried yeast I used instant dried yeast
- 1-1/2 teaspoons salt
- 1 teaspoon caster sugar
- 120 ml 1/2 cup lukewarm milk
- 180 ml 3/4th cup lukewarm water
Instructions
- Sift the flour and salt into a large bowl. Mix the sugar and make a well in the centre.
- Mix the yeast along with the milk and pour it into the centre of the flour. Sprinkle flour from the edges to cover the milk and leave it for about 15mins ot until the mixture begins to bubble.
- Add the water gradually and mix the flour to form a moist dough. Turn it out onto a lightly floured surface. And knead for 8-10 minutes until you get a smooth, pliable dough.
- Place the dough in a lightly oiled bowl and cover with a lightly oiled plastic wrap/cling film. Leave to rise for approx 1-1/2 hours or until doubled in volume.
- When the dough has doubled, turn it onto a lightly floured surface and punch it down to release the air.
- Using a dough cutter or knife, divide the dough into 10 equal parts (i weighed them on my kitchen scale to make 10 parts of approx 70 grams each)
- Shape each part into a ball using cupped hands (hold the dough ball between both palms and stretch the surface simultaneously using the base of both thumbs and tuck the ends under the dough ball – this way you get a smooth surface)
- Roll each shaped ball to form a log and then pat it down to form an oval shape
- Place the ovals, slightly apart, on two baking sheets lined with baking parchment. Lightly flour the tops and cover them with the oiled cling wrap. Let the dough rise again for about 30mins or until doubled in size again
- Lightly oil the side of your hand and press the centre of each roll to make a deep slit. Don’t hesitate to press down firmly or else the slit will disappear during the final rise and will hardly show once the rolls are baked. Cover the rolls and leave to rise for 15mins
- Place a roasting tin at the bottom (lowest rack) of the oven. Preheat the oven to 220 degrees C and just before placing the baking sheets inside, pour 1 cup (250ml) of water into the hot roasting tin – this will help create steam and delay the formation of a crust on the rolls and also seal the moisture inside the bread making it soft on the inside.
- Bake the rolls for about 14-15 mins or until golden. They will sound hollow wh
Notes
Disclaimer
The nutritional values are only indicative.
Dear Shireen,
It has always wanted my home to have that amazing aroma of freshly baked bread and to be able to have warm bread. BUT I just have not been able to find the right yeast. Which one do you recommend.I should be able to find the foreign brands in Delhi.
I absolutely luv your recipes and can spend all my free time trying out new ones.
Thanks,
Sharmila
@ Sharmila: Thanks so much for your lovely comment! Yes, there's nothing like baking one's own bread! 🙂 I use only DCL brand of instant yeast. Pls check the link below. It's available here in Dubai. You should be able to buy it online if the stores in Delhi don't stock it! Good luck!
http://www.dclyeast.co.uk/www.dclyeast.co.uk/index.html
Dear Shireen,
Thanks so much. I will look for it.
Sharmila
@ Sharmila Doyle: Goodluck!