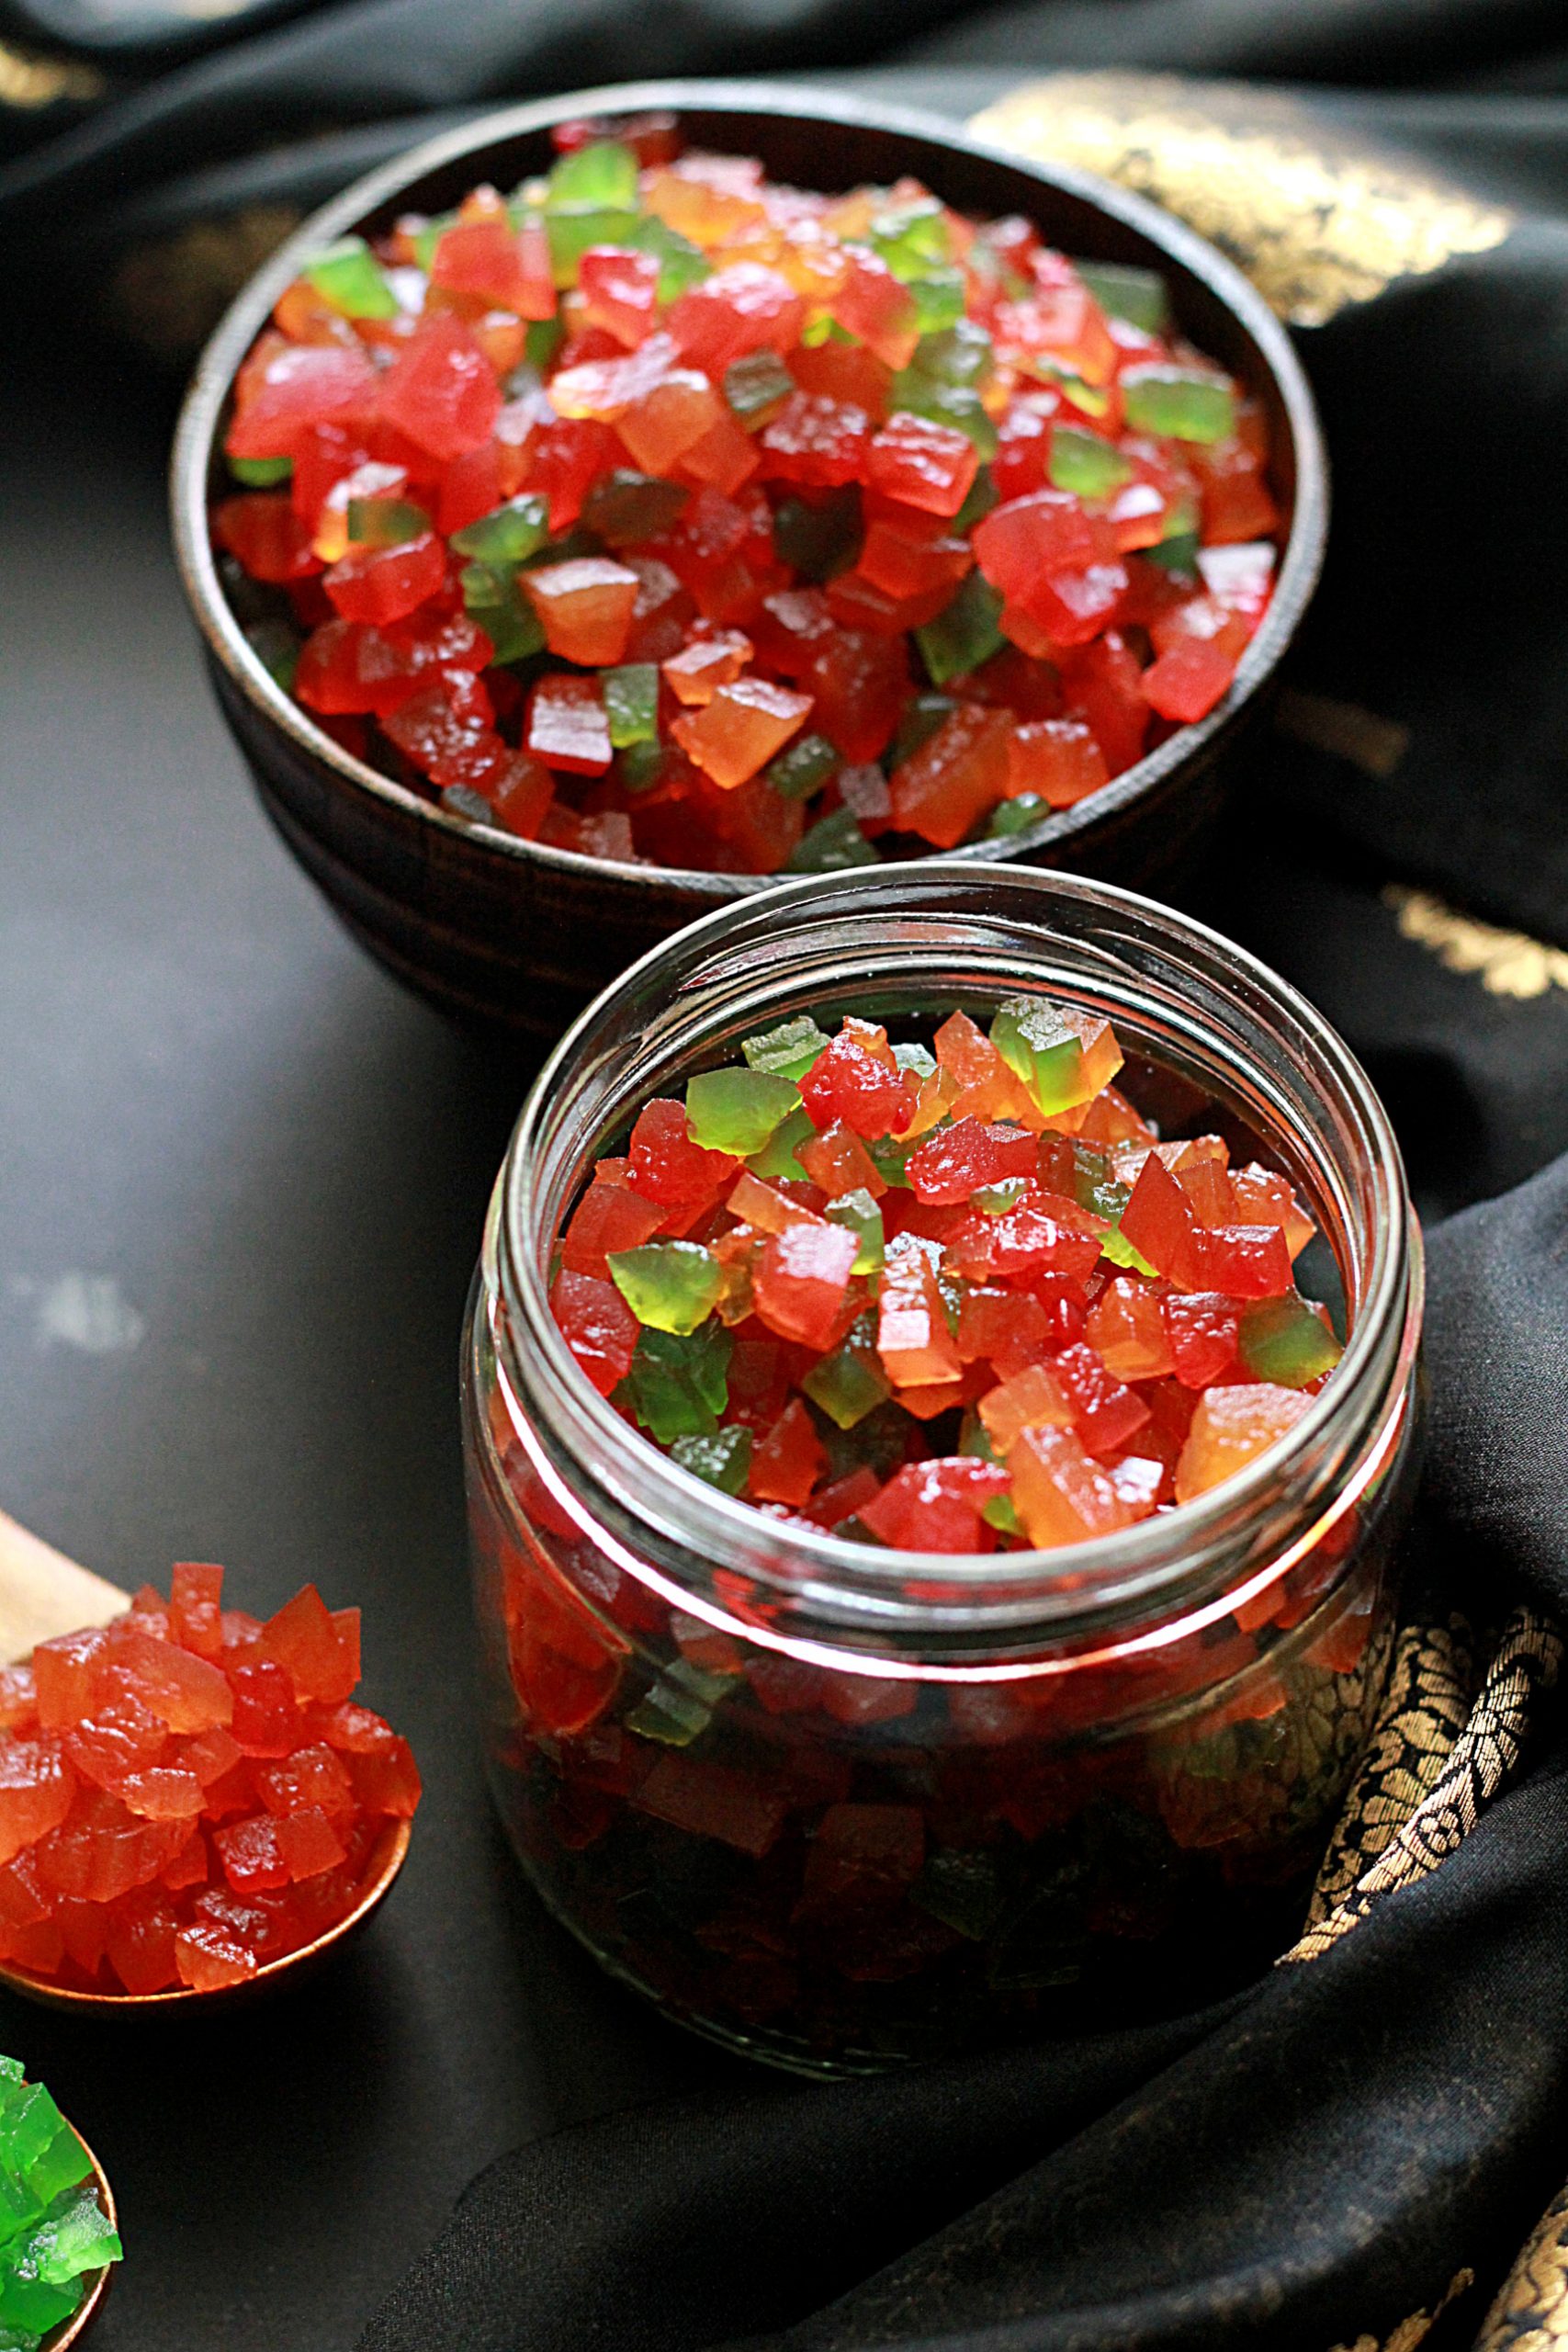
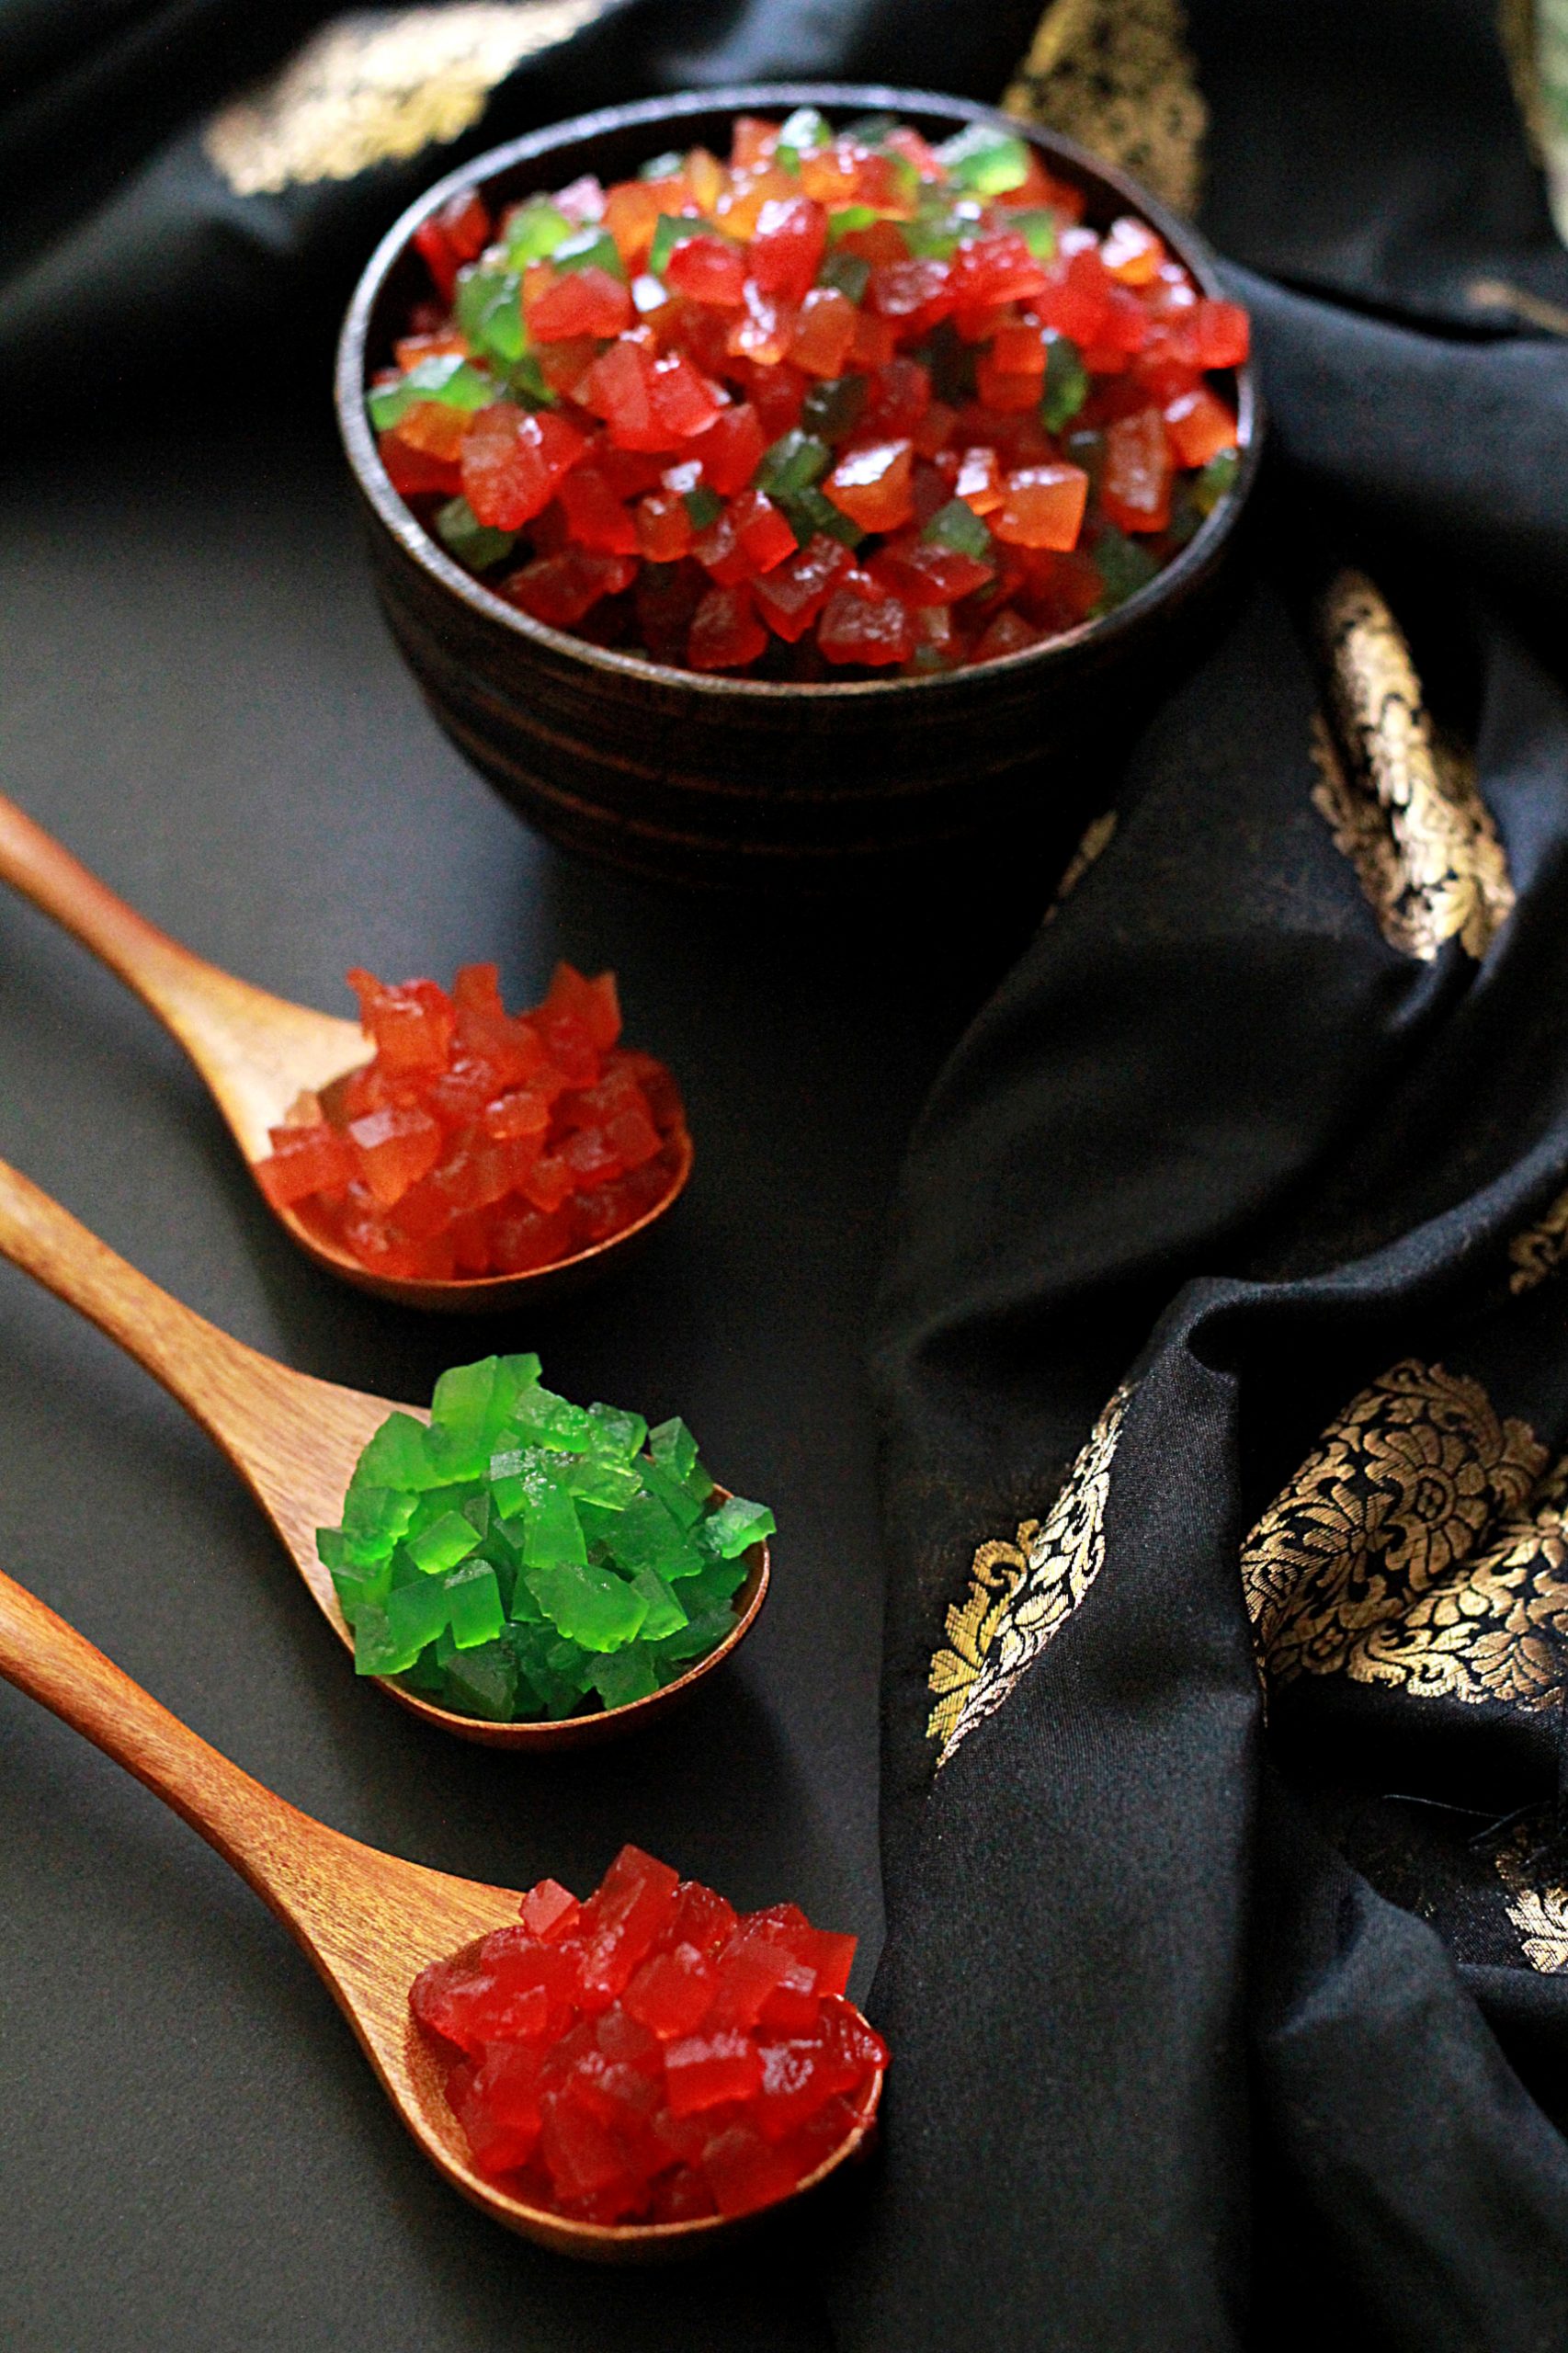
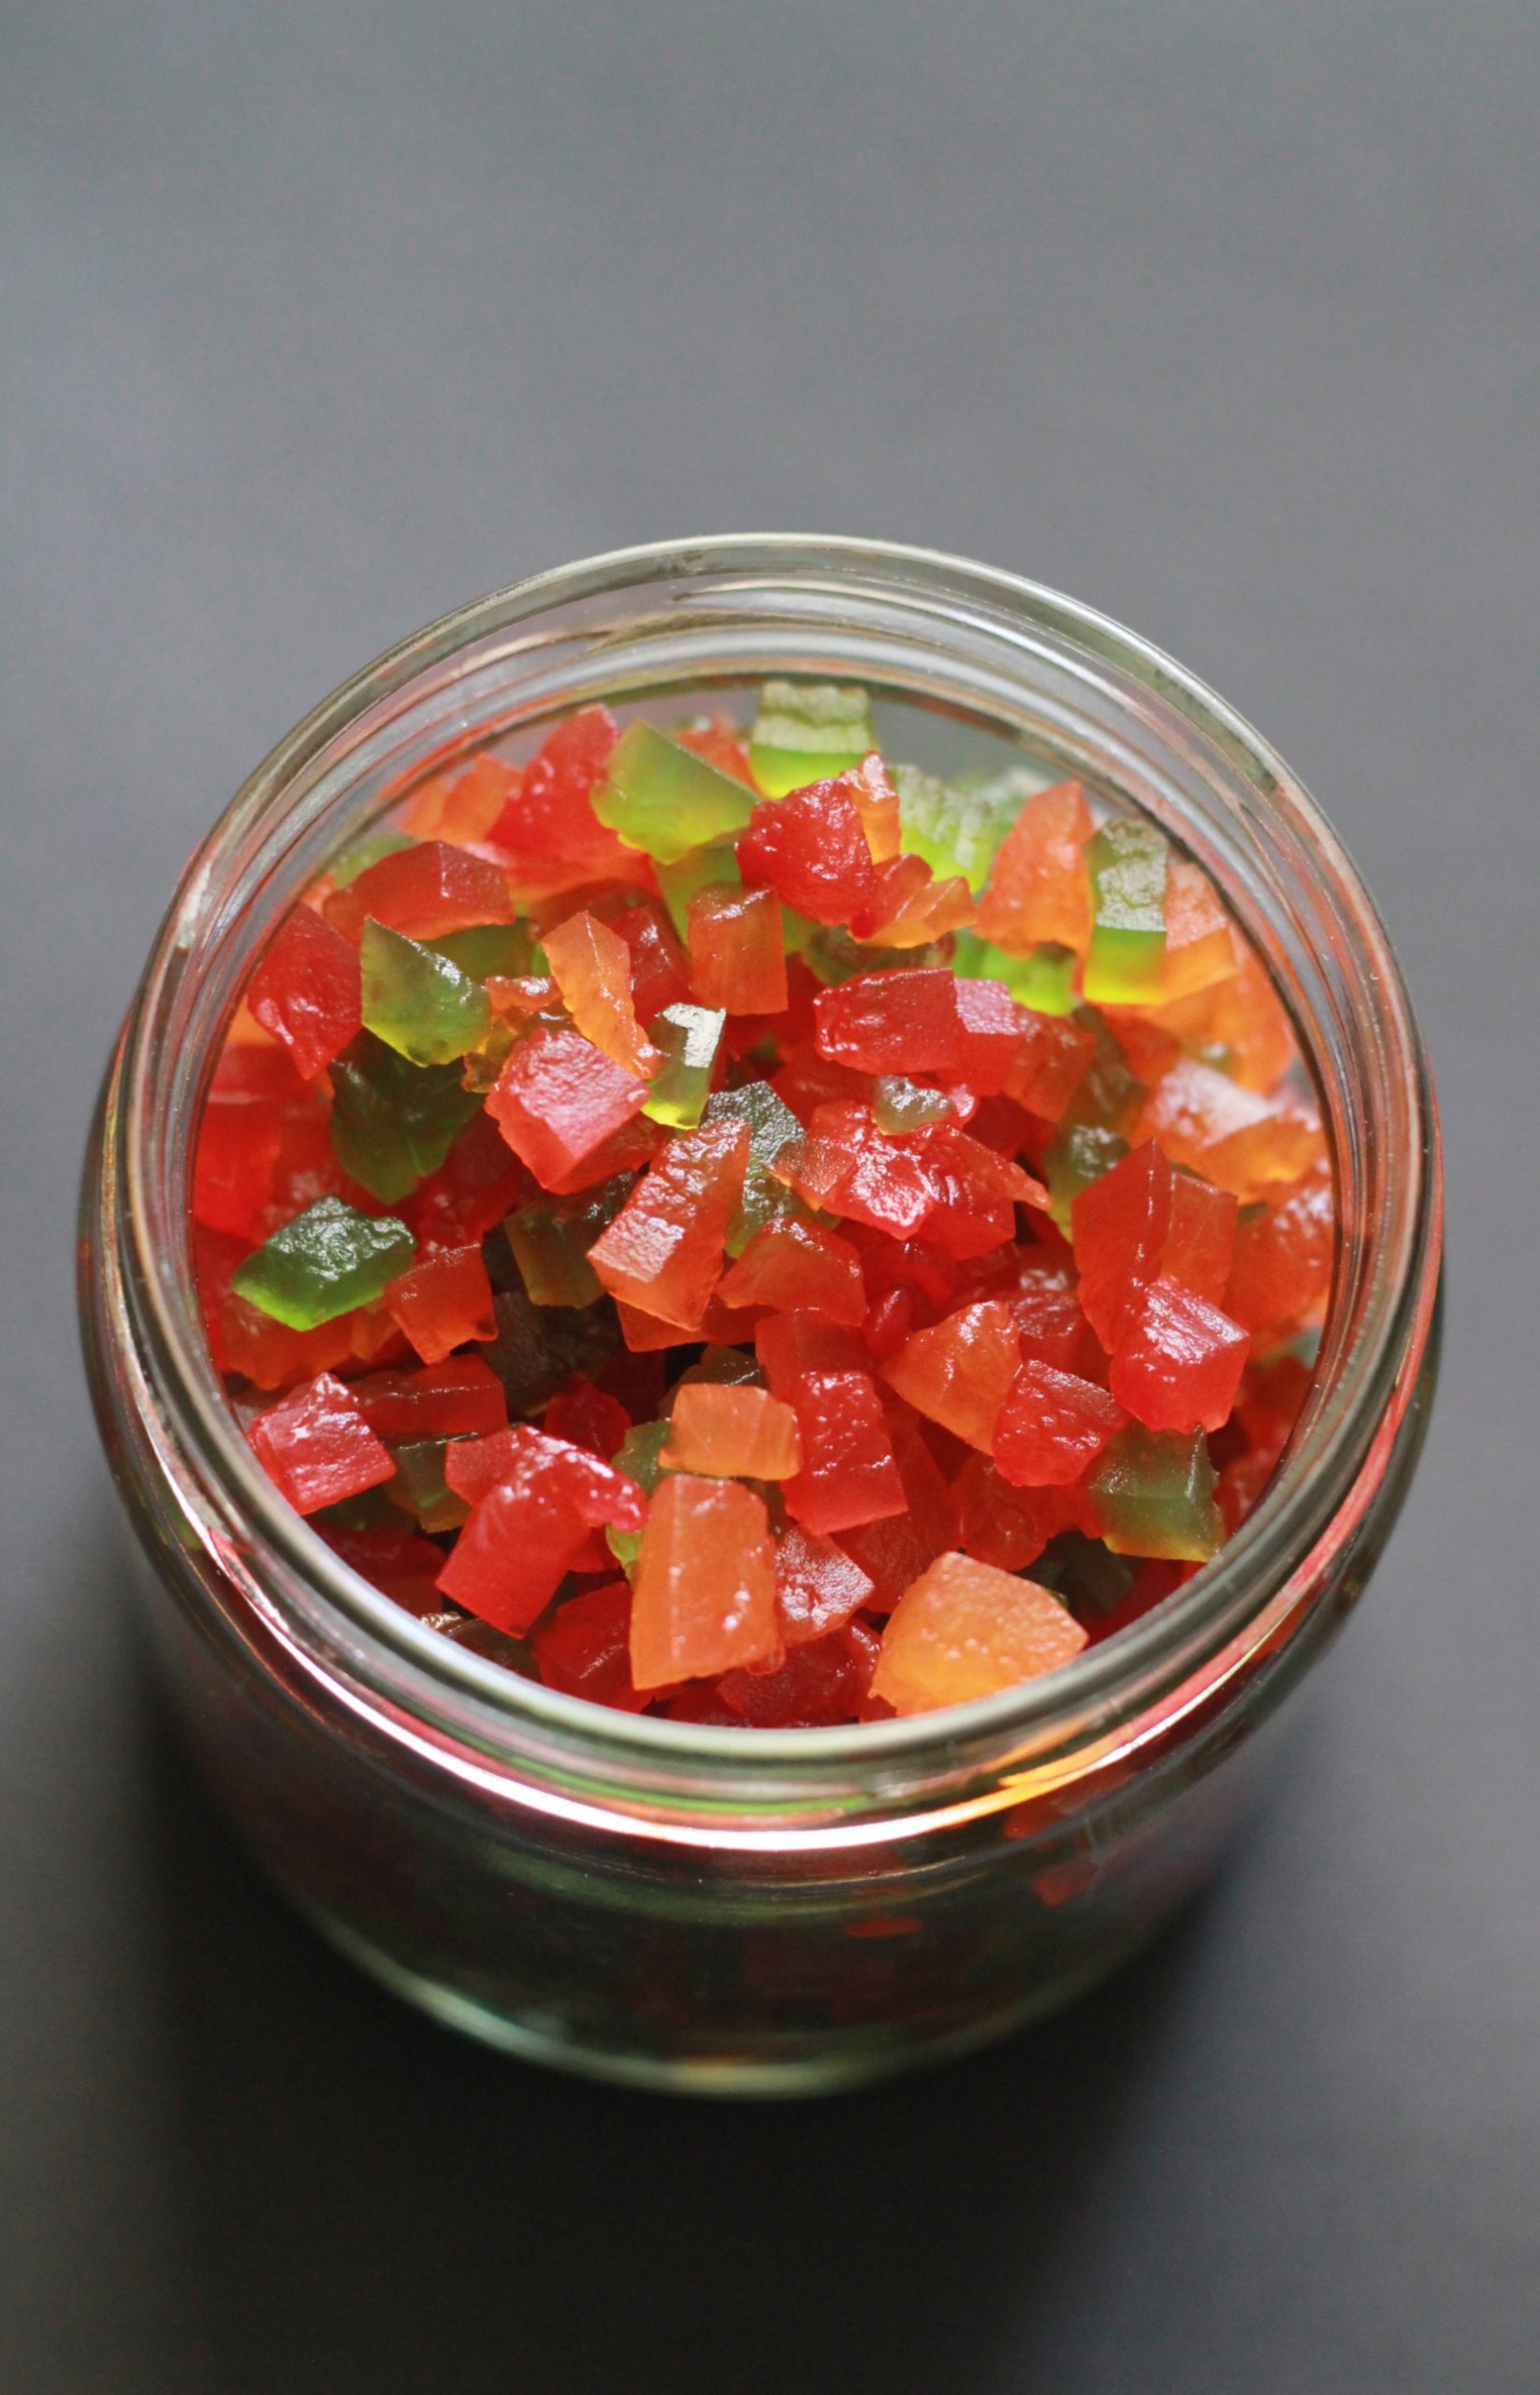
Tutti Frutti – what a great invention I say! It somehow adds such a sparkle to simple cakes, doesn’t it? However, one can have a love-hate relationship with it. I have disliked it as a child and would twitch my nose if I found it hidden inside cakes, sweet breads & buns. However, over the years I have calmed my tastebuds a lot and actually wait to discover a few tidbits inside my cakes. I remember sliced, packaged cakes (with a slightly synthetic taste) sold by Britannia way back in the 90s when they had just been launched. I used to buy them sometimes as a treat. Sometimes the cakes were dry inside and crumbled as a result of being on the shelf for too long I guess. After I learnt to bake my own cakes I managed to bake perfectly moist & delicious tutti frutti cakes. It is super simple to bake one, as all you need is a good sponge cake. This cake makes for perfect tea time accompaniment. Tutti frutti is also added to Christmas cakes and I would always make sure to buy a box ahead of Christmas before they became too expensive. Now that I have finally cracked the secret to making it at home I will never buy it from the store again!
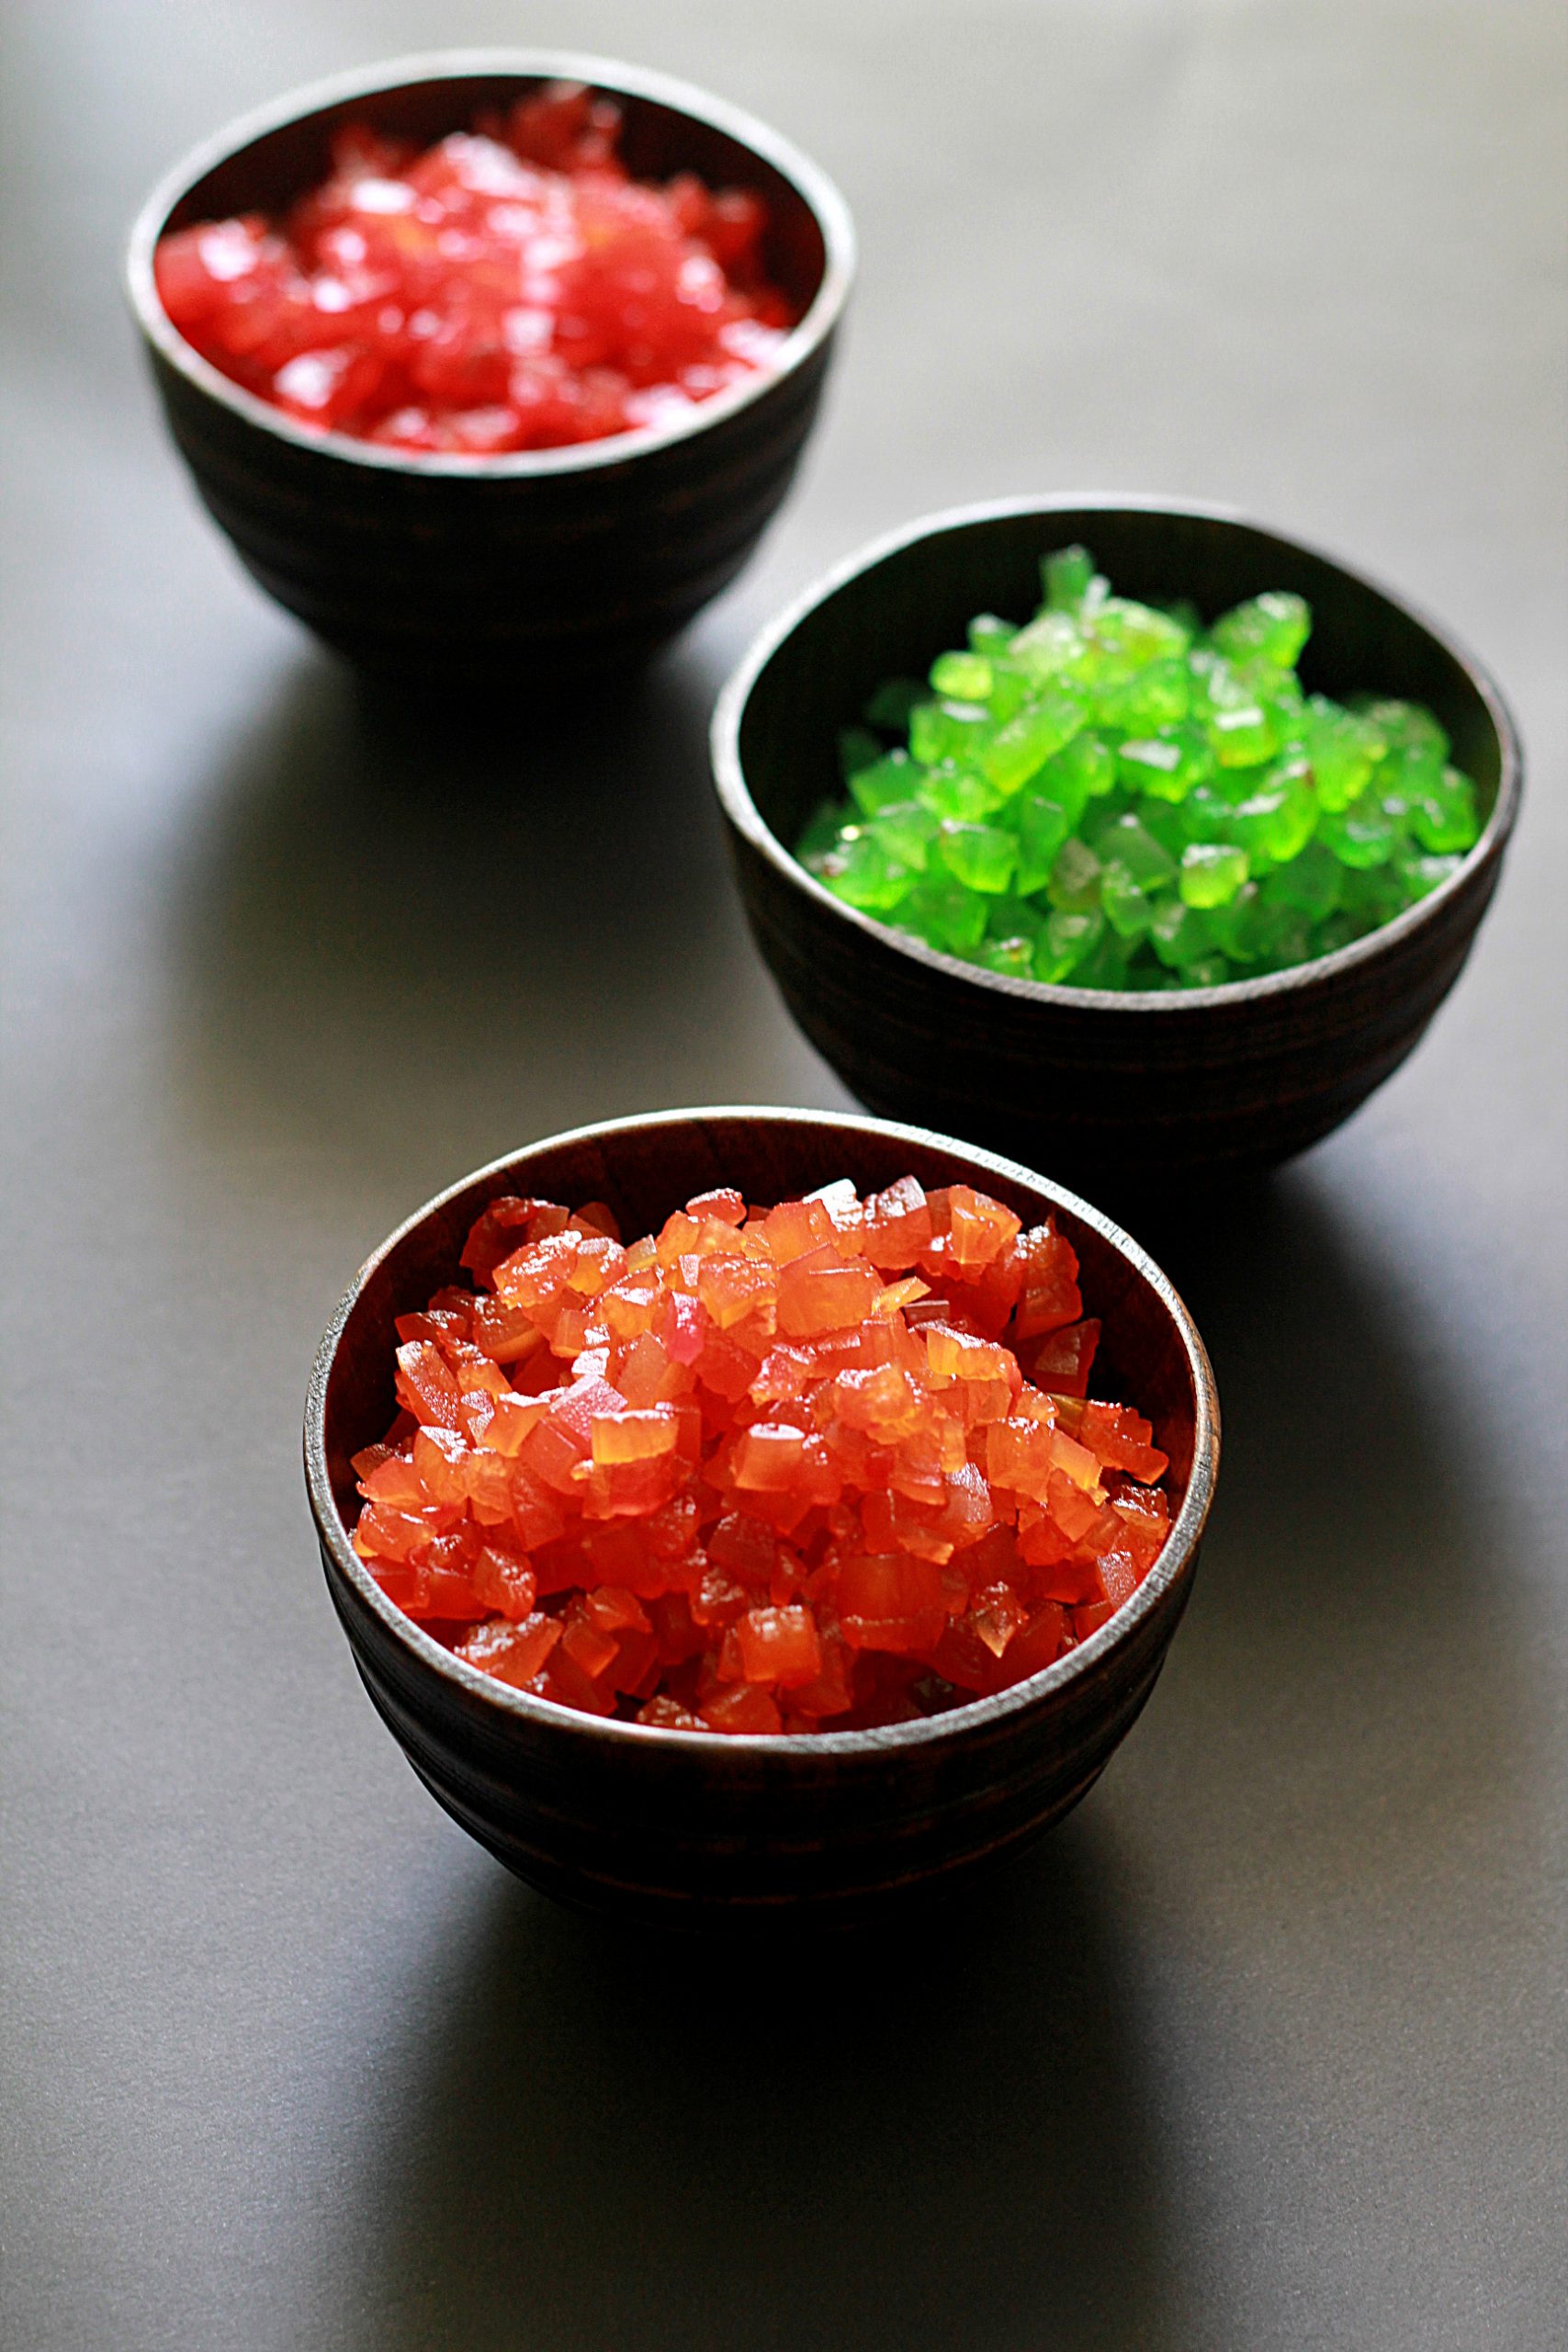
I came across this recipe shared by Mrs. Laveena Pinto on the food group that I manage on Facebook. I was mesmerised with the picture so much that I just wanted to make it as quickly as possible. She had used natural food colouring – turmeric powder and juices of beetroot & spinach. I have used gel based food colours and I hope to try her method soon. I prepared the tutti frutti twice in a span of two weeks as I had to get it right. I am so grateful to Laveena for sharing this lovely recipe and also for helping me with my doubts. Laveena is an amazing cook who shares beautiful recipes. I have tried her ragi cake and gave it a twist of my own by adding cocoa & melted chocolate to it. You can find that recipe here
Tutti frutti is normally made with raw papaya and fruit peels. Here in the UAE we get tutti frutti that is made only with raw papaya and candied peel made out of citrus peels is sold separately. I like to use candied peel in my Christmas cakes and tutti frutti in sponge cakes.
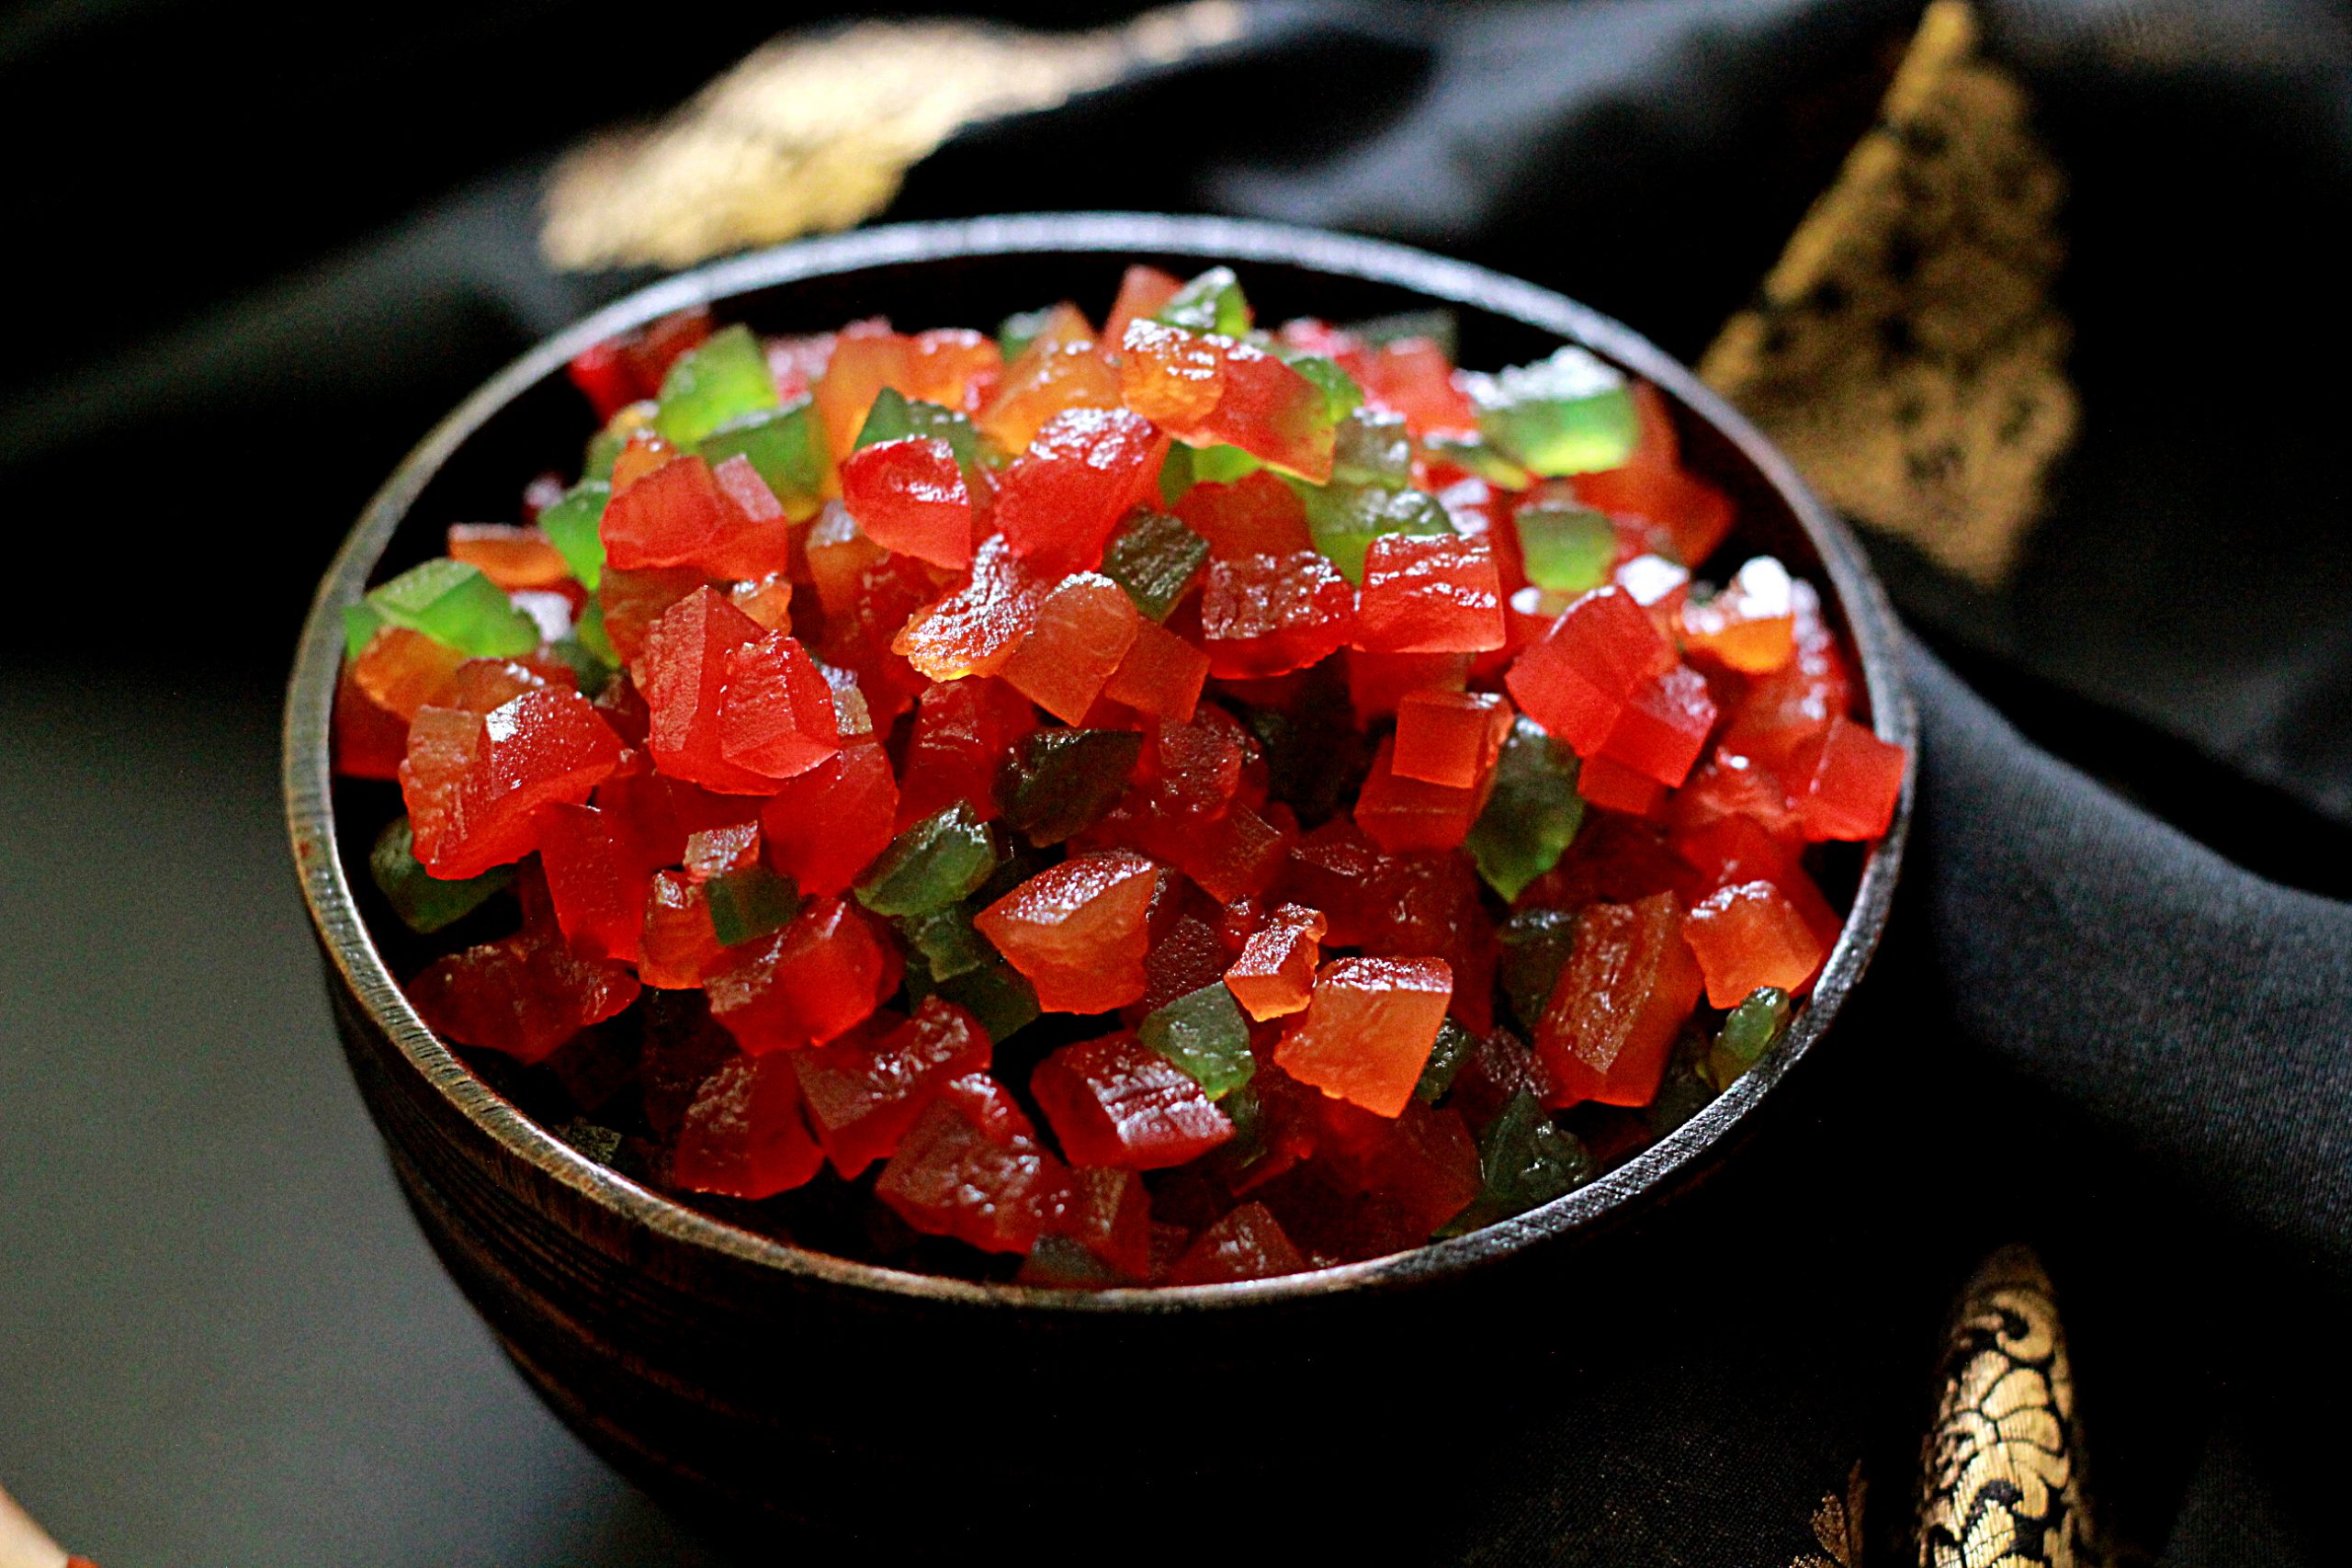
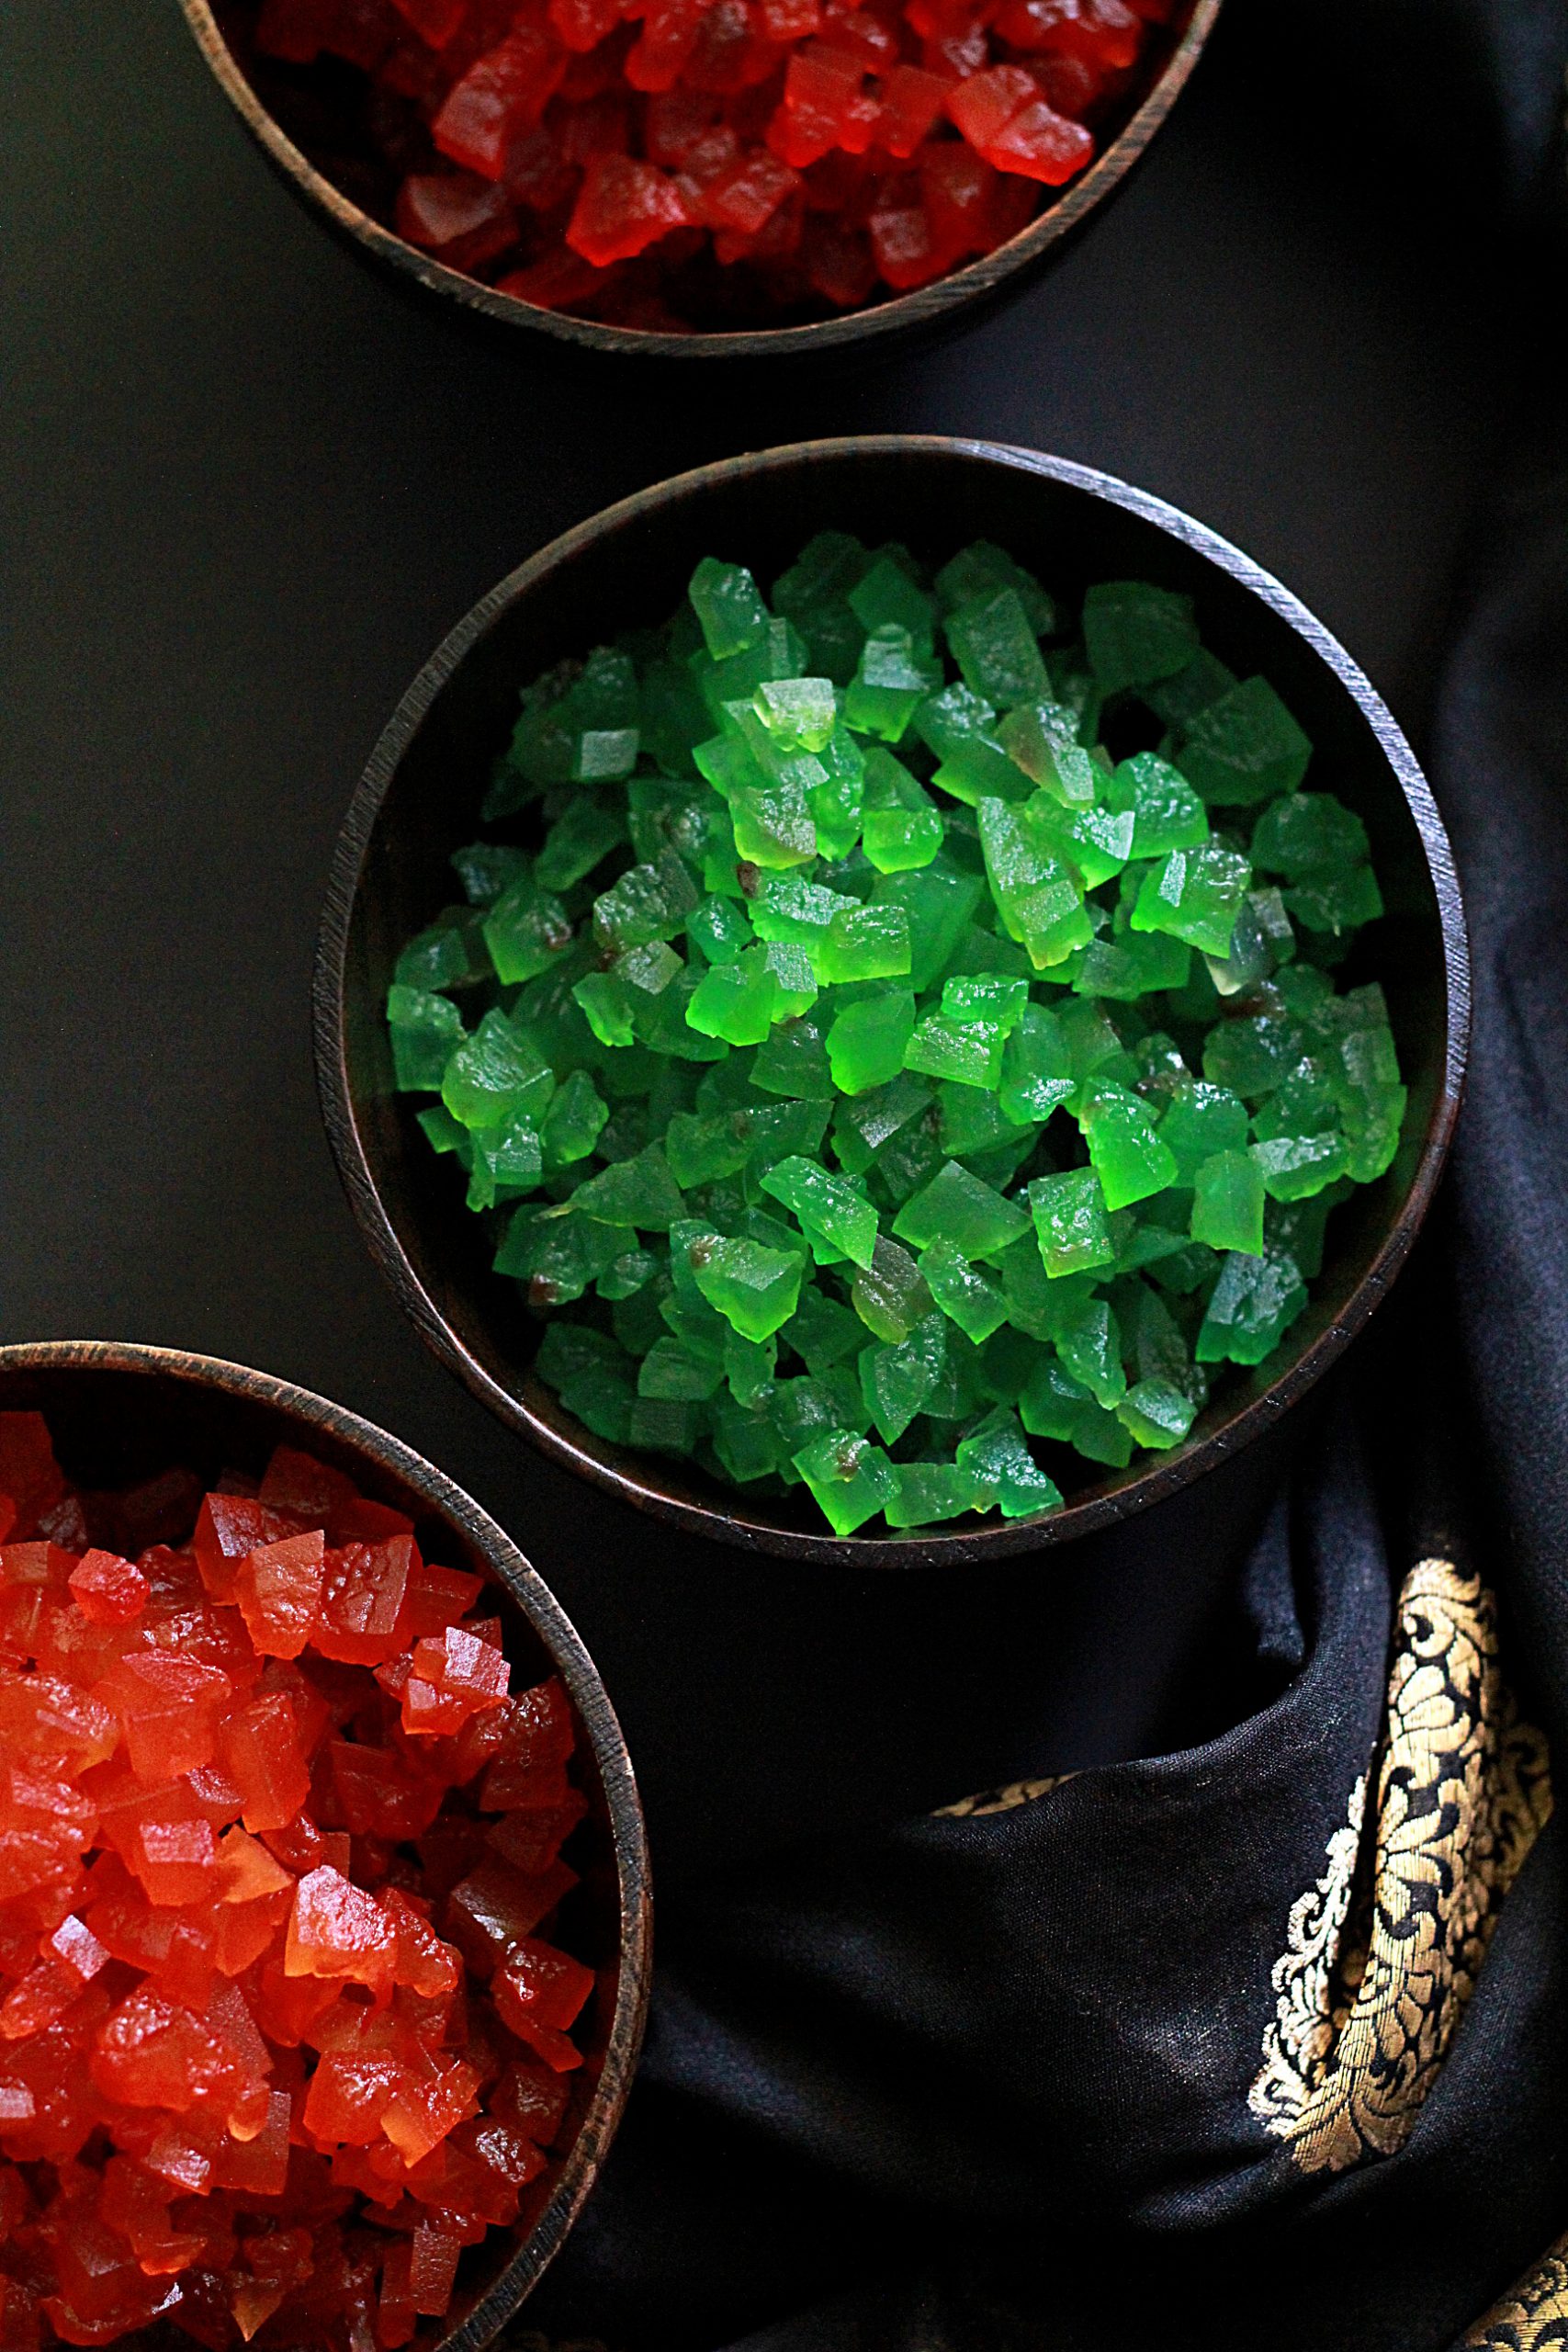
Honestly, I had made this a couple of months ago during the onset of summer and when watermelons were aplenty. I just let laziness to get the better of me and did not post it. This is a brilliant use of watermelon rinds which are normally discarded. The only thing let me warn you, is that it takes a bit of time & patience. If you make it in bulk you can really save a lot of money. Especially if you are a baker or want to be one.
Do note that it does not have a long shelf life as it has no preservatives. However, you can store it for longer if you increase the quantity of the sugar syrup and allow the tutti frutti to be completely immersed in it. Refrigerate it in the coolest part of your fridge and you are good to go for at least 2 months or maybe even more. I do hope you like this post and enjoy making the tutti frutti!
New here? Subscribe to my free newsletters with my latest recipes!
Tried my recipe? Do leave a comment on this post down below and don’t forget to give it a star rating! It will really help more readers discover my recipes! Do share a picture on Instagram and tag me @ruchikrandhap and I will feature your post in my stories!
Don’t forget to check out my latest videos on my YouTube channel. If you like what you see, do give me a thumbs-up (like), share & comment and subscribe to my channel so that the gods of YouTube (a.k.a algorithms) recommend my channel to a wider audience with similar tastes and more & more people can discover my videos!
And while you’re here, do follow me on Instagram, Pinterest, Facebook and Twitter. If you’d like to say hello or have detailed queries do send an email at ruchikrandhap@gmail.com. I’d love to hear from you!
Tutti Frutt Using Watermelon Rind | Homemade Tutti Frutti
Ingredients
- 3 cups (450 grams) chopped bits of watermelon rinds * see notes
- 2 cups water
For the syrup
- 1 cup sugar
- 1/2 cup water
- red, orange, yellow & green food colours (or as required)
Instructions
- Peel and discard the green part of the watermelon rinds using a peeler or a sharp knife. Scrape off any red portion (fruit) that is still clinging onto the rinds.
- Chop the white portion only into small bits.
- Place the chopped bits into a pot or a pan and cover it with water. Bring the mixture to a boil and cook the pieces for about 8-10 minutes or until the pieces begin to look translucent. Do not overcook them or soften them till they turn mushy. Drain off the water and keep aside till required.
- To make the sugar syrup, add the sugar and the water into the same pan and let the mixture come to a boil. Then simmer gently until the syrup thickens and you get a one string consistency. This will take a few minutes (see notes)
- Add the boiled & drained pieces and give it a good mix. Bring the mixture to a boil and simmer gently for 3-4 minutes.
- Now, divide the mixture & the syrup equally into different saucepans depending on how many colours you want to use.
- Add the food colours into the saucepans and simmer again until almost all the sugar syrup has been absorbed and the pieces have changed colour evenly.
- Transfer the tutti frutti into a large colander and let it cool down (also, any sugar syrup in excess will dribble away). Transfer it into clean & sterile glass jars and store in the refrigerator. Always use a clean, try spoon to remove the tutti frutti
Notes
How to check for one-string consistency - This means that when you dab a drop of the hot syrup between your thumb & index fingers a thin thread linking the two fingers should form (in terms of stickiness). Since there are no preservatives added to the tutti frutti it does not have a very long shelf life unless you completely immerse them in the sugar syrup. If you want to keep it for longer, please make sure you increase the sugar syrup slightly. Also, store the bottle in the coolest part of your fridge to extend its life.
Disclaimer
The nutritional values are only indicative.
Leave a Reply