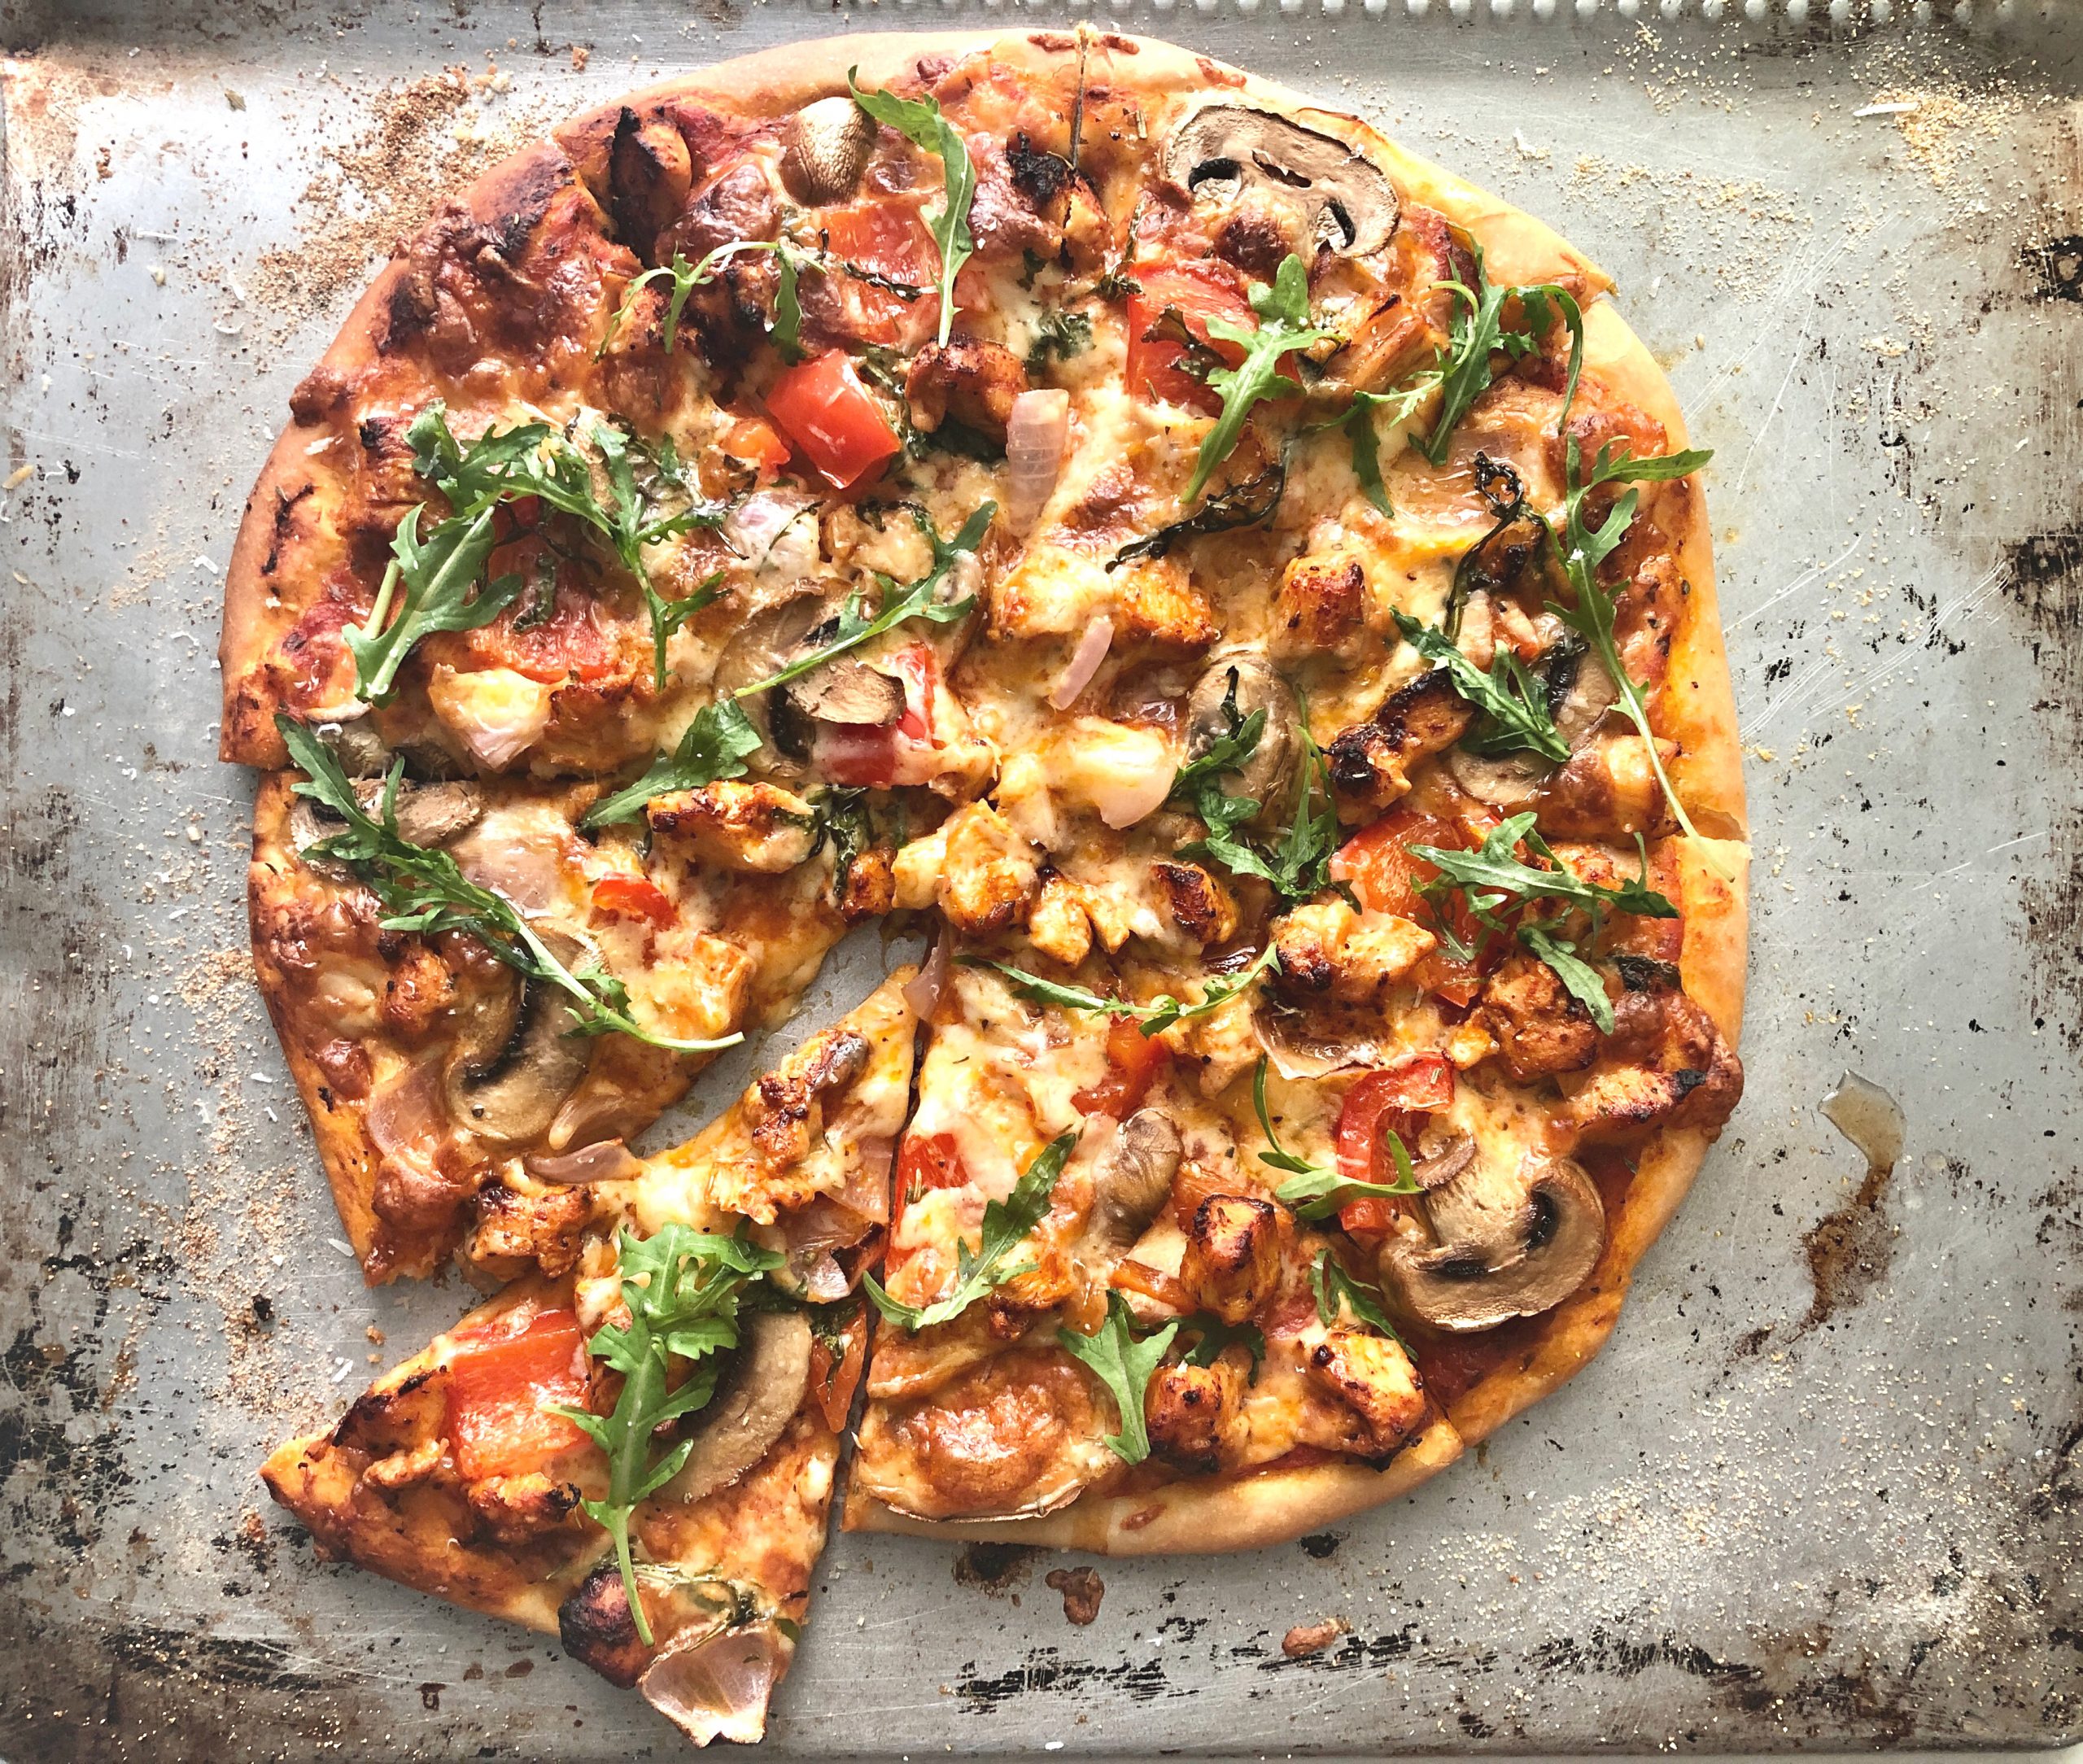
Hey guys! It’s been a while since I posted a new recipe, isn’t it? So what kept me busy during Covid times? Well, for starters, I haven’t been busier than this ever before thanks to the fact that the kids are at home all day (and night) and distance learning (DL) is not a cakewalk. My daughter needs all the support I can give her as she is not tech savvy yet and DL involves a lot of worksheets that are required to be downloaded and then uploaded once the homework is done. Besides this, there are whims & fancies of the kids that need to be attended to, ofcourse these are always pertaining to what they want to eat for their snacks. I mostly make whatever they want to eat so there are no prizes for guessing that pizza is their top choice. Well, today I want to share the recipe of the pizza that I have been making since a really long time. This is my own recipe that I have tweaked over the years and I use the same recipe to make thin or thick crust pizza
What is the difference between thick & thin crust pizza?
Well, the basic difference lies in the proofing of the dough, ie for a thick crust pizza you have to let the dough double in volume before punching it down and shaping it into a pizza base and this could take you anywhere between 1-1/2 to 2 hours if you use good quality yeast. Thin crust on the other hand is just that – thin and flat so the dough needs just a few minutes to rest after kneading or better still, none at all. You can directly begin rolling out the dough and prepare the toppings. While your oven preheats is when the dough gets to rest. I have done this several times with the same recipe and it has yielded me good pizzas time & again.
Can I use the same recipe to make regular, thick crust pizza?
Sure you can! If you wish to make a regular pizza with a thicker crust then follow the same recipe and proof the dough, ie. after kneading the dough place it in a well oiled bowl and keep it in a warm spot of your kitchen till the dough doubles in volume, then punch it down to remove the excess air. Cut into two portions, shape into balls, flatten with your palms or a rolling pin and put your toppings. The advantage of making a thick crust pizza is that it is pretty filling as there is more to munch on, a bang for your buck, you get your money’s worth and everyone’s happy, especially if you have hungry kids lurking around the kitchen all the time.
New here? Subscribe to my free newsletters with my latest recipes!
If you give this recipe a try do leave a comment on this post down below and don’t forget to give it a star rating! It will really help more readers discover my recipes! Don’t forget to check out my latest videos on my YouTube channel. If you like what you see, do give me a thumbs-up (like), share & comment and subscribe to my channel so that the gods of YouTube (a.k.a algorithms) recommend my channel to a wider audience with similar tastes and more & more people can discover my videos!
And while you’re here, do follow me on Instagram, Pinterest, Facebook and Twitter. If you’d like to say hello or have detailed queries do send an email at ruchikrandhap@gmail.com. I’d love to hear from you!
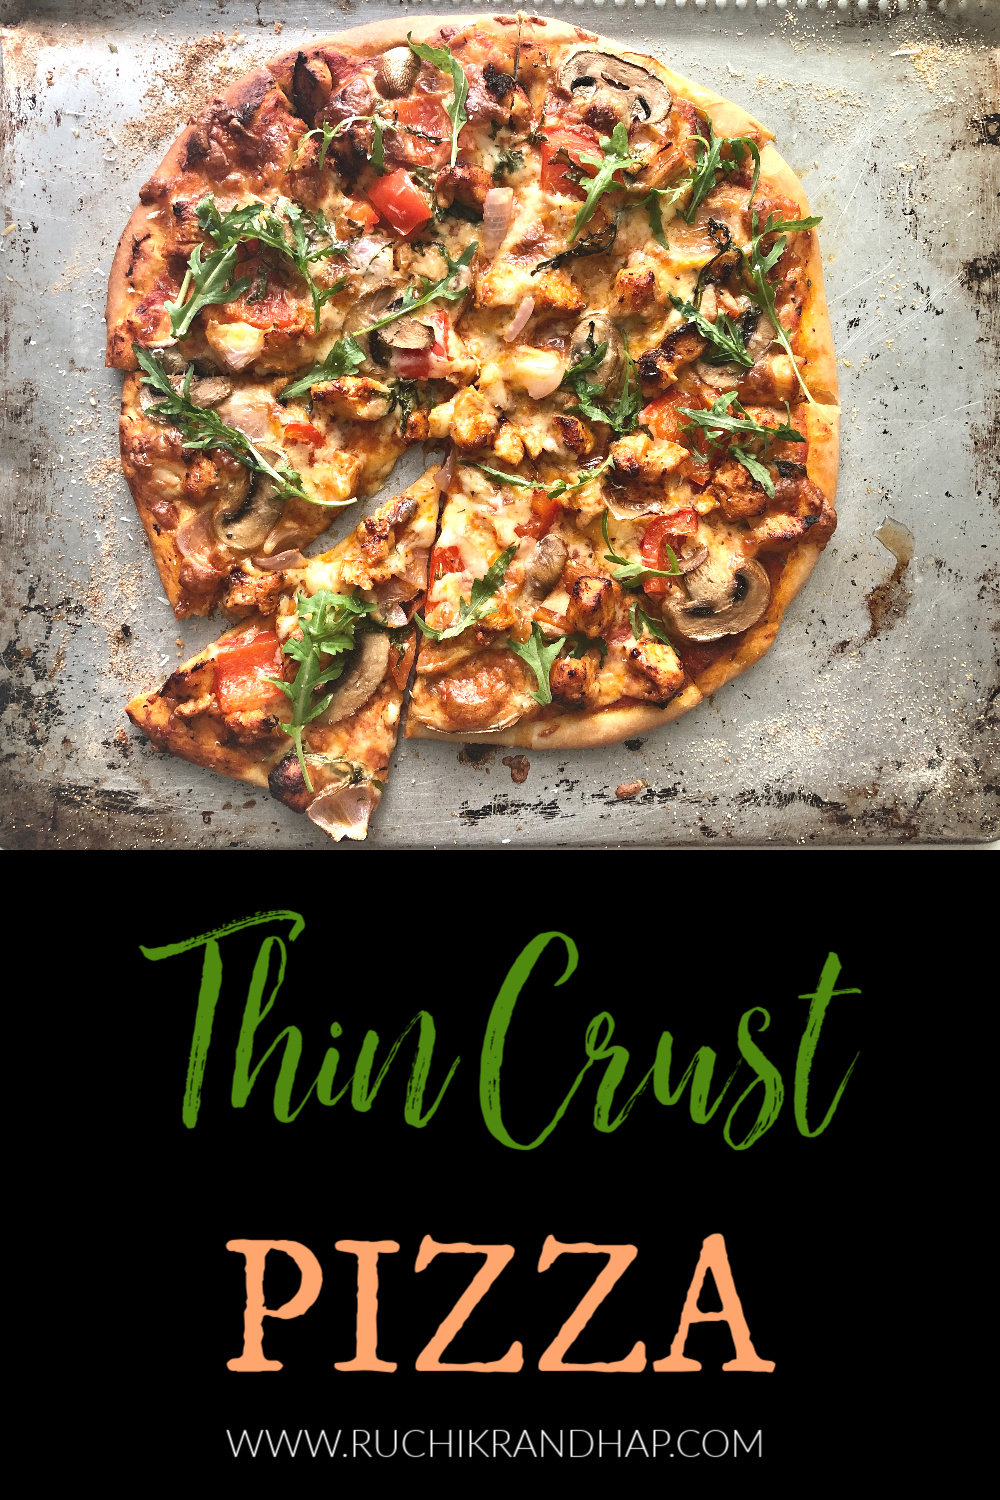
Click the image below to save it on Pinterest!
Do check out the video of how to make this recipe! I hope you enjoy it!</p>
Video Recipe
Thin Crust Pizza
Ingredients
- 300 gm all purpose flour maida
- 1 teaspoon salt
- 2 tbsp olive oil
- 1-1/2 tsp instant yeast
- 1/2 tsp sugar
- 1/4 cup lukewarm water plus extra 1/4 or 1/2 cup for kneading
- For the toppings
- 1-1/2 cups pizza sauce
- 1-1/2 to 2 cups shredded mozzarella cheese
- 1/2 red bell pepper cut into pieces
- 1/2 yellow bell pepper cut into pieces
- 25-30 black olive slices
- 10-12 pepperoni slices
- 5-6 big mushrooms sliced
- 1 cup chicken tikka pieces optional
- a few basil leaves optional
- 1/2 cup arugula leaves optional
Instructions
- Although instant yeast does not require activation I prefer to check whether it is still good. So place the yeast and sugar in a small bowl and add 1/4 cup of warm water to it. Mix well, cover & keep aside for 10-12 minutes after which it will froth (foam up). If the mixture has not frothed up then the yeast is probably old and not good. Discard it and start again with a fresh batch.
- In a bowl add the flour, salt, olive oil and then the activated yeast mixture. Add 1/4 cup of water and bring the mixture together into a dough. Knead it until it comes together, about 2-3 minutes.
- Grease the dough ball lightly with oil, cover it with a damp cloth and keep aside for 5-7 minutes. Since we are making a thin crust pizza we don't need to proof the dough.
- Divide the dough into two portions and shape each portion into a ball by tucking the ends underneath. Flatten it using stretching movements and transfer the flattened base on a baking sheet dusted with cornmeal or semolina.
- Use a rolling pin to roll out the dough into a 9 or 10" round base.
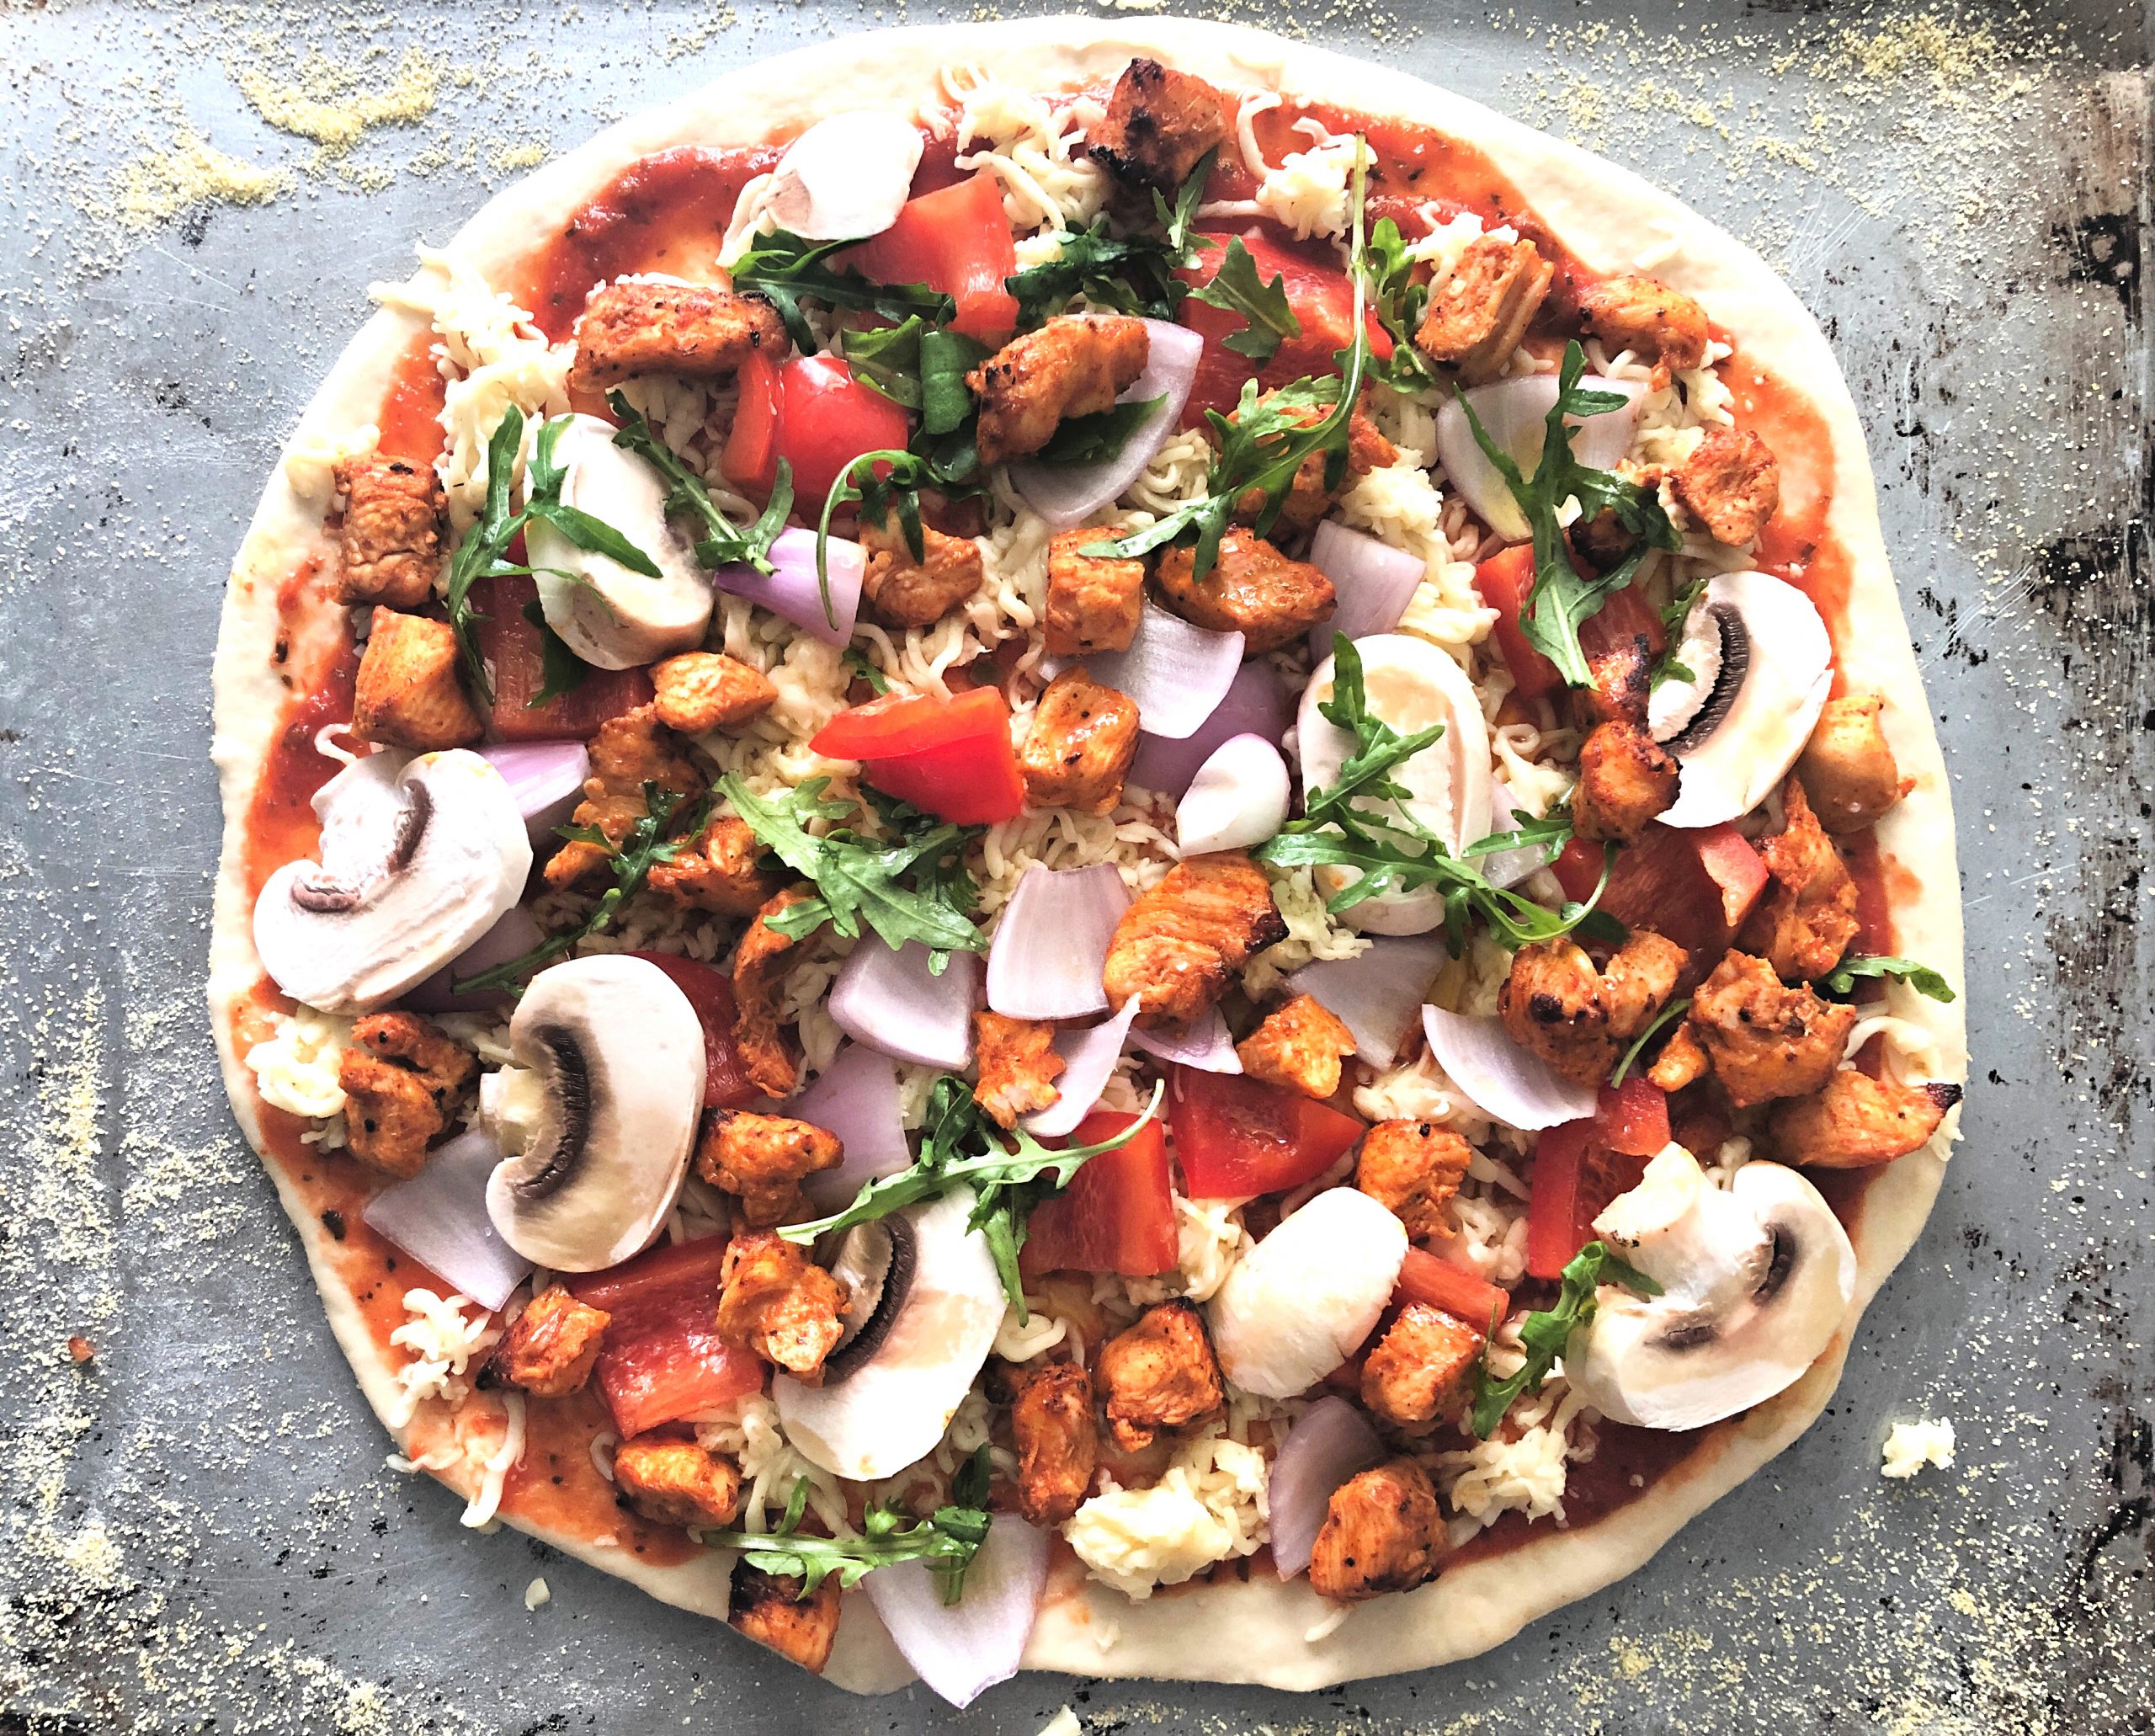
- Start by applying a thin layer of the pizza sauce over the surface of the base, leaving a half inch gap around the edges. Then spread some mozzarella cheese followed by the toppings in a random order. Make sure you don't overcrowd the pizza. Finally add some more cheese.
- Preheat oven to 200 degrees and bake for 15-18 mins or till golden. The baking time depends on your oven and also the thickness of your base. Also some recipes ask for a higher temperature like 260 degrees - this will reduce the baking time so best is to keep an eye out
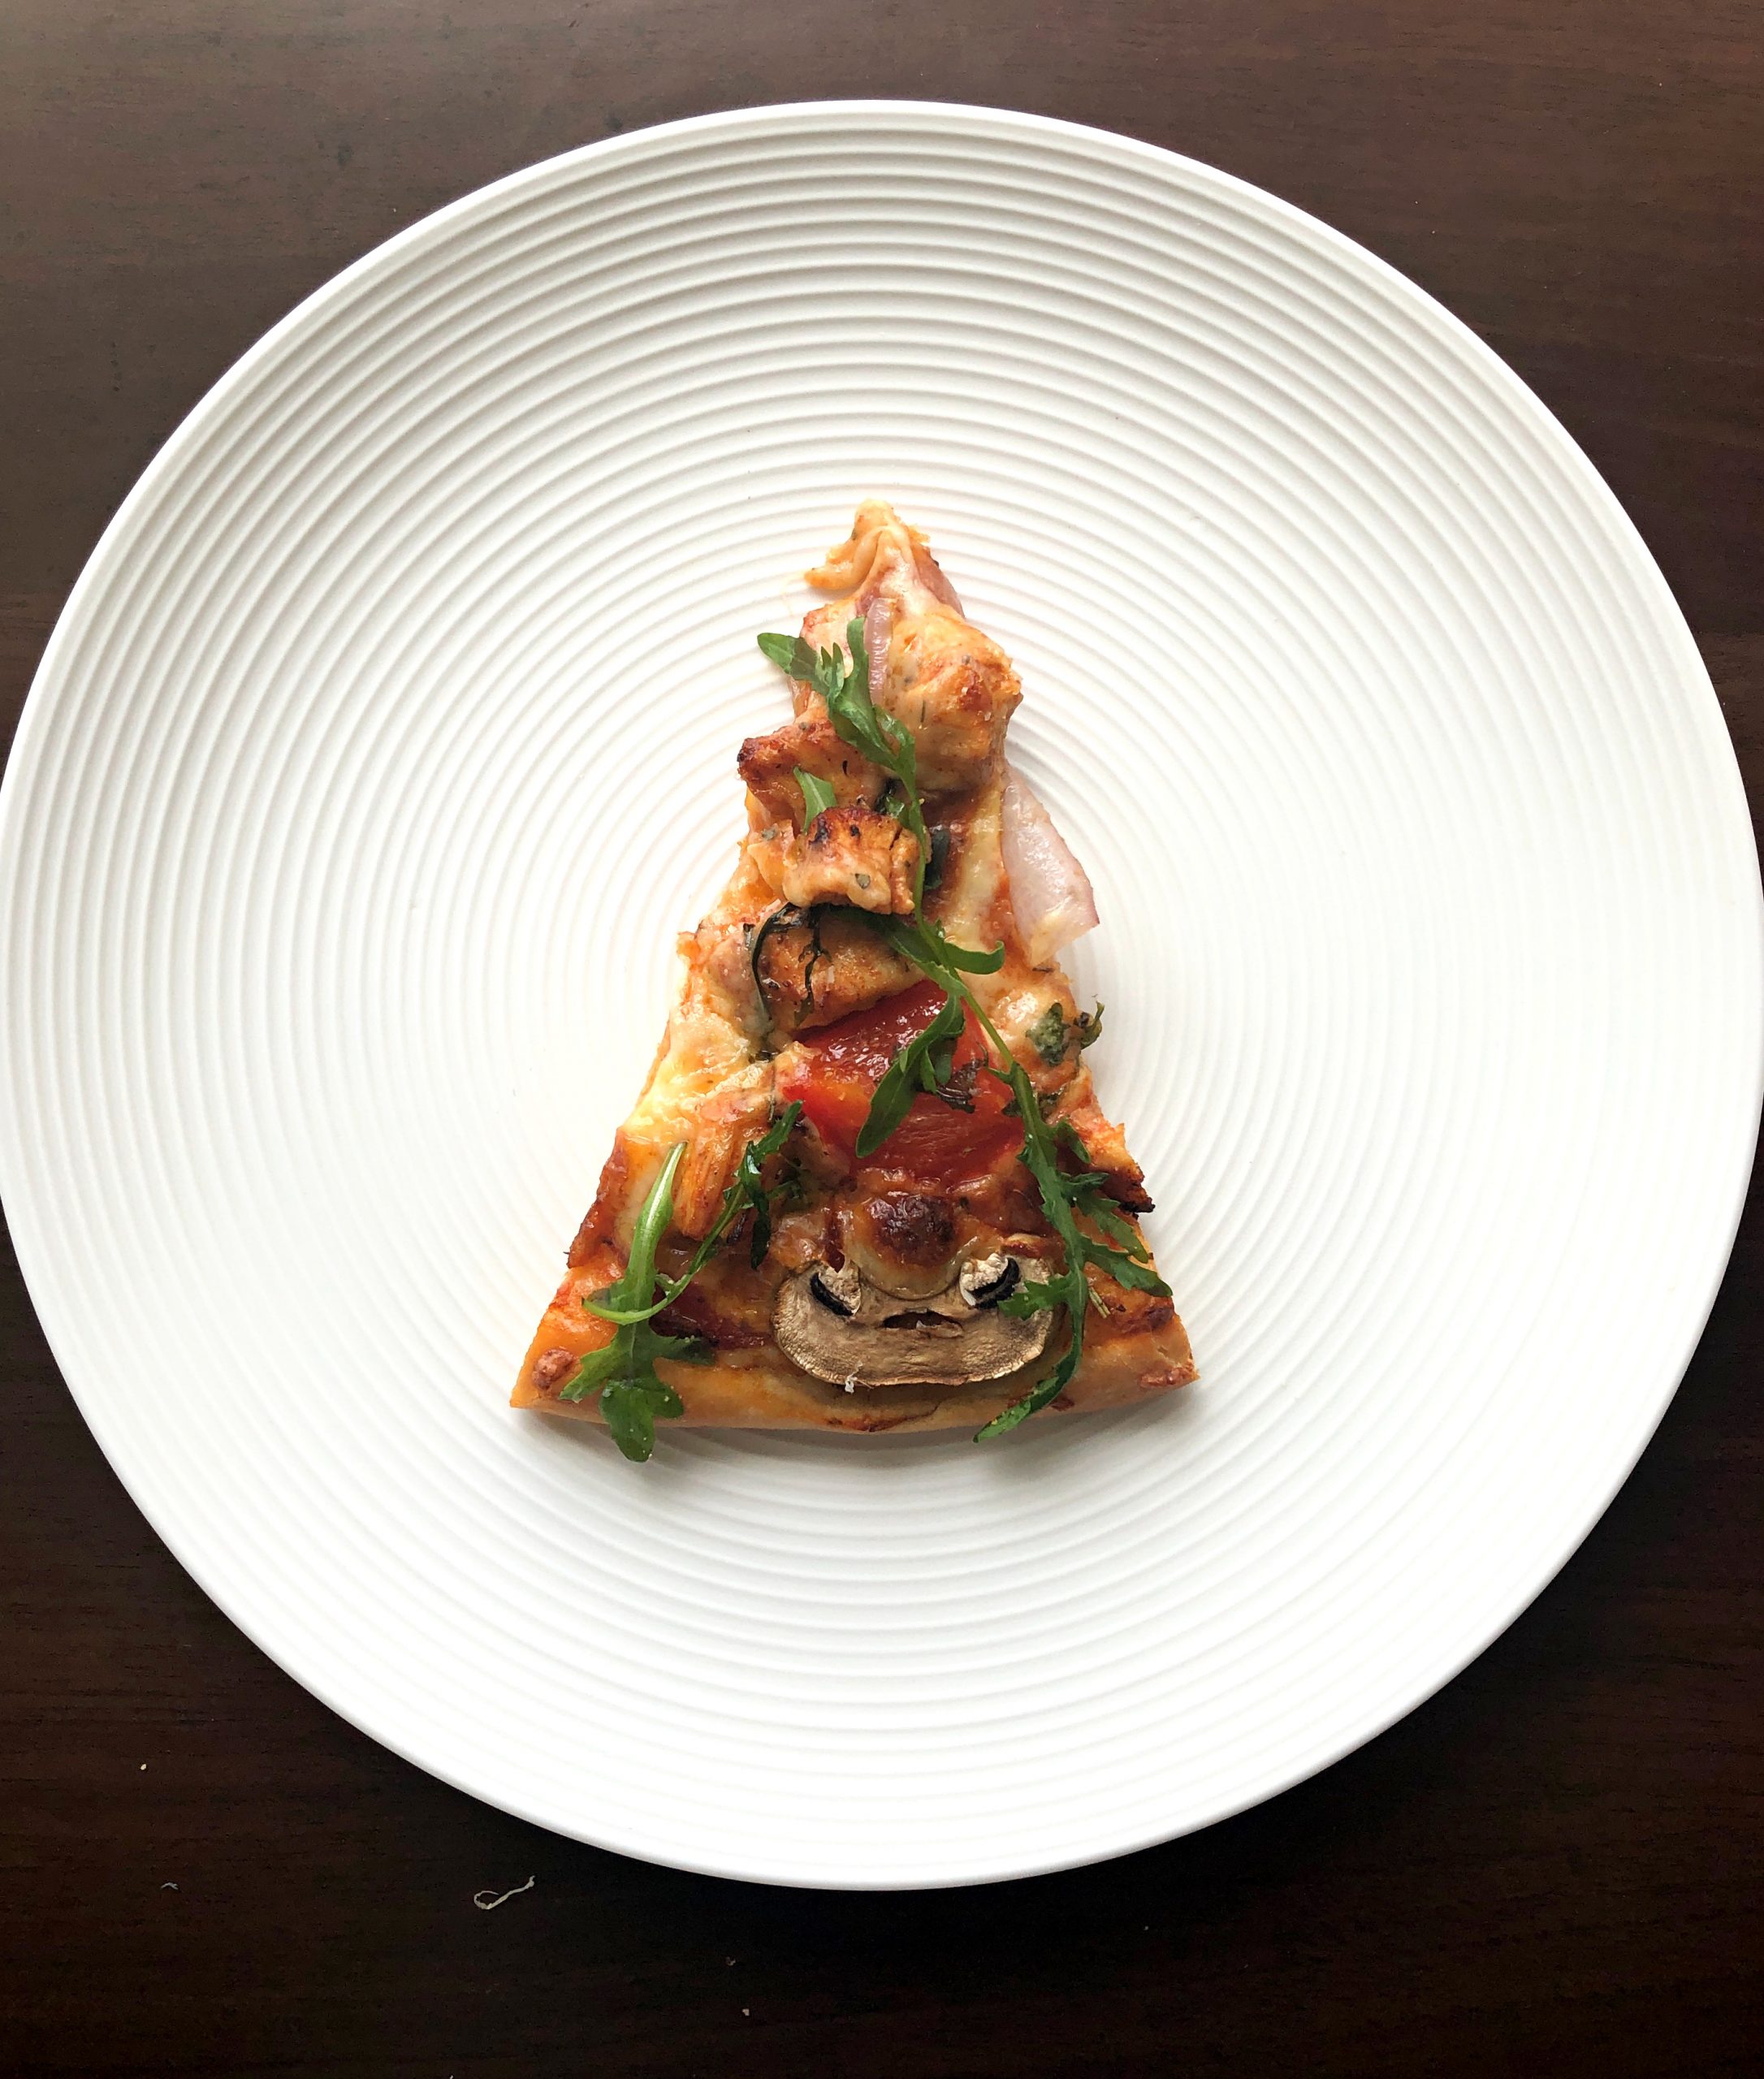
- Remove from the oven, use a pizza cutter to divide the pizza into 4 or 8 pieces. Garnish with fresh basil or arugula and serve immediately.
Notes
Boneless chicken - marinated in salt n pepper or in a chicken tikka marinade and lightly tossed in a frying pan before shredding
Sliced olives
Pepperoni, ham or bacon rashers
Broccoli (pre boiled till tender for 5 mins in boiling water)
Mozzarella cheese for the stringy cheese effect
Parmesan or cheddar cheese for the sharp taste
Feta or goat cheese if you like it or even paneer
Herbs like rosemary or thyme or just use mixed herbs
Disclaimer
The nutritional values are only indicative.
Hi shireen,
Can this be made without an oven??
Hi Neetha,
I have seen people making it on a tawa. If you can pre-heat a non-stick tawa very well (covered) and then place your pizza on it and cover it again, I am sure you can. However, I am not sure of the time taken etc as I have not tried making it without an oven
Such an amazing and awesome recipe. And true to its name, it is actually a no fuss Pizza. So so easy to make and so so delicious!!! Tried it several times and never failed. Thanks Shireen!!!
Thank you so much for your kind words Andrea! So glad to know that you enjoyed this recipe so much!
Hi..can I make the pizzas in advance and then rebake them again. Will they be crispy again
Thanks.
Hi, I have never tried making them in advance. They taste best when baked & served fresh