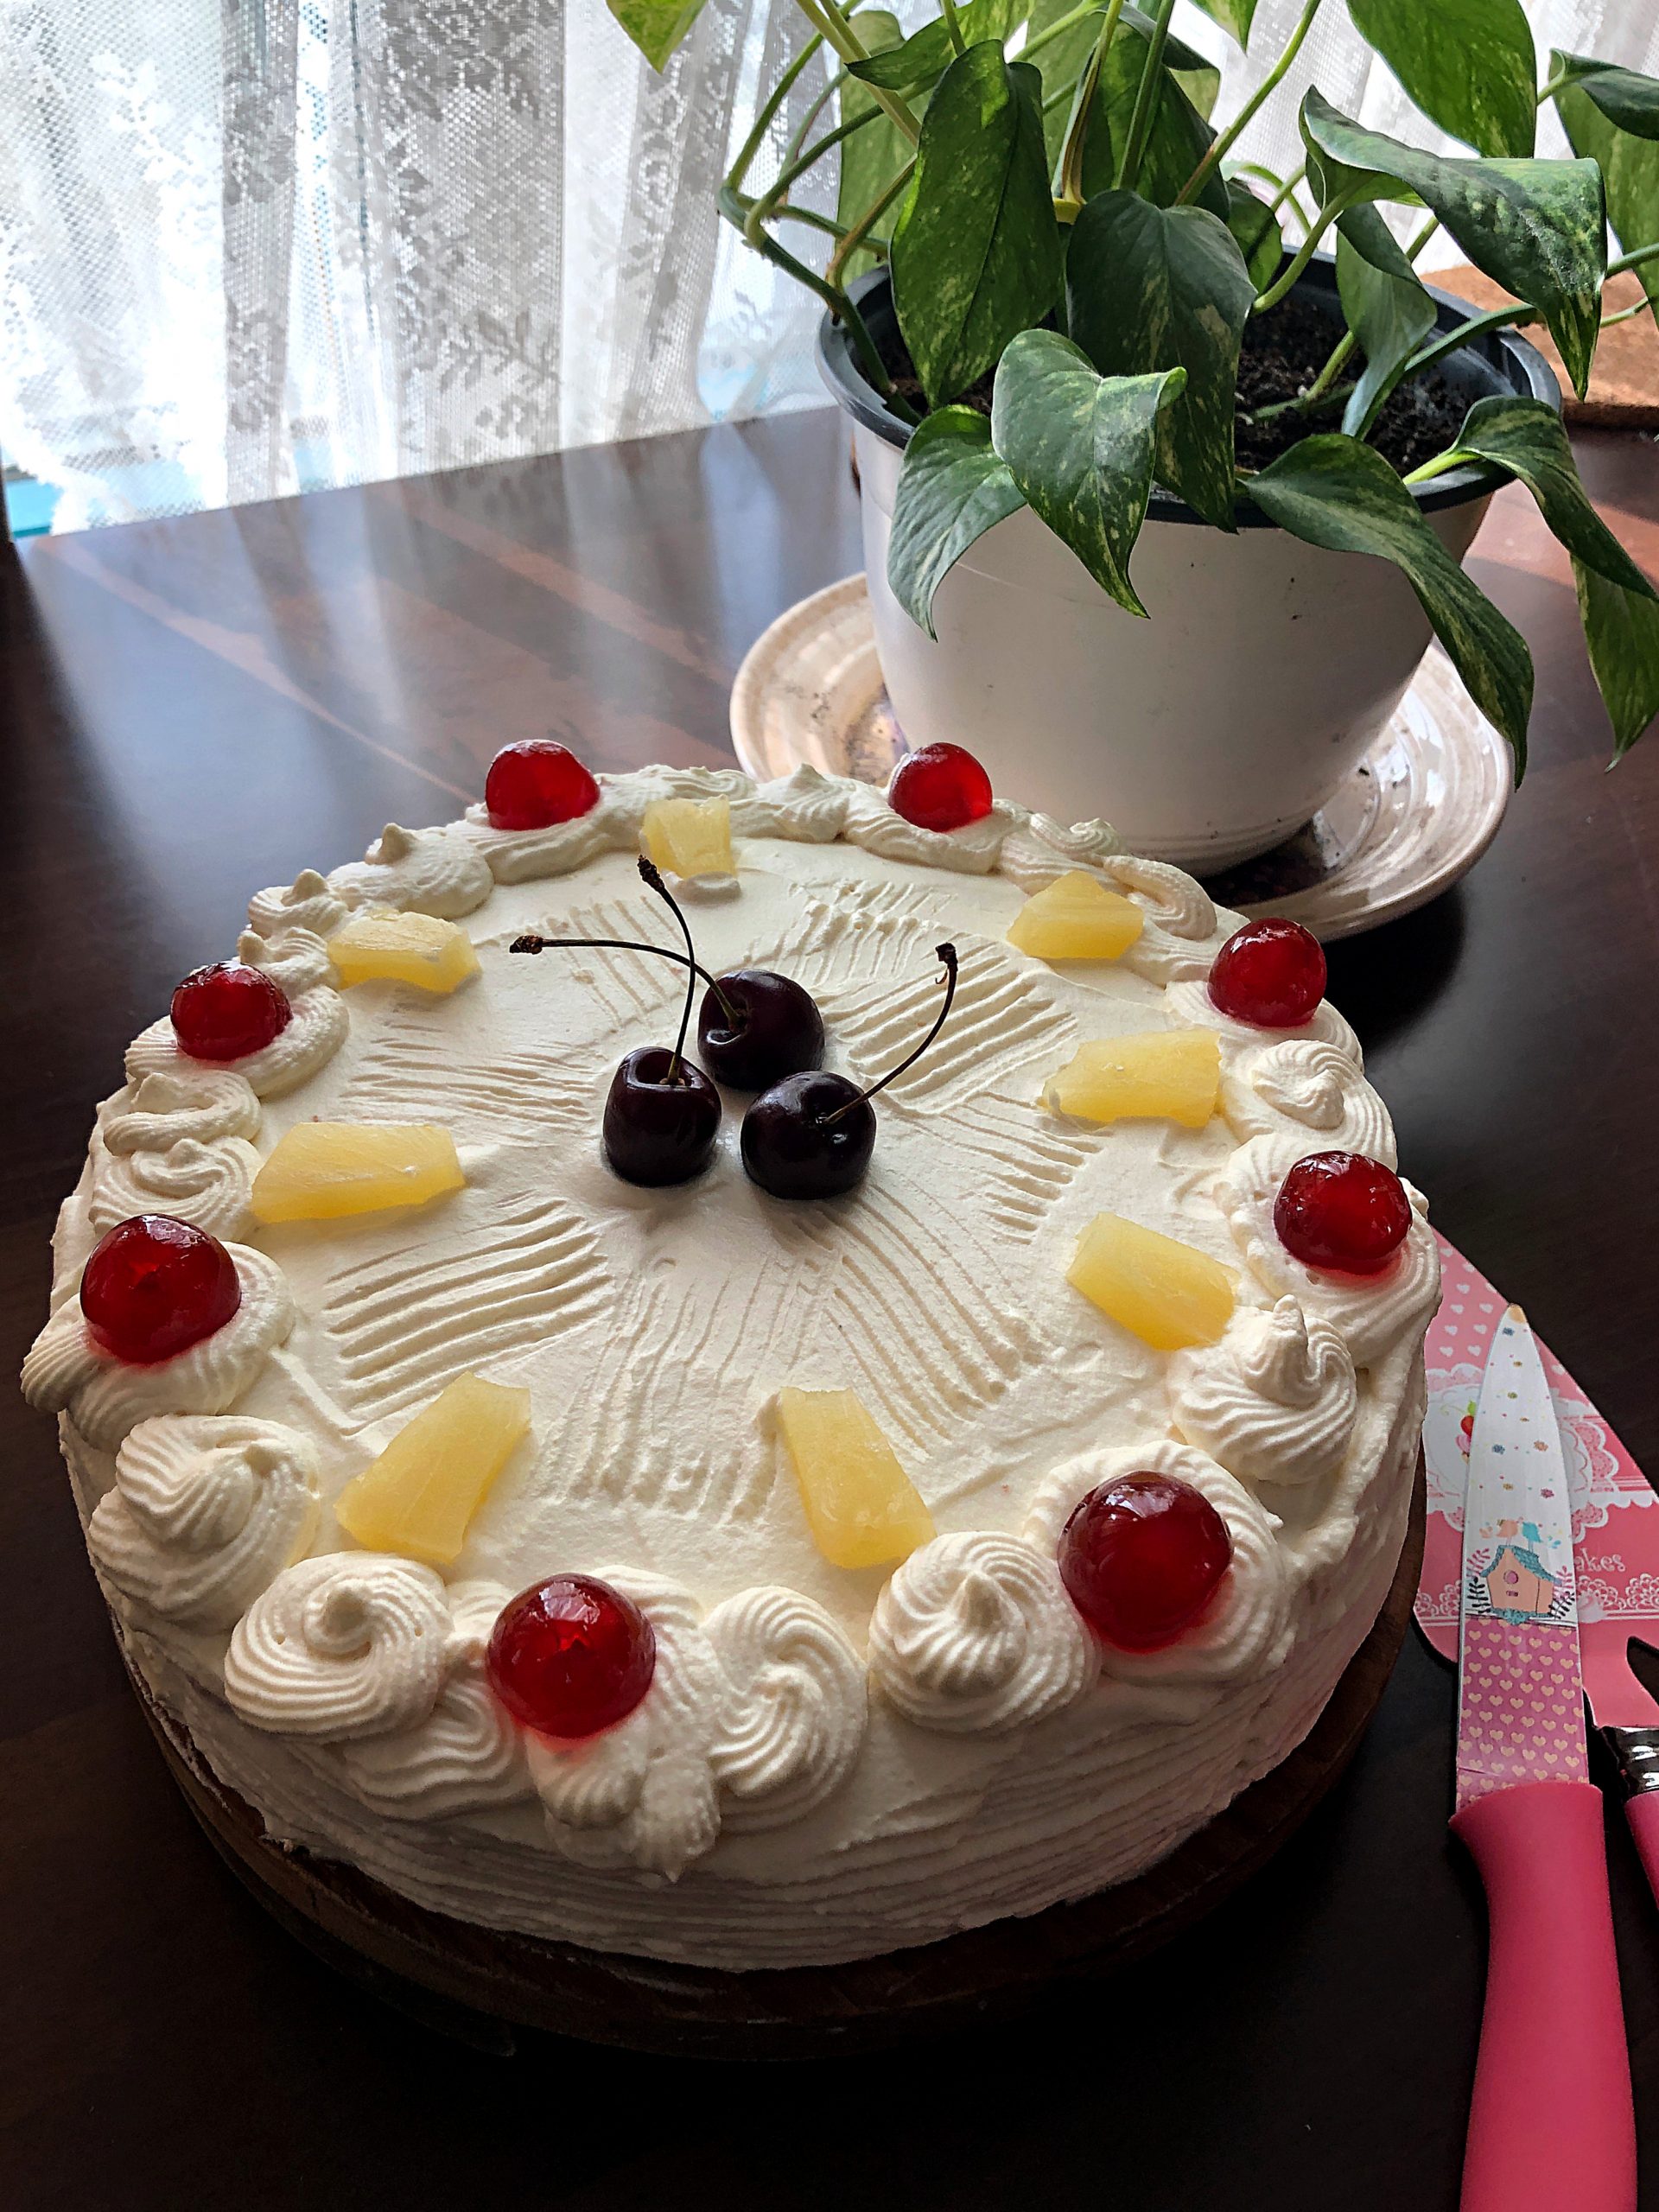
A deliciously moist, pineapple flavoured pastry is waiting for you today. Hello folks! How many of you like this kind of a classic, bakery style pastry, also called as pastry cake. Well, I am sure this cake reminds you of your own experiences with pastries that were sold in bakeries in India (or perhaps elsewhere too). Pastries were rich, moist and expensive during my growing up years and they adorned the glass cake display of almost every bakery worth its salt. Pineapple and Black Forest used to be my favourite flavours. The other most common flavours were coffee, butterscotch and chocolate. Mango made its appearance during the season. However, not all pastries tasted that good. Most of them used imitation cream and you could tell the difference, however, did we care? No siree! I always believed that pastries were meant for bakeries and professionals. Why? Well, because, decorating cakes is not my biggest strength. While I love to oggle at beautifully decorated cakes I somehow do a bad job of it if I attempt it. Now that should explain why you don’t find highly decorated cakes on my blog. I usually attempt making simple, rustic cakes that are the no frills kind. Plus my family does not like heavy frosting on cakes. Now, why did I end up making this cake then? Well, you see my man celebrated his birthday earlier this month and when I asked him what kind of a cake he wanted he said he would love to have a pineapple pastry. He is not a chocolate lover like my son & myself and so my task was challenging. I had never made a pastry cake before and decorating did not come easy to me. However I took this challenge with a smile.
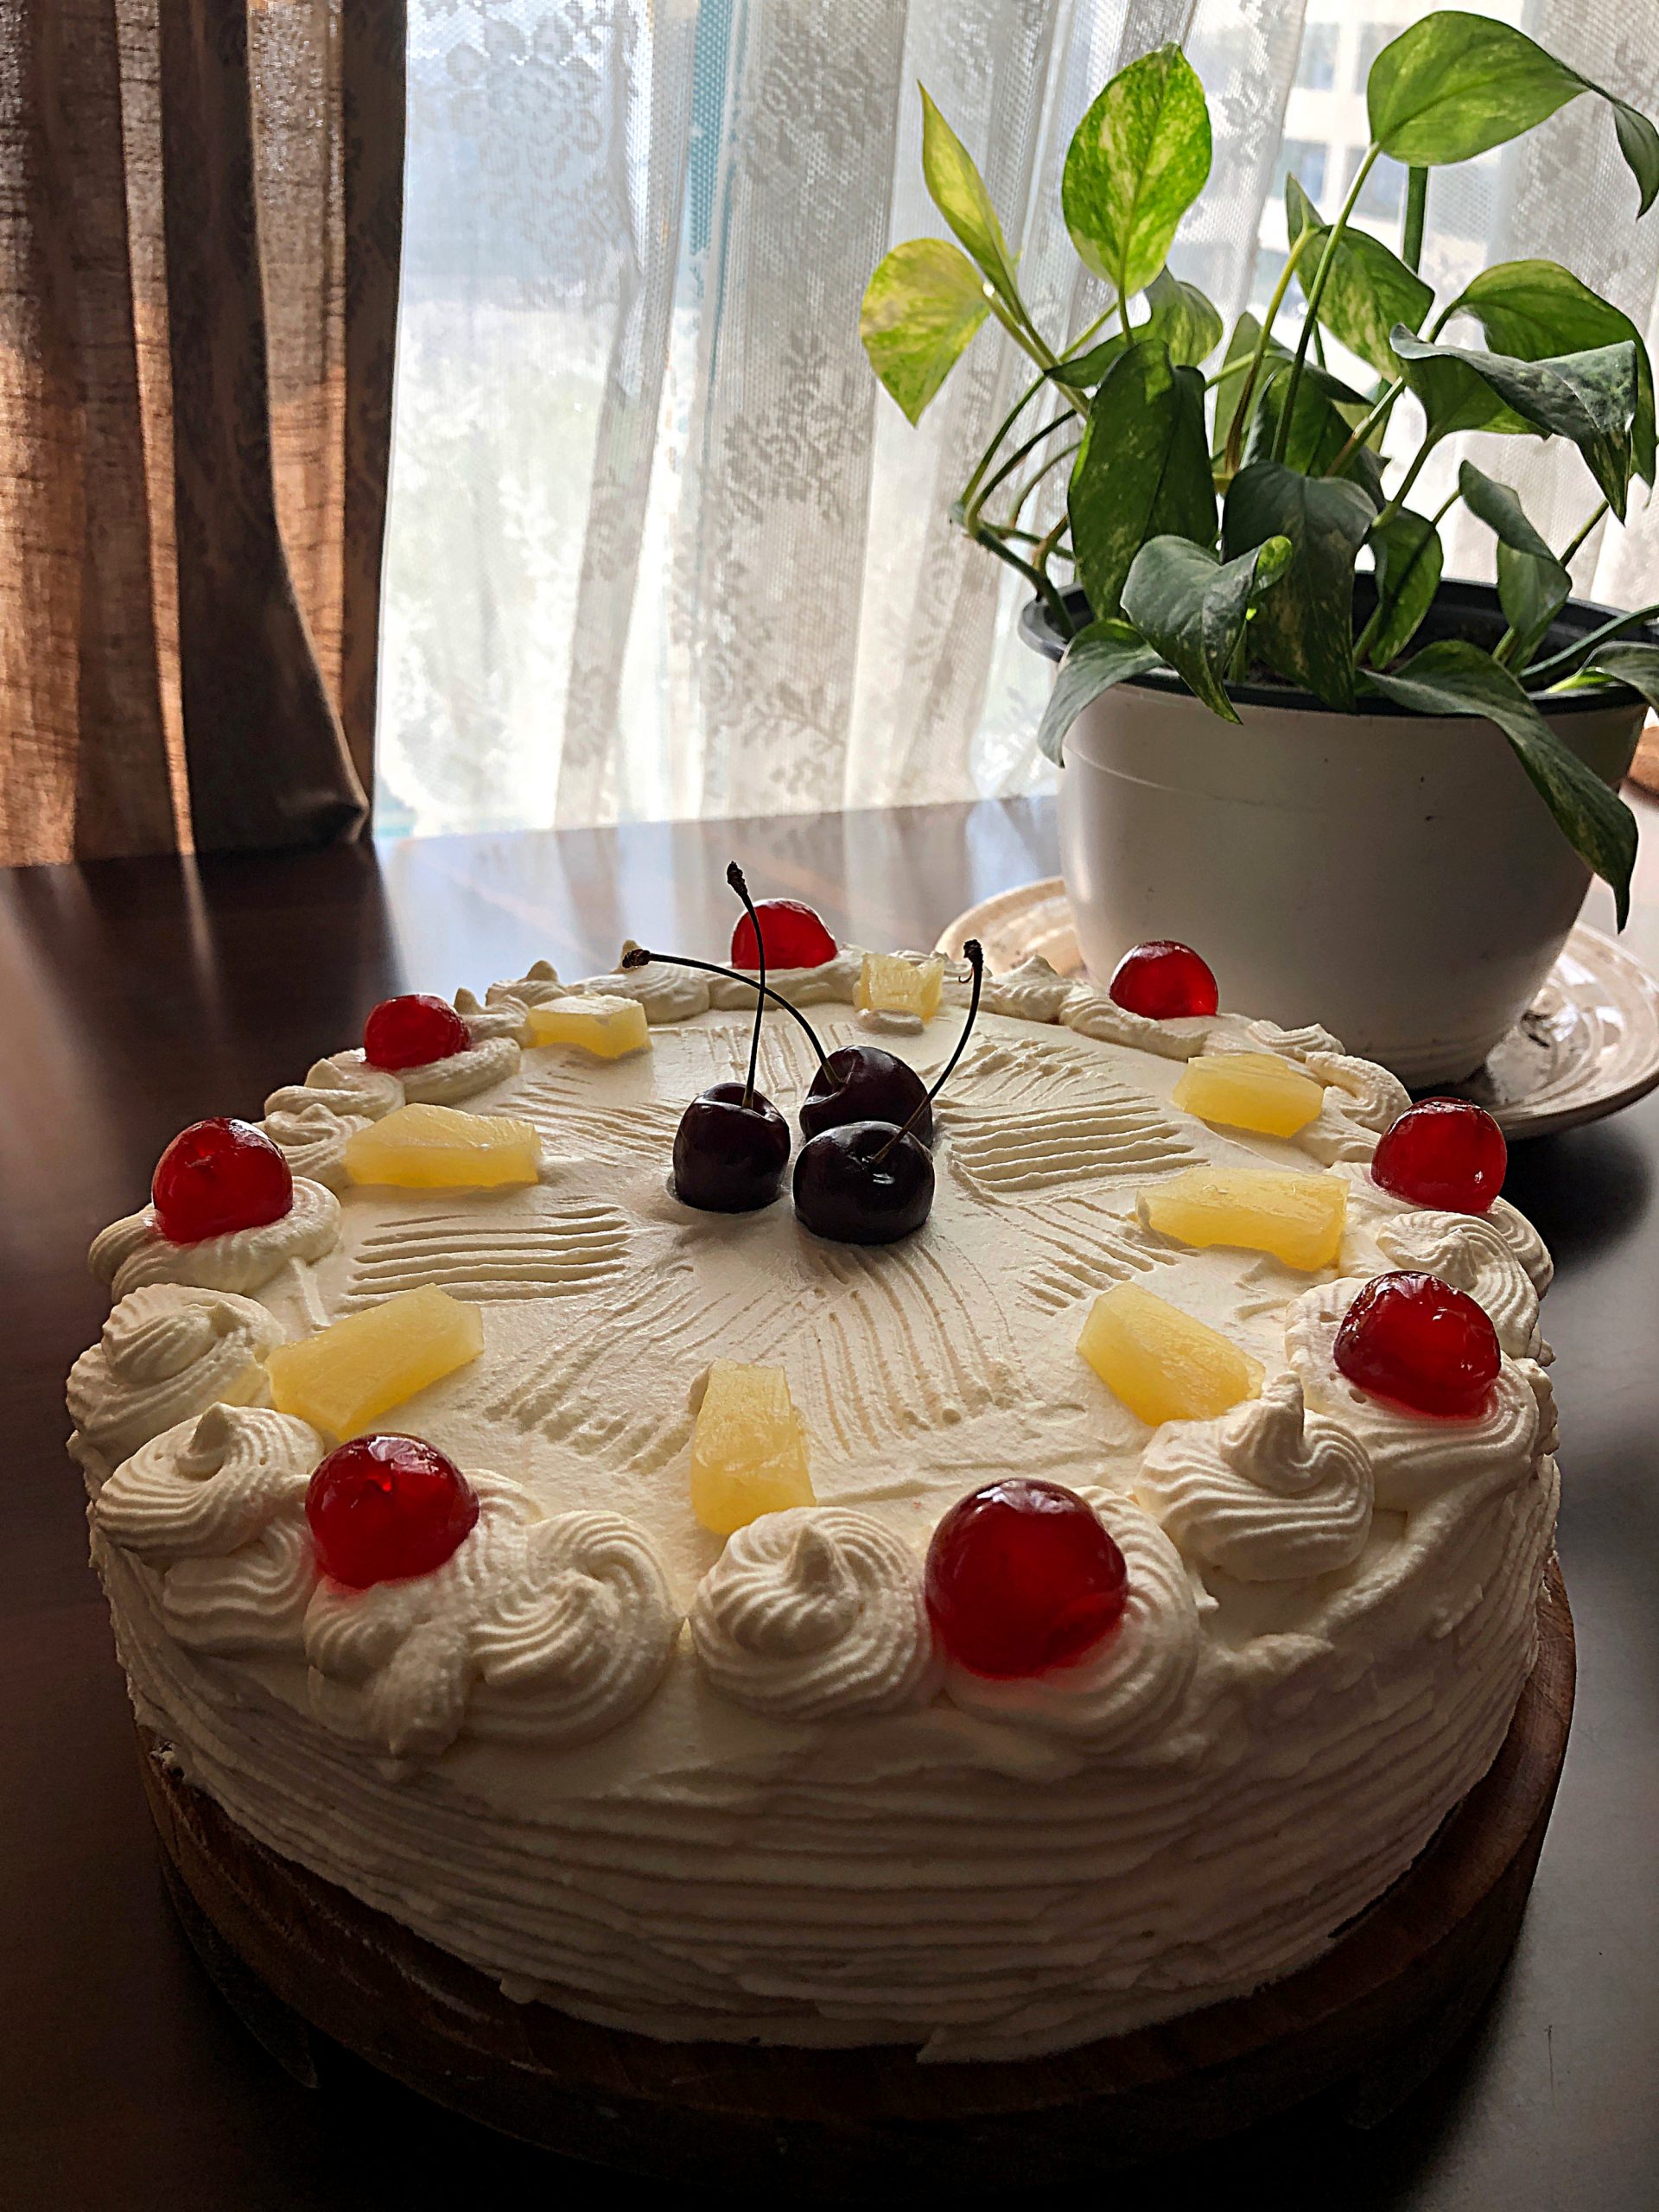
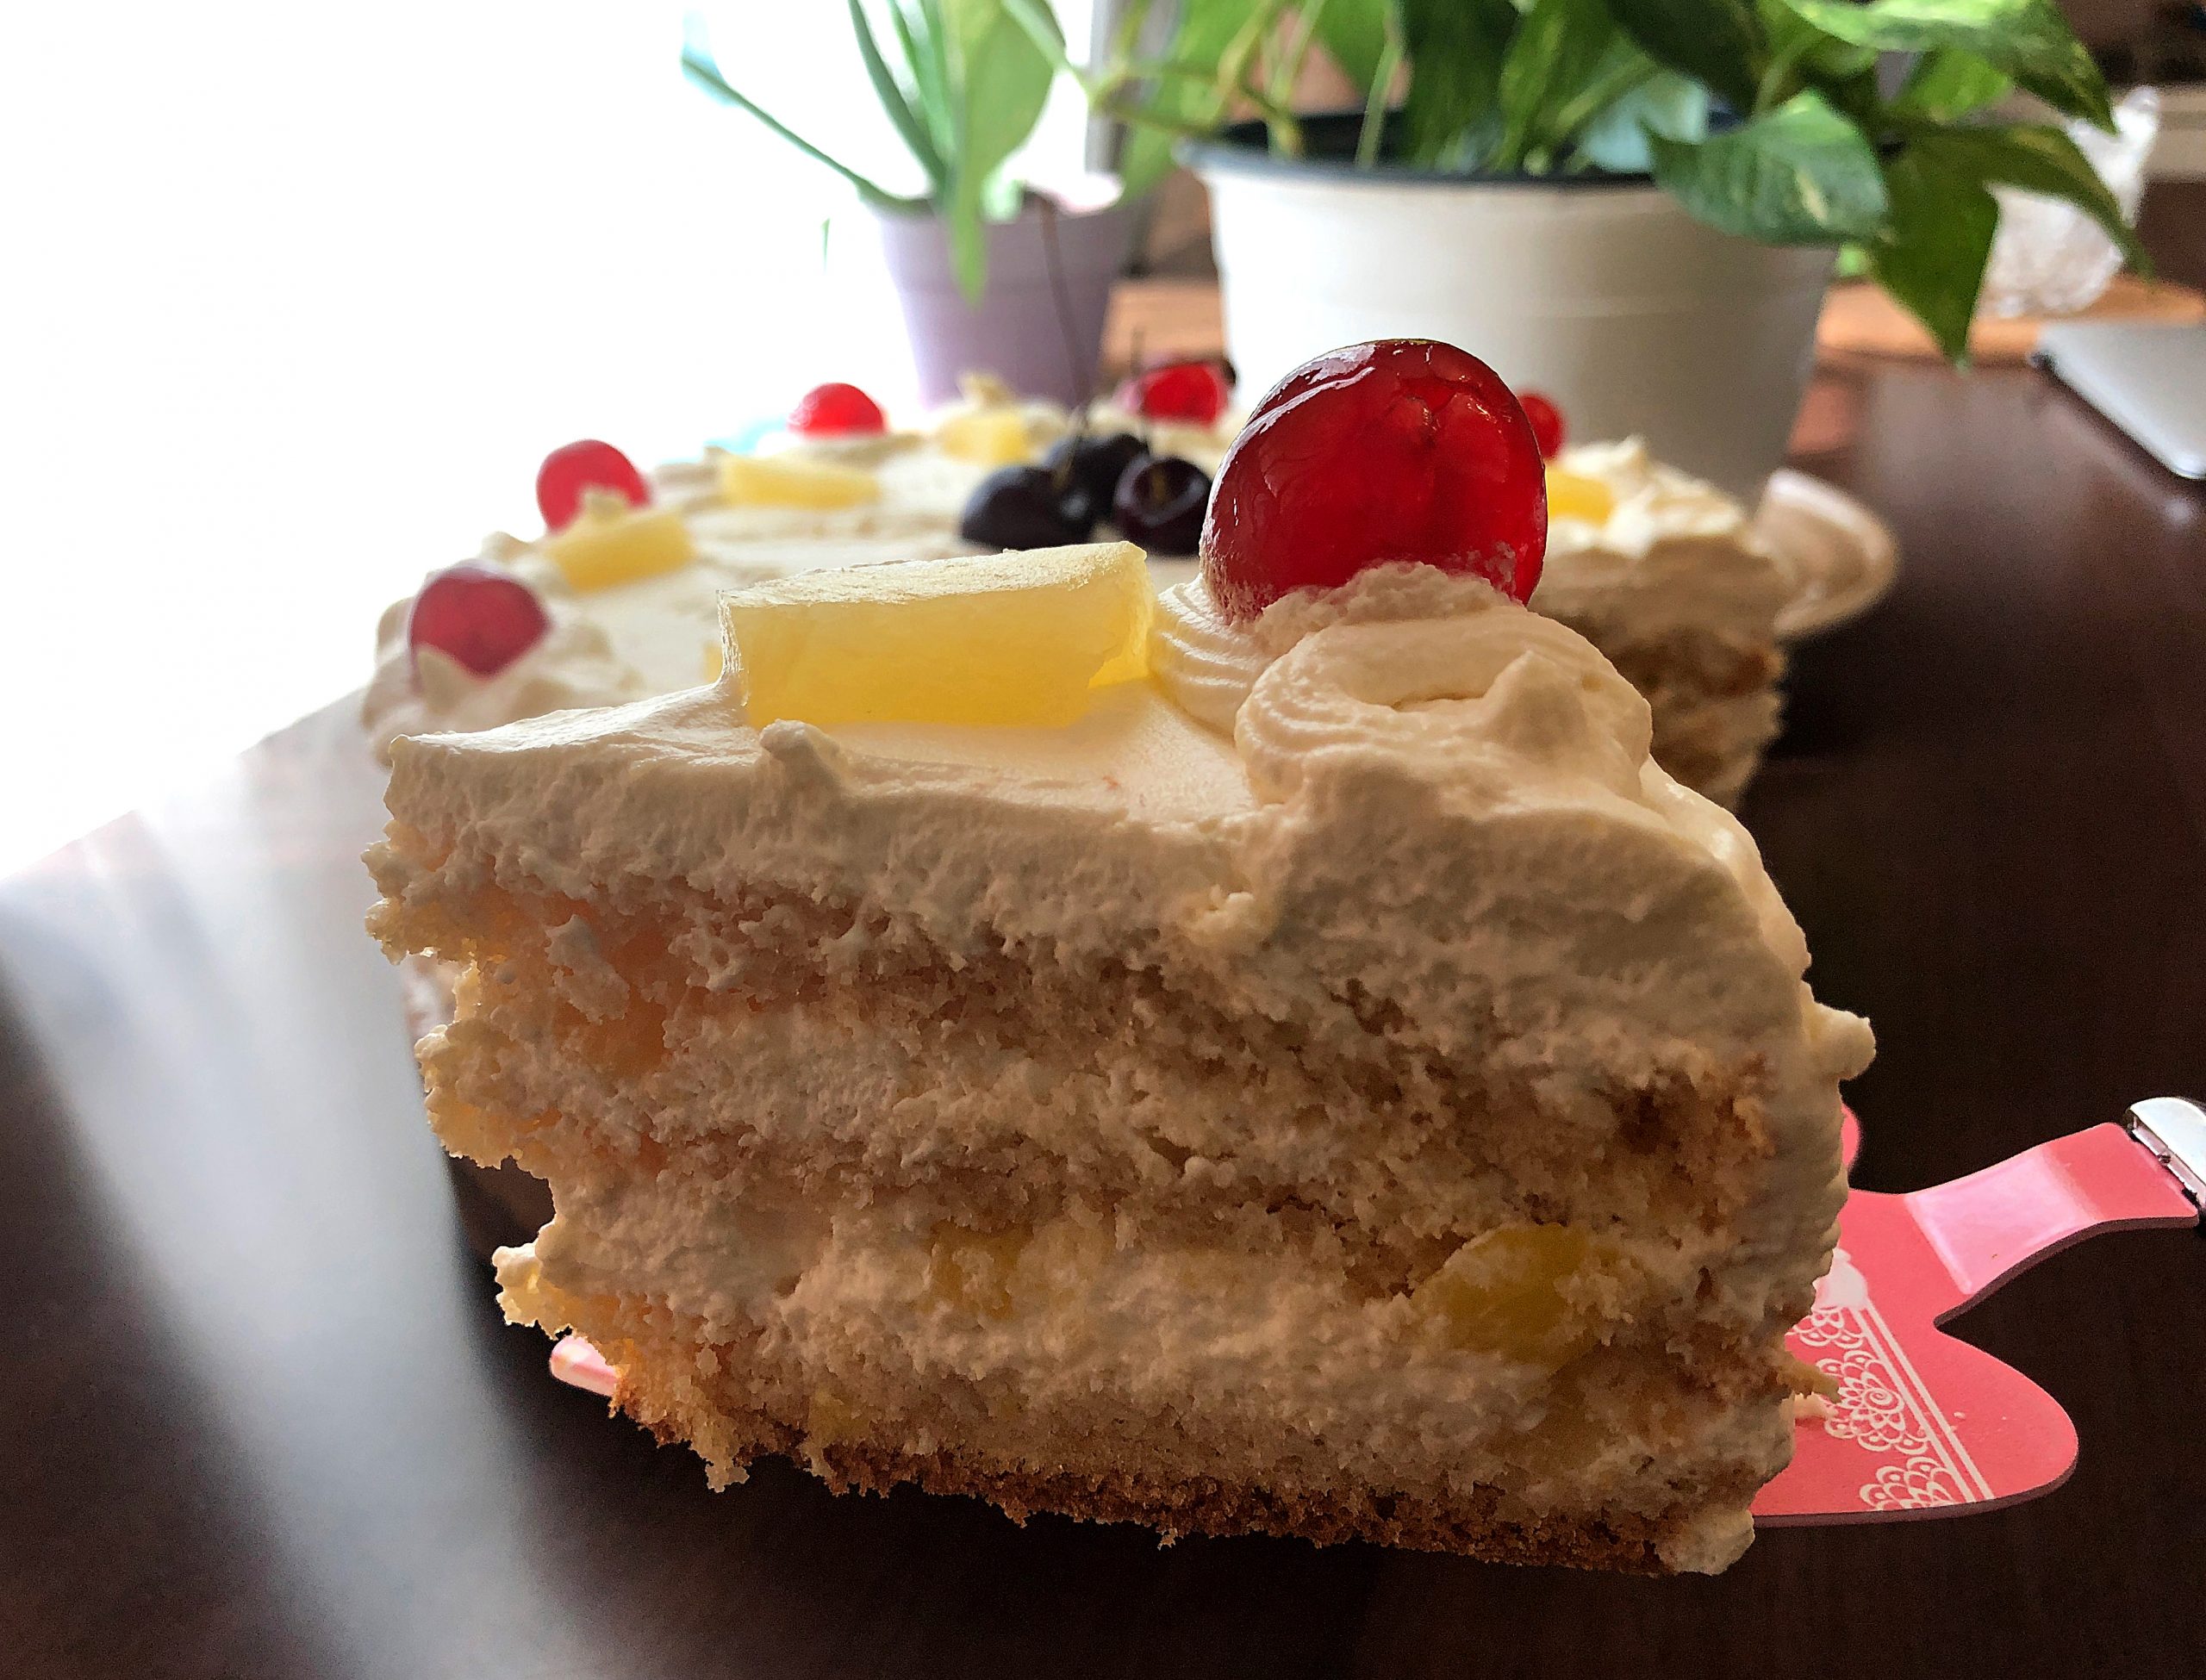
After searching umpteen recipes online and not finding anything suitable I decided to use my own pineapple cake recipe and transform it into a pastry. Just when I was drawing up the measurements I came across this recipe which I eventually used. I made a few minor changes and was very happy with the result. The only grouse I had was that I forgot to trim the brown bits off the base layer of the cake and so we had to deal with a few tough bites but that was okay. The other problem I had was with the whipped cream. The weather outside is SO HOT here in Dubai that the sun’s rays threatened to melt all of my cream halfway through this fiasco. The cake that was already filled and layered began to slide and looked lopsided. The rosettes on the top lost shape. I had to abandon any further decorating escapades and quickly push the cake, stand and all, inside the fridge until the cream firmed up a bit and became worthy of the cake cutting ceremony. Phew!
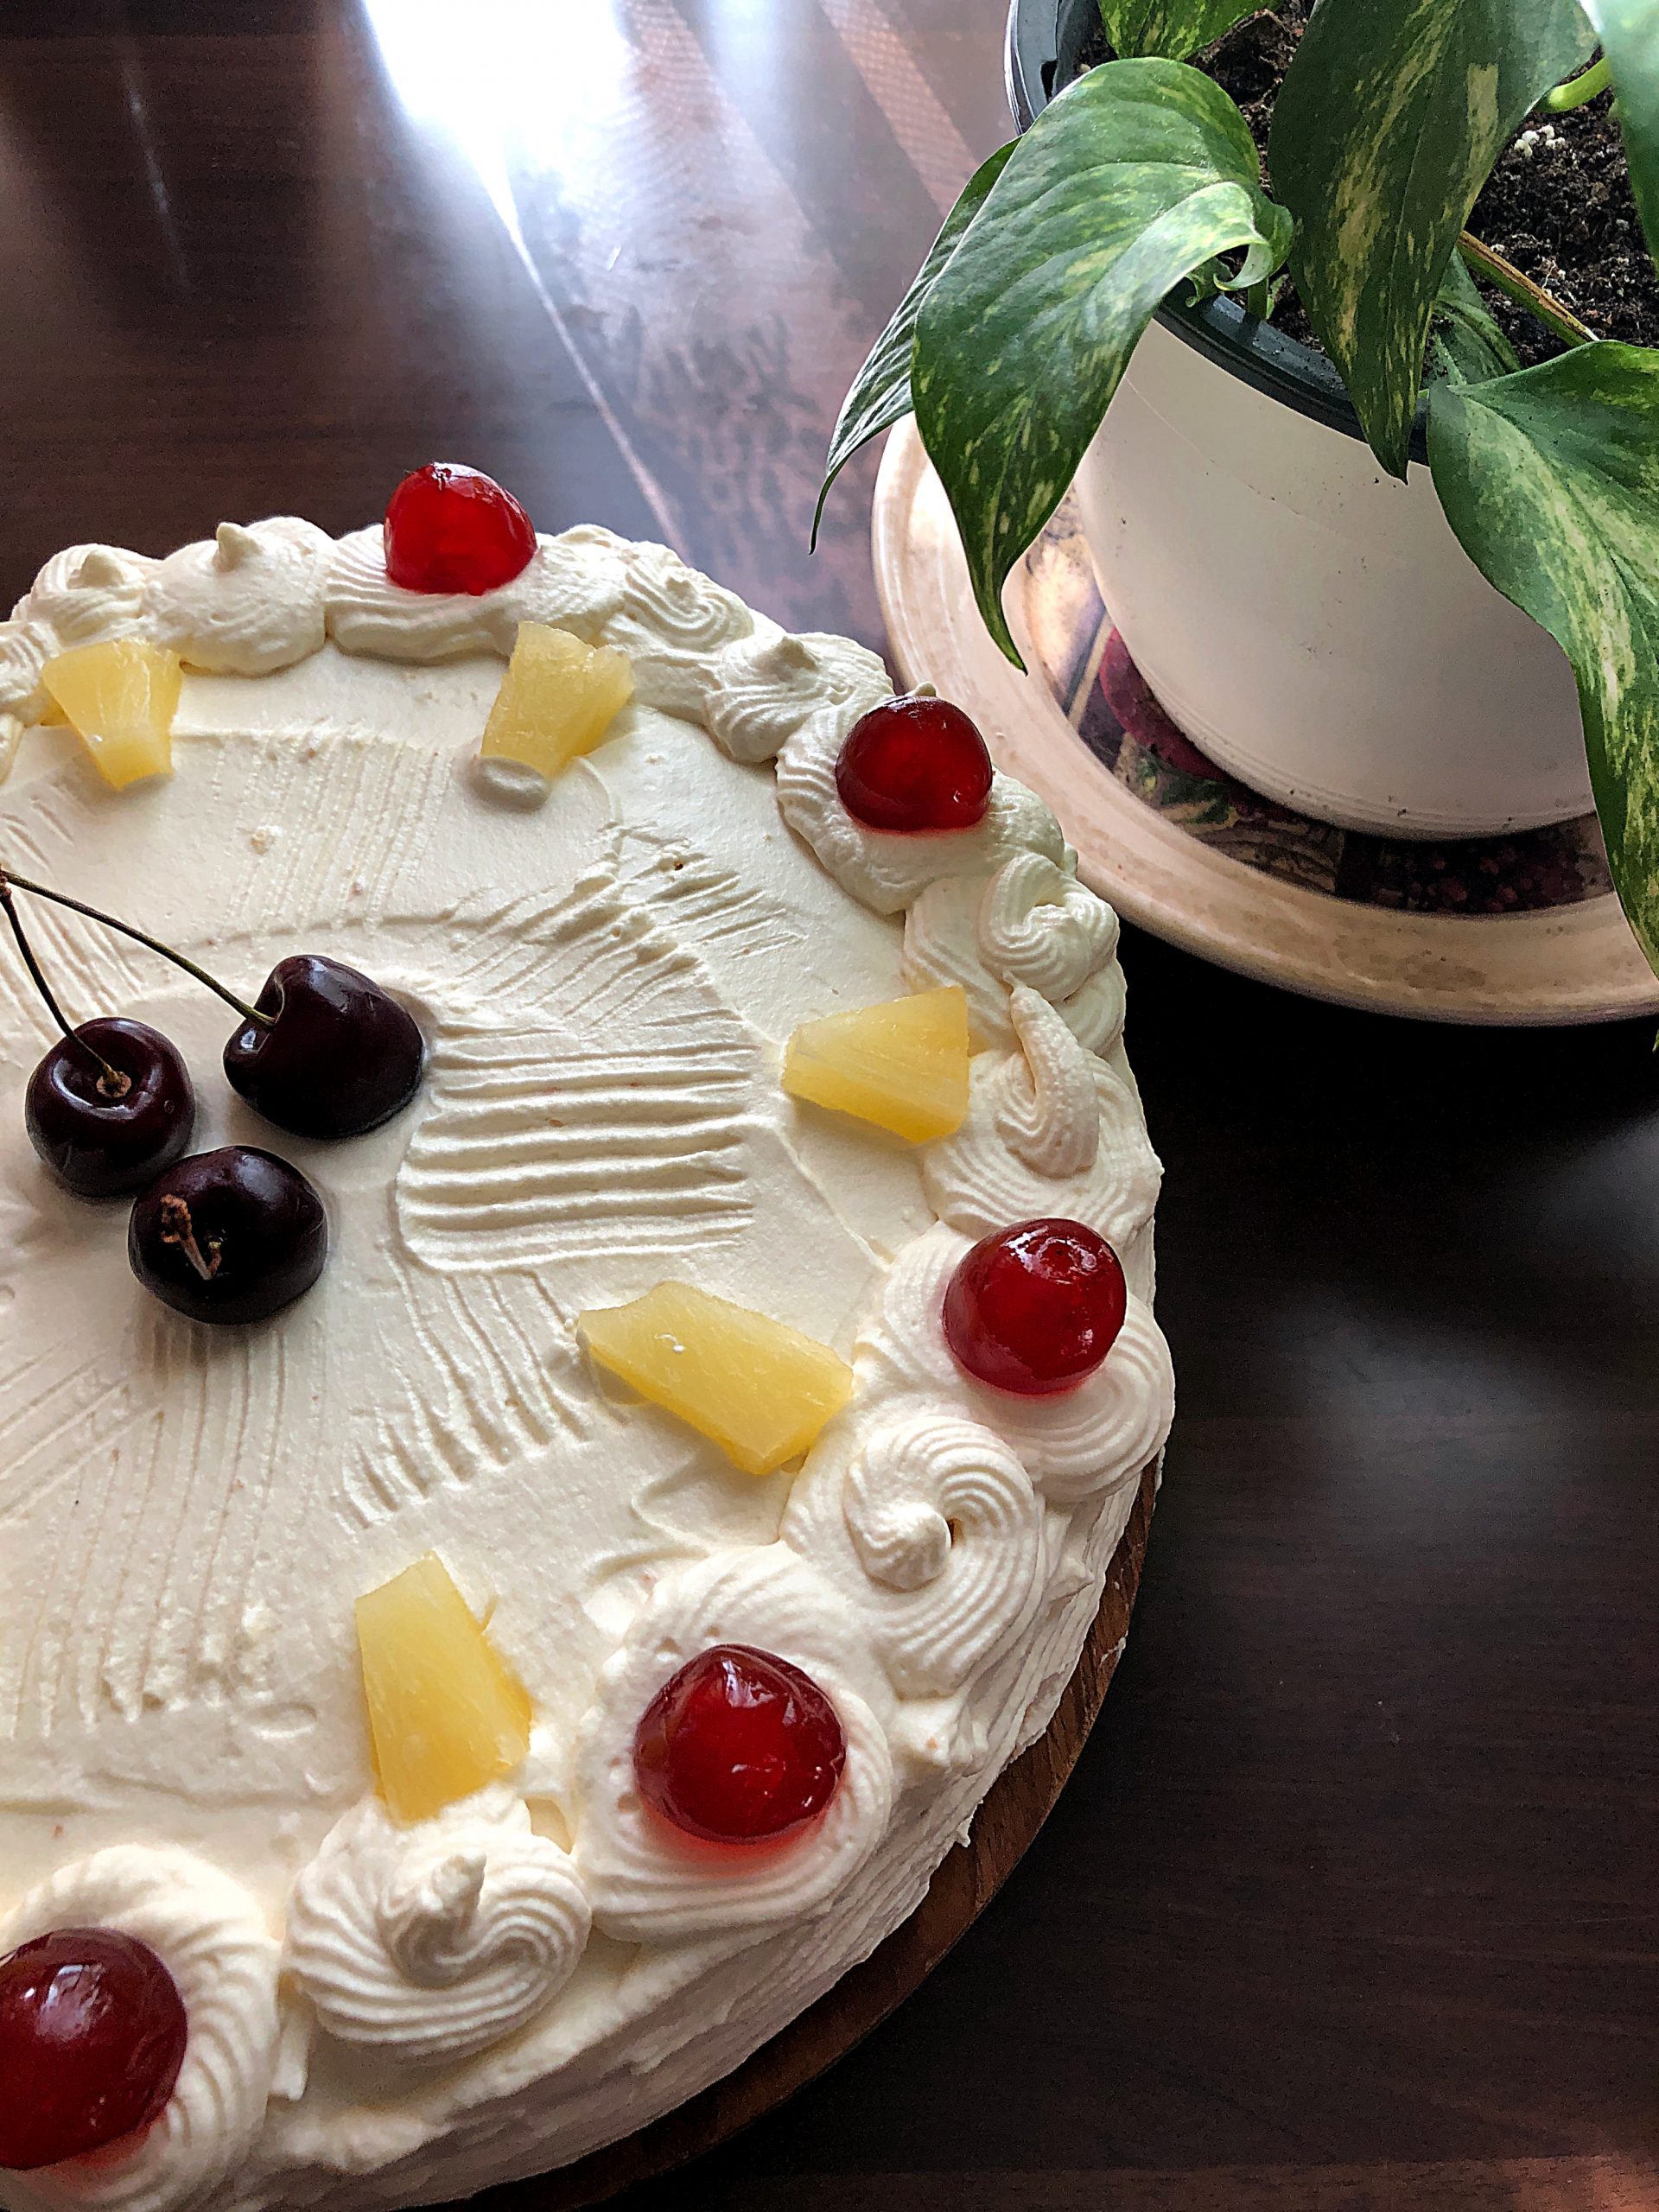
When I shared the pictures on my social media everybody was enthralled. They forgave my bad decoration and said that they wanted to have the recipe. My good friend Preethi suggested that I share it on the blog for the benefit of my readers and so I am obliging her. Had it not been for her I may not have reproduced this recipe here so thanks to her!
Preethi & I had a few chats about this cake and after she tried the cake she suggested that using buttermilk instead of water resulted in a more moist cake. So the next time I make this cake I am definitely using buttermilk. Adding pineapple juice will be a good option too, nevertheless, the pineapple essence can make up for the lack of it.
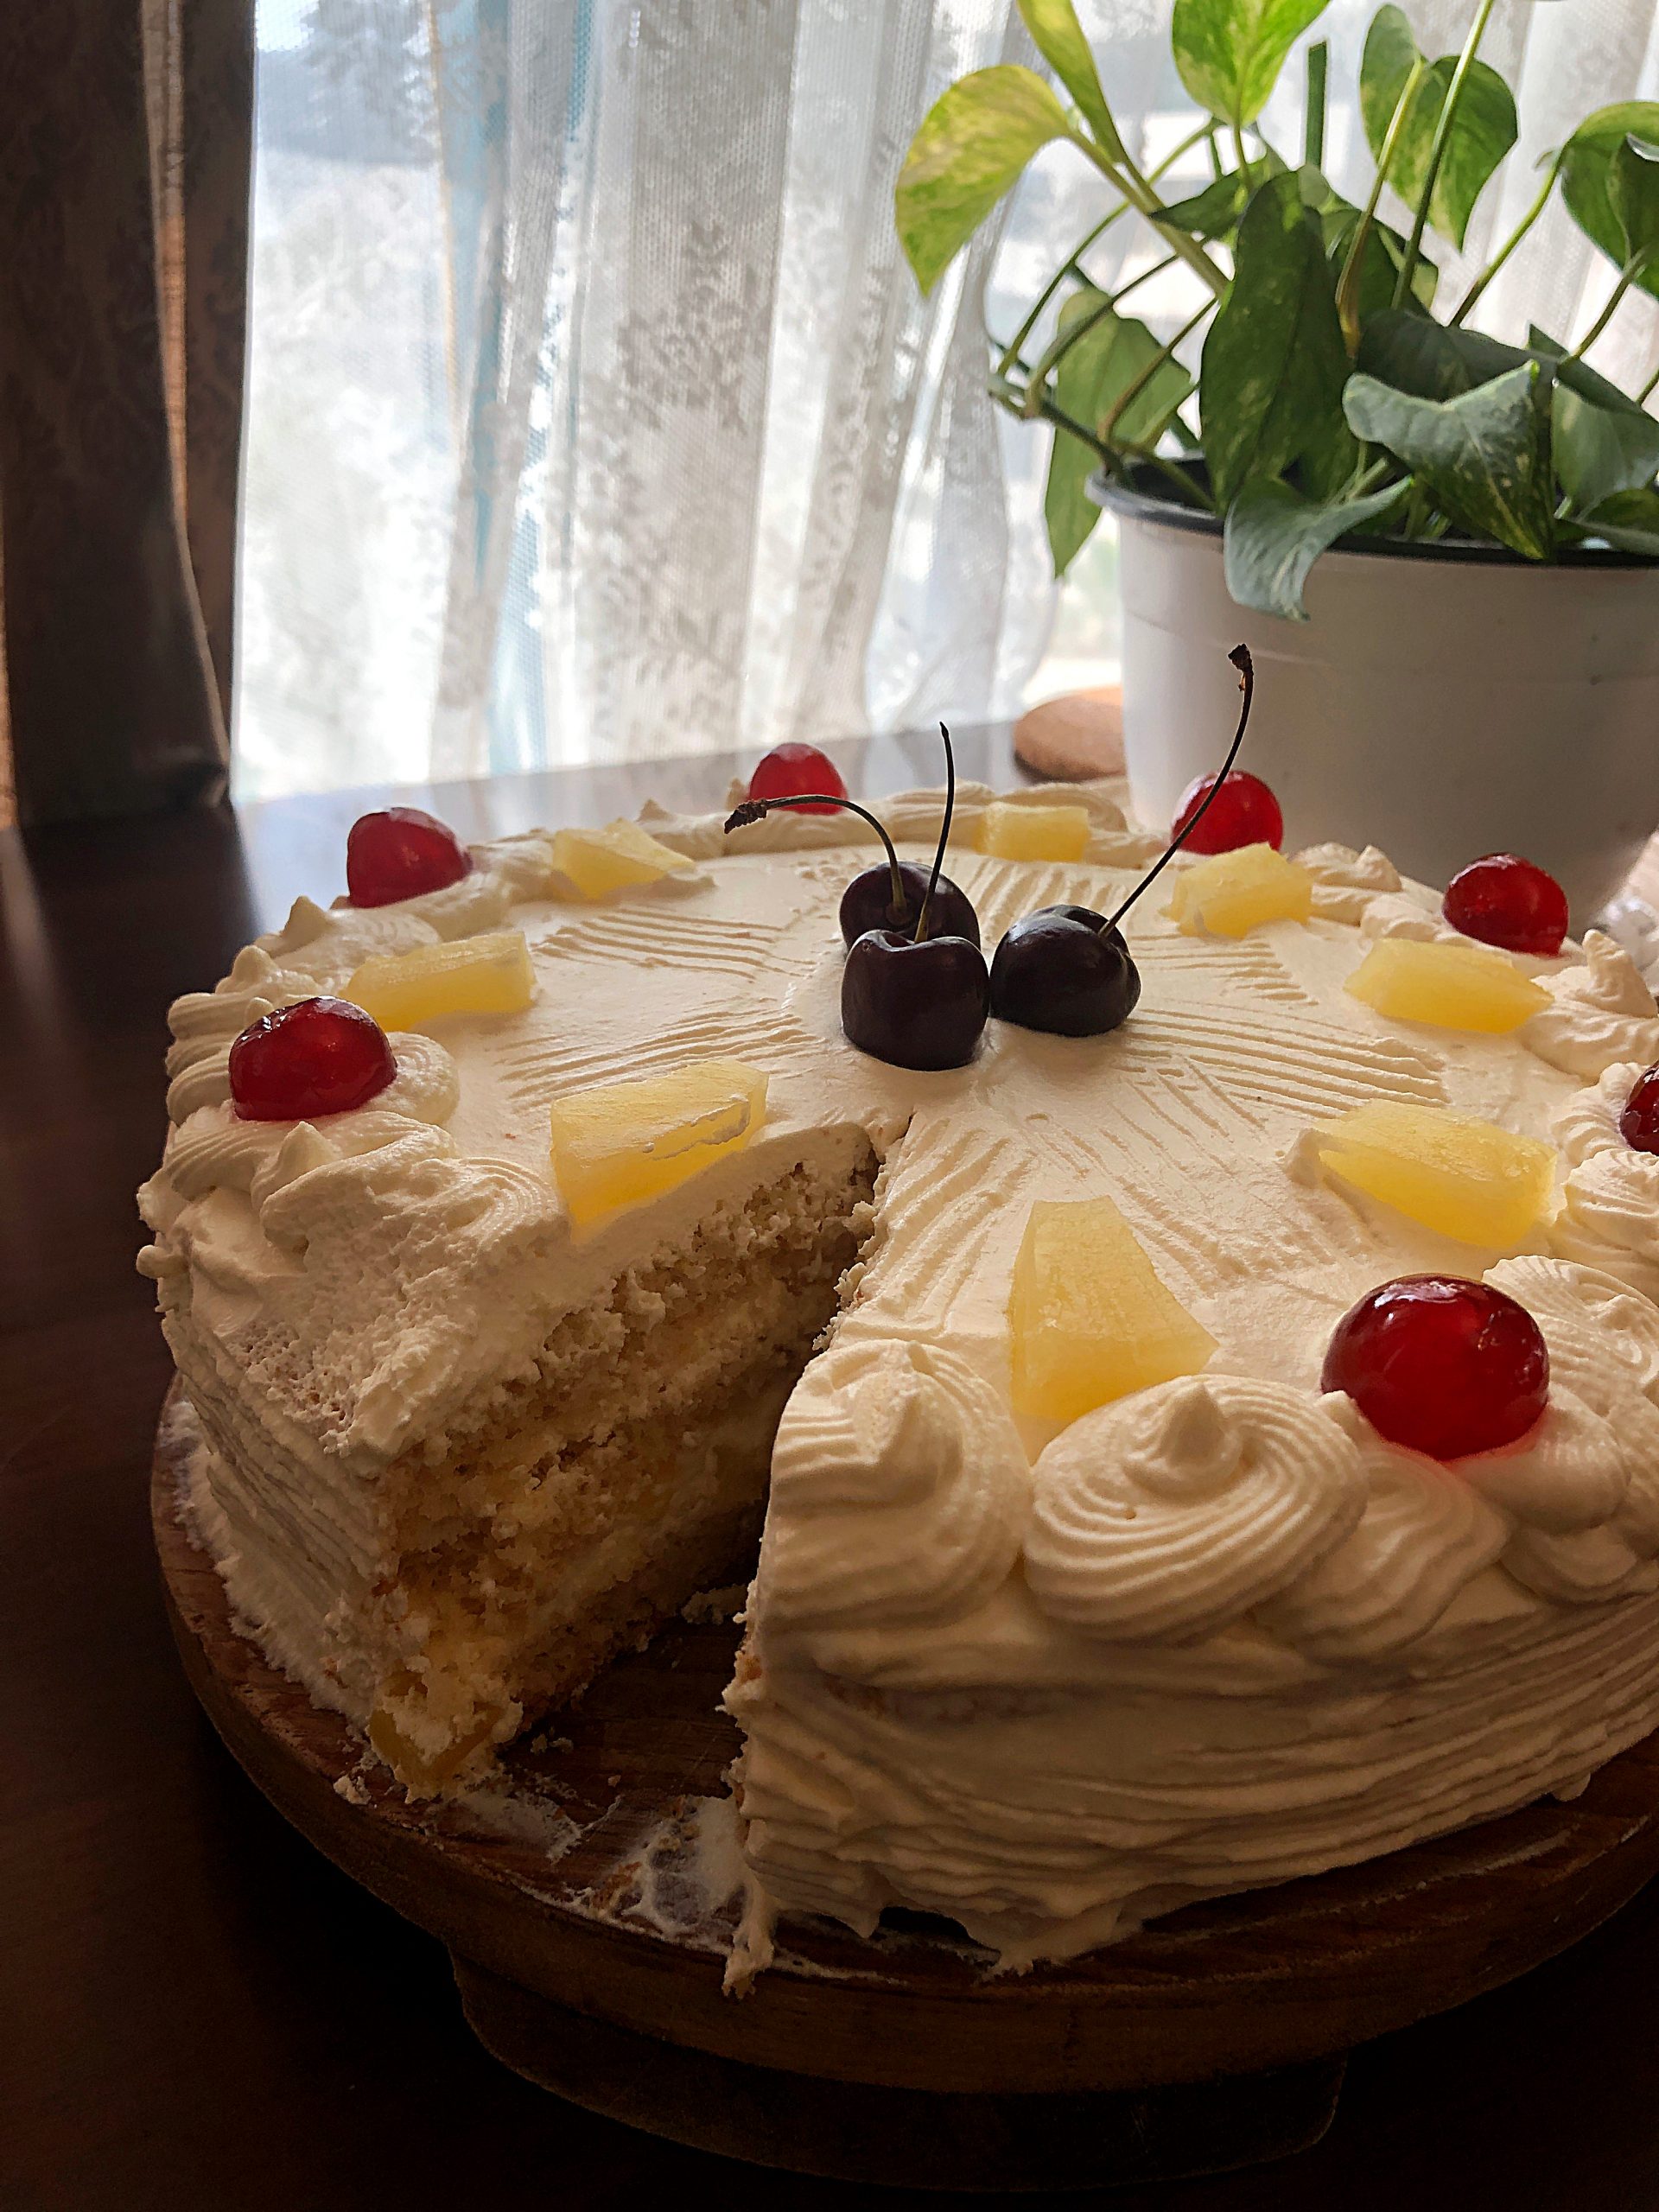
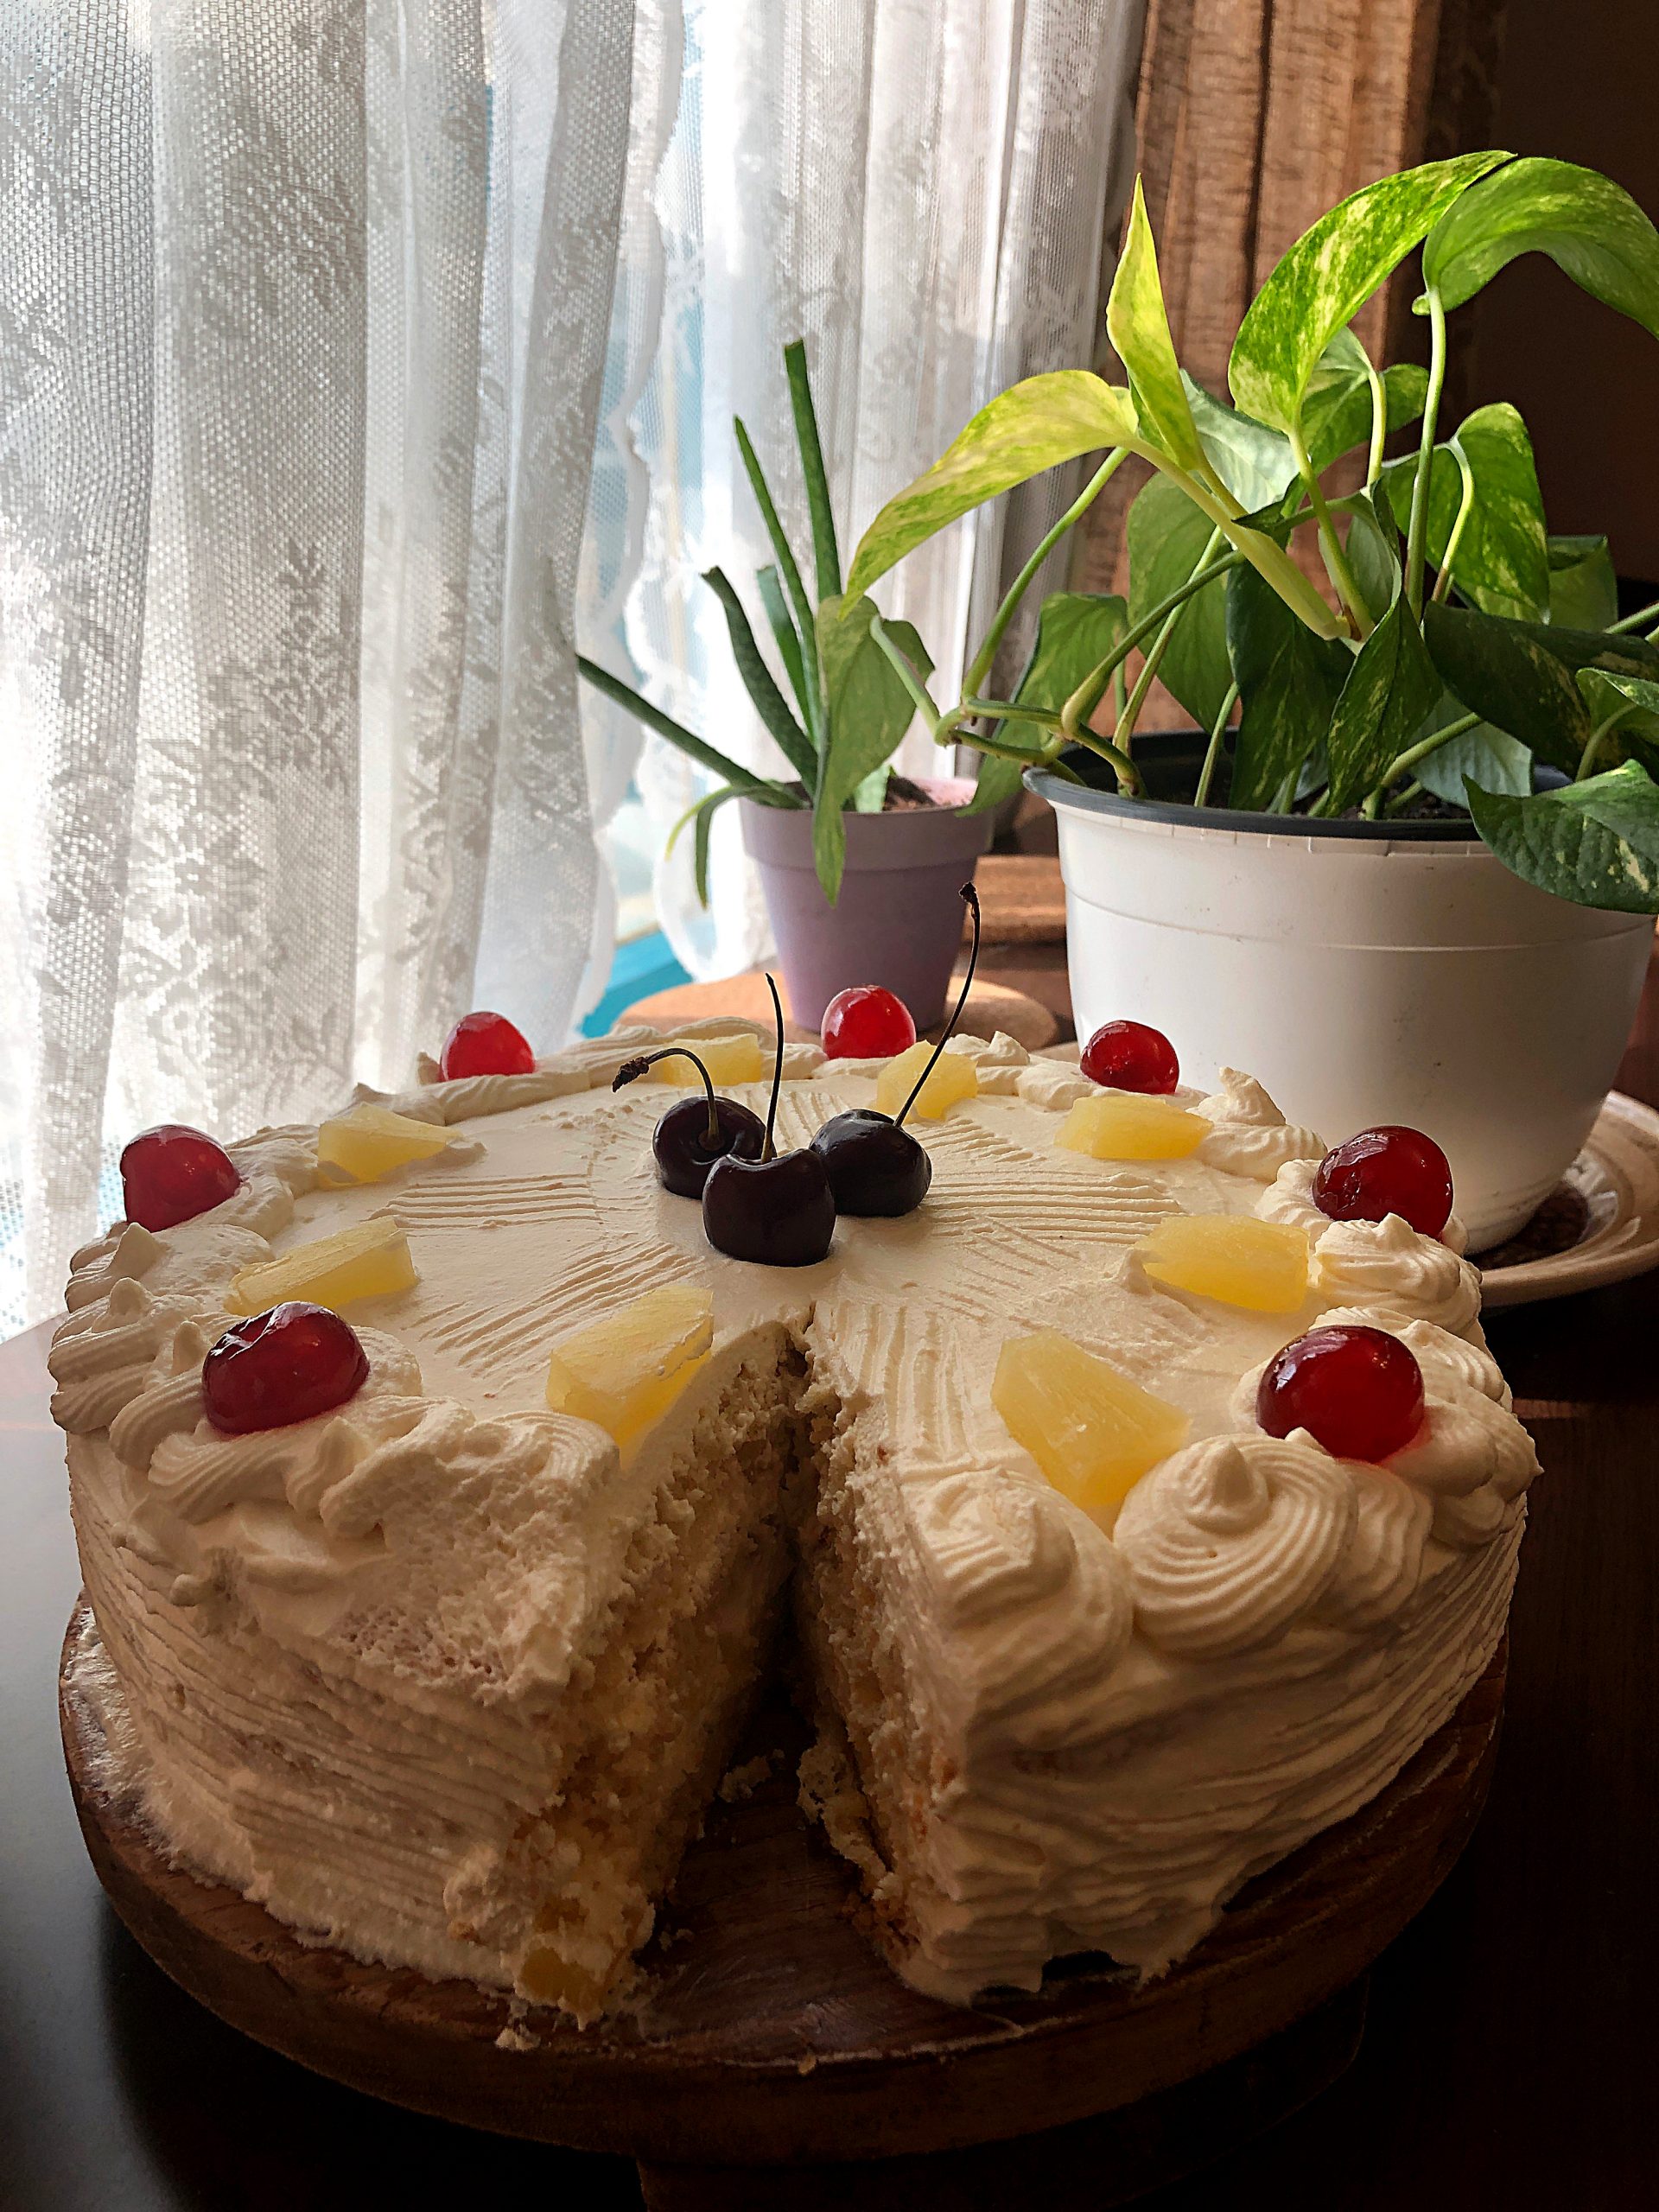
If you plan to make this cake you may want to use 700ml of whipping cream instead of 500ml. Please make sure you read my notes section before you proceed. I highly recommend you to chill the bowl and whisk/blades of your electric beater for at least 30-40 minutes before beginning to beat the whipping cream as it will help your cream to attain stiff peaks faster. Secondly, if you live in hot weather you may notice that the whipped cream may begin to melt and will not hold shape for long. In such a case you can either place the whipped cream inside the fridge for 10-15 minutes or add a little cream cheese to it and continue to beat. This tip was given by my friend Trevilla who is a professional baker. Cream cheese helps stabilize the whipped cream and helps it hold shape so do give it a try.
I really hope you give this cake a try and enjoy it too. It is a fine celebratory cake – festive too. Since the season of pineapples is still upon us, you should totally go ahead and make it. However, should you want to make this cake later during the year, canned pineapples will come to your rescue. So what are you waiting for?
New here? Subscribe to my free newsletters with my latest recipes!
Tried my recipe? Do leave a comment on this post down below and don’t forget to give it a star rating! It will really help more readers discover my recipes! Do share a picture on Instagram and tag me @ruchikrandhap and I will feature your post in my stories!
Don’t forget to check out my latest videos on my YouTube channel. If you like what you see, do give me a thumbs-up (like), share & comment and subscribe to my channel so that the gods of YouTube (a.k.a algorithms) recommend my channel to a wider audience with similar tastes and more & more people can discover my videos!
And while you’re here, do follow me on Instagram, Pinterest, Facebook and Twitter. If you’d like to say hello or have detailed queries do send an email at ruchikrandhap@gmail.com. I’d love to hear from you!
Pineapple Pastry
Ingredients
- 4 eggs
- 175 grams sugar
- 150 grams all purpose flour
- 25 grams cornstarch cornflour
- 1 teaspoon baking powder
- 1/2 cup unsweetened pineapple juice or buttermilk or water at room temperature
- 1/2 teaspoon pineapple essence or vanilla extract
- 3 tablespoons oil
- 1 teaspoon vanilla extract
- a pinch of salt
To fill & frost:
- 500 ml whipping cream* see notes
- 4 tablespoons icing sugar
- 1 teaspoon vanilla extract
- 3 pineapple rings (I used canned, chopped fine (to fill)
- 1 pineapple ring cut into bigger pieces (to decorate)
- glazed cheries (to decorate)
- 1/2 cup pineapple juice (I used from the can) * see notes
Instructions
- Grease and line a 9" round pan with baking parchment. The ideal depth of the pan is 2 inches but if your pan is not so deep, then ensure that the baking parchment is cut in such a way that it forms a tall edge. This will give the cake some height when it rises.
- Optional step if you are living in very warm weather: Place a deep bowl (preferably steel) along with the whisk/blades of the beater in the fridge for at least 30-45 minutes before you start making the icing. This will help you whip the cream to stiff peaks more quickly than you would if you don't chill the utensils.
- Since the cake is tall and if the space between your middle rack of your oven and the upper heating elements is small, then move the rack to the lower part of the oven. If not, you can just place the tin on the middle rack itself. Preheat the oven to 165 degrees C
- In a deep bowl, beat the eggs on a high speed for about 6-8 minutes or till they turn pale in colour and fluffy. Add sugar in parts and continue beating. Add the pineapple essence/vanilla extract too.
- In another bowl sift together the flour, baking powder, cornstarch and salt four times. It is important to sift it so many times as we want a light, airy cake. Sifting helps incorporate air into the flour and gives it the desired spongy texture which is very essential for a pastry cake.
- Now add the sifted flour in parts into the beaten egg mixture and gently fold in. Mix the oil & pineapple juice (or water or buttermilk) together and add it to the batter and fold in. Do not over mix.
- Pour the batter into the prepared pan and tap it on the table a couple of times to get rid of any air bubbles in the batter.
- Bake in the pre-heated oven for 45-50 minutes or till the skewer inserted comes out clean. Remove the pan from the oven and place it on a cooling rack for 15-20 minutes. Then slowly un mold it and allow it to cool completely.
- Once the cake has cooled down, thinly slice off the browned top, base and sides of the cake. You will need to use a sharp serrated knife for this so that you remove only the brown bits of cake.
- Slice the cake carefully into 3 layers and keep them covered to prevent drying.
- To prepare the icing, place the whipping cream, icing sugar & vanilla extract in a bowl (see step#2) and beat it for 5-7 minutes or till the cream forms stiff peaks. Do not continue to whip beyond this point as the cream will curdle within minutes and your effort will be ruined. Divide the cream into 4 parts in the bowl itself. You will need roughly 1 part on each of the layers and 1 part on the sides.
- To assemble, apply a dab of whipped cream in the centre of a cake stand, cake board or serving tray. Carefully place the bottom layer of the cake on it.
- With a pastry brush generously apply 2-3 tablespoons of the pineapple juice all over its surface. Place one part of the whipped cream and level up the surface. Add half of the finely chopped pineapple bits to cover the surface. Then place the second layer of the cake and brush it with the pineapple juice. Add one more part of the whipped cream, level it up and add the remaining pineapple bits on it.
- Now place the final cake layer on top, brush it with the remaining juice, add one part of the whipping cream, level it up. Then use up the remaining whipped cream to cover the sides of the cake and decorate on top using a piping bag & nozzle to decorate as per your choice.
- You can use a cake scraper to form a pattern on the sides of the cake. Decorate the top with the pineapple chunks & the glazed cherries.
- Chill the cake for at least 2 hours before serving, especially if you are living in warm weather, you don't want the whipped cream melting into a puddle as hot weather can also cause the cake layers to slip off the whipped cream making the cake look lopsided.
- Cut, serve & enjoy a beautifully delicious cake!
Notes
Disclaimer
The nutritional values are only indicative.
I like your pineapple cake recipe as I came across the YouTube video as well that you are referring to but just found your written instructions easier while baking rather than pausing the YouTube video a 100 times. That being said, there is a small mistake in your recipe which I found after it was too late. Your ingredients mention baking powder but its missing in your instructions. It should ideally be in step number 5 where you sift the flour.
Hi,
Thank you so much for letting me know and my sincere apologies for this error. I took a long time to write down this recipe but ended up missing to proof read!! I have updated the recipe now. My apologies again!