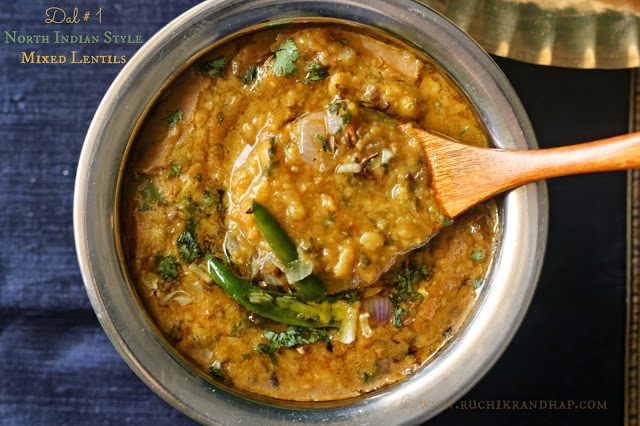
Today’s recipe is a simple North Indian style dal that I make so very often at home that I wonder why I never posted the recipe till date. Before you confuse this recipe (based on its name) to be a David Dhawan production let me tell you that this is purely my creation. I have experimented with it over the years and decided that the best way to remember how much of what goes in the dal it had to be named as #1 – because almost all ingredients are used in the quantity of 1 teaspoon or 1 tablespoon or 1 cup. Easy to remember?
I am very bad at remembering recipes – this is one reason why I am a very slow cook. I can’t remember half the ingredients no matter how often I make the dish and reaching out for the recipe book or the ipad leads to so much loss of time! Having said that I also like to cook at leisure. My best dishes are those that I make without hurrying up and the ingredients of which I don’t measure. However for the sake of the blog measuring has become second nature. Since my son loved the Rajasthani style panchmel dal that I had made a few years ago I stuck to the basics of that recipe to create something the measurements of which I could easily remember. I have since then made this several times changing things here and there.
Since my version is an adaptation of something more traditional and tastes pretty much like any thick dal I decided to give it a very generic name – ‘North Indian style dal’ – this is a sellout with my son who is a hardcore North Indian food lover. His early childhood that was spent in Mumbai enjoying the variety of North Indian food we got there is perhaps responsible for his love for this cuisine. There are days when he will simply sulk over his fish curry and rice – a staple diet of his die hard Mangalorean foodie parents. He begs for his favourite butter chicken and chicken tikka masala which his dad then whips up for him (and for those of you who asked for these recipes, I’ll hopefully post them as soon as the husband is satisfied with the results)
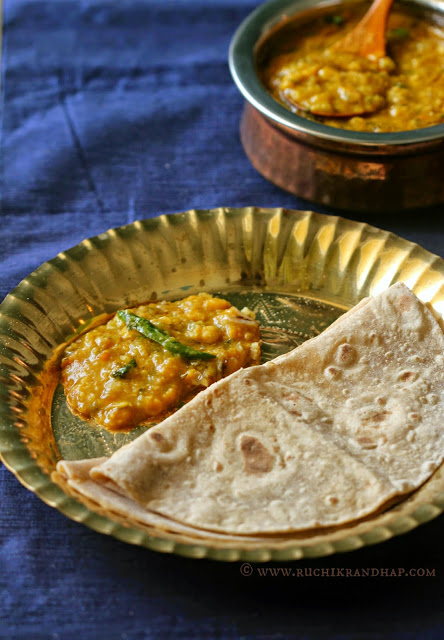
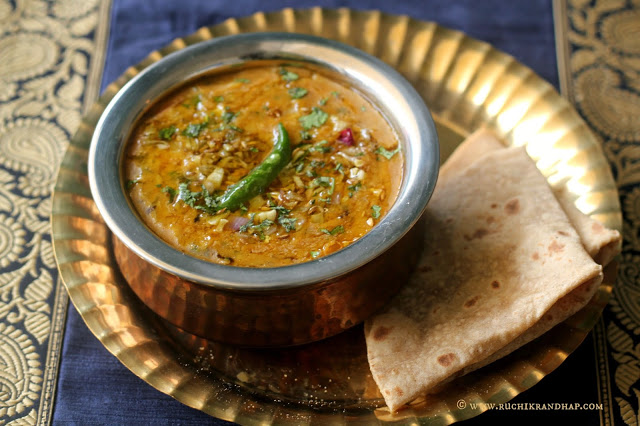
At least twice a week we like to keep our meals simple. That means we go off rice and switch to chapathis with a simple dal or veggie on the side. It feels good to eat light and especially since its summer now and eating heavy meals is out of the question. Do give it a try and let me know how you liked it!
Dal #1 ~ North Indian Style
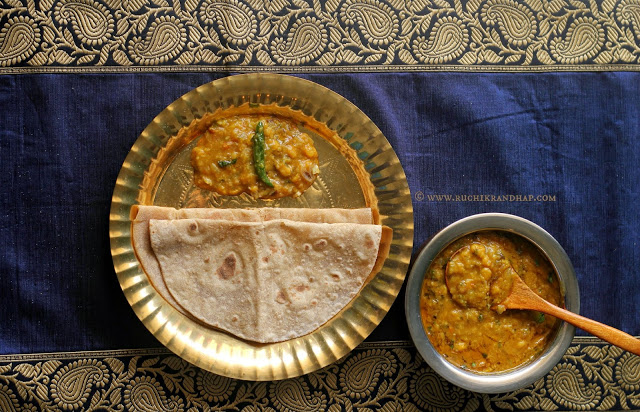
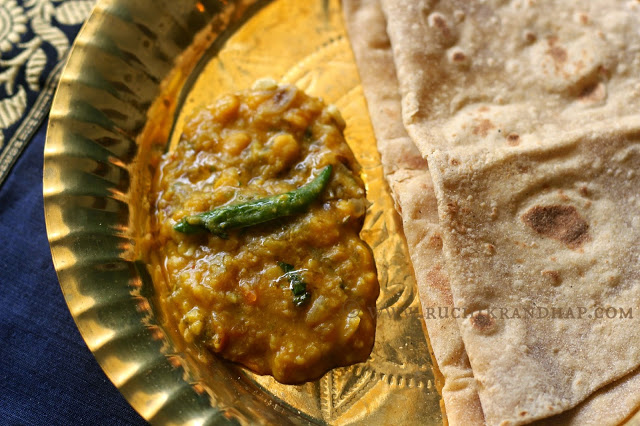
Thick North Indian style dal made with mixed lentils pairs very well with chapathis or rice for a comforting meal
Print
Pin
Rate
Ingredients
- 1 cup mixed dals lentils (I used 1/4 cup each of moong dal, chana dal, masoor dal and toor dal) * see note#1
- 1 cup finely chopped onions approx 1 large
- 1 cup finely chopped tomatoes approx 2 medium-big, juicy ones * see note#2
- 1 tablespoon finely chopped ginger
- 1 tablespoon finely chopped garlic
- 1 loosely packed cup coriander leaves finely chopped (reserve half for the tempering)
- 1 green chilli minced (deseed before mincing if you wish)
- 1 teaspoon red chilli powder adjust to taste
- 1 teaspoon turmeric powder
- 1 tablespoon coriander powder
- 1 tablespoon cumin powder
- 1 large pinch of kasuri methi dried fenugreek leaves * optional
- 1 tablespoon or more of oil or ghee for frying
- salt to taste
For the tempering:
- 1 teaspoon cumin
- 1 green chilli slit (deseed before slitting if you wish)
- 1 small onion finely chopped
- 1 teaspoon ginger finely chopped
- 1 teaspoon garlic finely chopped
- reserved chopped coriander
- 1 tablespoon or more of ghee
Instructions
- Wash the dals 2-3 times or till the water runs clear * see note#3. Soak in plenty of water for at least 45-60 mins (if you are using chana dal) or at least 20 mins if you are not using chana dal.
- While the dal is soaking prep up the rest of the ingredients. When ready, heat oil in a pressure cooker and fry the minced green chillies, ginger and garlic and fry for a few seconds. Then add the onions and fry them until they turn light golden – do not brown them.
- Add the chopped coriander and fry for a few seconds. Next, add the tomatoes, salt to taste and fry until the tomatoes turn mushy.
- Add in the spice powders and fry on a reduced heat so as to not burn them.
- Drain the soaked lentils and add them to the mixture and mix well. Now add 2-1/2 – 3 cups water and bring the mixture to a rolling boil. Check salt to taste and adjust accordingly
- Once the water comes to a boil, place the lid and the weight (whistle) and cook on full heat till the cooker releases 1 whistle. Reduce the heat to a complete sim and cook for a further 12 mins.
- Turn off the heat after 12 mins and let the pressure cooker cool down until you are able to release the weight easily.
- Open, mix and adjust consistency/thickness of the dal by adding water little by little if you find it too thick. If you find it too thin then place it back on the heat and simmer (on a low heat) for 2-3 minutes. Also, at this stage you can add an additional chopped tomato or salt to adjust the tang/saltiness. You may also use a few drops of lime instead of tomato.
- To prepare the tempering/seasoning heat the ghee in a small kadhai/pan and toss in the cumin and let them sizzle for a few seconds before adding the ginger, green chillies and onions. Fry until the onions turn pale/translucent. Pour this mixture over the prepared dal. Cover the lid immediately to trap the aroma of the tempering.
- Garnish with chopped coriander and serve hot with chapathis or rice.
Notes
1. You can use any mix of dals. Sometimes I don’t use chana dal as it requires extra soaking time. If you are in a hurry, just skip the chana dal and use a combination of the rest – it doesn’t need to be accurate. However, if you are using chana dal it is always advisable to soak the lentils for at least 1 hour or else it will remain uncooked.
2. After the dals are cooked and before tempering/seasoning it do a quick taste to see if the dal is adequately tangy – if the tomatoes are not juicy/sour enough you may need to add another half of a tomato and give the mixture a quick boil. Alternatively a few drops of lime juice will do the trick. Do a taste check before you add either of them.
3. The water used to rinse dals can be used to water your kitchen garden – plants grow well with the added nutrition in this water. 4. There is no real substitute for ghee for tempering this dal so as far as possible try to use it. It greatly enhances the flavour and aroma of the dal so I strongly recommend it.
Disclaimer
The nutritional values are only indicative.
Tried this recipe?Please leave a comment & rate the recipe below or share a photo on Instagram and tag me @ruchikrandhap
Hi Shireen, I tried this recipe this past weekend and it was very delicious. My son who doesn't care much for dal, ate this dal # 1 for lunch, dinner, and breakfast the next morning. Thank you.
@ Cmdsouza: I am so happy that your son enjoyed this dal 🙂 It is my son's favourite too! Thanks so much for your feedback!!
Hi Shireen. I tried this recipe yesterday and it was the best dal fry I ever made. I have made dal fry several times following other websites before I found yours, but none of them turned out this yummy. Wonderful recipe. Thanks for the recipe.
Hi Macqueen! So glad to hear that!! Thanks so much for the feedback!
Hi shireen..
Tried this dal and it came out delicious. I was a novice at cooking. Thanks to ur detailed recipes, I can cook now and my children wait for my “Ruchik Randhap” cooking!!
Hi Neetha! Thanks for your lovely feedback! I am so glad to know that my recipes are helping you so much!
Hello, Shireen, I have lost the count of how many times, I have made this dal.. I know the ingredients and procedure. So delicious. Look forward to trying more veg recipes from your blog.
Thank you so much for the feedback Shailu!! So happy to hear that it has become a staple in your house! I will surely post more veg recipes soon (got a stockpile of them!)
Everyone loved this dal, including my 3 year old. Only substitution I made was using ginger garlic paste instead of whole to make it toddler friendly. This recipe is a keeper!
Thank you so much for the great feedback Linda!! Happy to hear this 🙂
I tried this recipe today and it’s the best dal I have made…Its almost similar to one’s I eat in restaurants…
Thank you Shireen
So happy to hear this Merril! Thanks for the feedback!
Hi Shireen,
Been a silent follower for years. Appreciate all your posts and hardwork that goes behind it. Loved this Dal. I could really say it’s No 1 cuz when I ask my hubby which dal he wants to eat .. this is his reply. After spotting on your insta reels I tried it and now its a firm favourite.
Hi Preethi,
Thank you so much for your lovely message. I am so happy to read it. Thanks for appreciating my work. So glad to know that you enjoyed this dal so much! I hope you enjoy the reels also 🙂 Stay tuned!
Thank you for this wonderful recipe, it’s our family favourite now ..
So glad to hear that! Thanks for the feedback Merril!