Last month as I was planning my daughter’s birthday I suddenly, on a whim decided that I should bake her birthday cake this time. Despite the fact that I love baking and have baked a million cakes, I’ve never had the guts to bake a celebratory one, especially birthday cakes for my kids. I always thought that it was better to place the order for one and just be done with it – I mean, who wants to deal with the extra work and take the risk of decorating a cake that could badly flop leaving one with no backup at the last minute? The very thought of it would send shivers down my spine!
But then we didn’t plan to have a big party this time, just a small family get together that would have familiar faces and people who would never laugh at me (even if they wanted to). The very thought of having loving, encouraging and appreciative people around me gave me the confidence to seal the deal and lock this plan of baking a cake from scratch. Now, it was going to be a simple single tier cake with some simple, delicious, wholesome buttercream frosting. A few candles here and some store bought figurines there and I would be done with the cake, but you see, Pinterest can cast a spell on you and make you want to try out cakes beyond your culinary capacity. I shortlisted a few buttercream frosted cakes which the man vetoed and said it was my chance to try my hand at decorating with fondant. “Fondant?? Are you nuts?” I exclaimed, giving him a stare. He replied “yes, what’s the harm in trying? You’ve got to start somewhere”. These words sent me into a panic mode. Although last year my cousin Melissa had showed me how fondant was made I had absolutely no clue how to go about rolling it and practically how much time the whole fiasco would take me.
“Just Google it” he said. The rest is history.
So after Googling and watching tons of videos on Youtube I decided to make the marshmallow fondant which I believed was easy (or so claimed the videos), so off I went to buy the ingredients which would be just white marshmallows and icing sugar. I pinged my reader-friend Trevilla D’Souza on whatsapp and discussed my big plan with her as she had shared pictures of her home baked birthday cakes with me before. She was so very supportive and went out of her way to help me find all my ingredients and showered me with everything she knew about fondant. I was so encouraged by this. She was literally with me on whatsapp the entire day a couple of Tuesdays ago, helping me zero in on the kind of gel based colours, cutters that I would require to make the fondant. She also chipped in with info from her other friends and help just came pouring in.
She gave me names of so many places in Dubai that sell the stuff that I required. I will share the details at the bottom of this post if it helps anyone.
Since I was really terrified (trust me!) about working with fondant, I didn’t want to get into an unprepared, last minute fiasco, so decided to bake a trial cake a week before the birthday. This was one of the best decisions I’ve made and I always want to say ‘practice, practice, practice’ to anyone who wants to jump into the world of cake decoration.
THE TRIAL CAKE
The trial cake was going to be a two tiered cake but since I didn’t want to bake two tiers of cake that nobody would eat, I just made a base cake and used a cake dummy for the top tier
Type of Cakes:
Base Tier: I decided to make a chequerboard cake so I used a 9″ vanilla sponge and a 9″ chocolate sponge stacked on top. Recipes to follow.
Top Tier: I simply used a cake dummy (thermocol) for the top tier.
Everything went fine till the time I started to prepare the fondant. The marshmallows when melted are a nightmare to work with but this is where my experience with bread dough really really helped as I was able to bring the entire fondant together and prepare the dough.
Rolling the Fondant
Nobody really prepares you for what unfolds when you start rolling the fondant. It is only experience that teaches you here and ofcourse helpful and timely tips from those who have been there and done that. I turned to my friend Charishma Shetty, who is a professional cake decorator in Bangalore. Cherie also blogs at Cherie’s Stolen Recipes and that’s how I virtually met her a few years ago. I have been a huge fan of her wonderful recipes that focus on Mangalorean Bunt cuisine and we became friends because of our blogs. Baking and decorating have been her passion which she took a step ahead and started her own cake decorating business in Bangalore that goes by the name With a Cherie on Top. Do check out her work and give her a thumbs up if you agree with me that her cakes are a work of art. I have begun to appreciate all the cake decorators all the more because the kind of hard work that goes into creating masterpieces should be seen to believe.
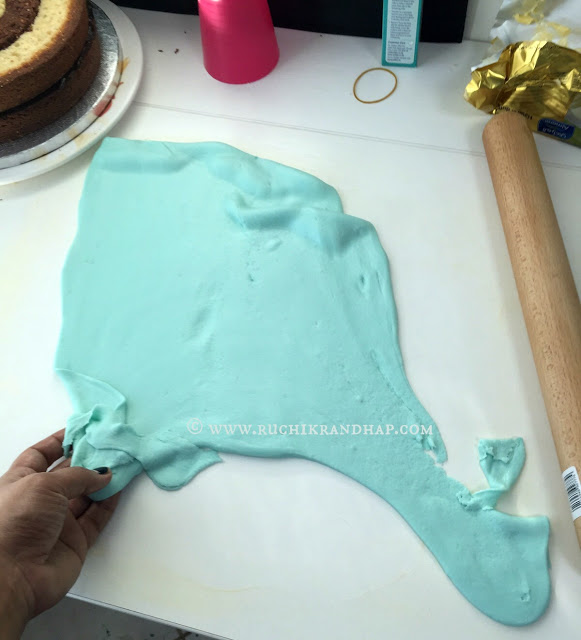
Pic1: The first hurdle where I simply couldn’t roll out the fondant. It kept sticking to the workspace and also tore when I tried lifting it up
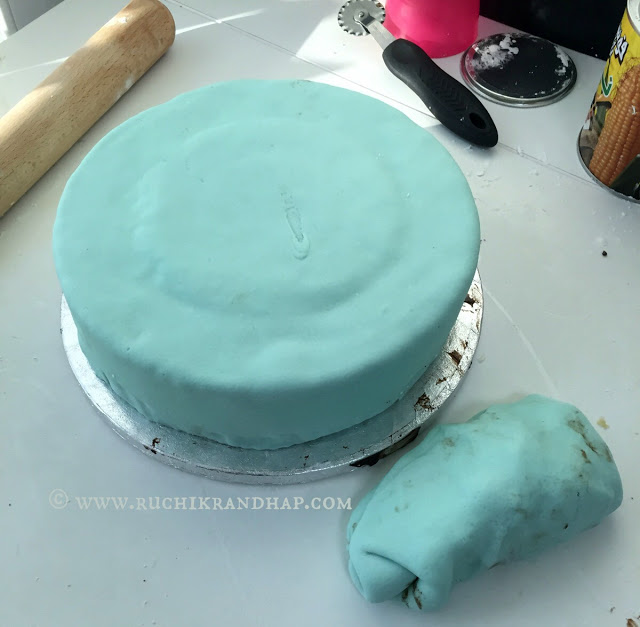
Pic2: Fondant covered base tier. The bumps are thanks to the unevenly sliced tops of the chequerboard cake. Another mistake was to attempt covering the cake when the ganache had not yet dried a bit. When it is freshly applied it tends to be messy. Wait for at least 15-20 minutes to help the ganache set to a peanut butter kind of a consistency.
Pic 3: My worst nightmare was when the fondant on the top tier (the dummy cake) began to peel off and tore due to the weight of the unevenly rolled fondant that coiled up at the base of the tier.
Pic 4: Desperate measure to hide the gathers created when I tried to cover the cake dummy with the fondant. The trick is to lightly stretch while covering to avoid such creases
From the moment I started rolling the fondant I realised that this was a no win situation. The fondant kept sticking to the board and no amount of icing sugar helped. My dough scraper was used to the maximum and yet things were getting out of control. A quick tip from Cherie helped salvage the situation. As suggested, I used some cornstarch after which rolling the fondant became less gruesome. A few attempts later I managed to cover my cake and salvaged the crisis points, especially places where the fondant was not evenly rolled out actually tore on the cake. Boy! Was I glad that I tried this out before making the actual cake!
Pic 5: The cake, finally! Phew! At this stage, I just stepped back and patted myself on the back for having accomplished this mean feat.
THE ACTUAL CAKE
Base Tier & Top Tier Cakes: Traditional Chocolate Cake (recipe doubled)
Base Tier: 2 cakes of 9″ stacked one above the other
Top Tier: 2 cakes of 6″ stacked one above the other
12 cupcakes with the remaining batter
Marshmallow Fondant: Recipe from here
If I say that making the actual cake was a breeze I would be lying. I needed the cake for the party on Friday so I made the fondant on Wednesday night and the cakes would be baked and decorated on Thursday. I was quite happy with my plan until I had I ran behind schedule and ended up making the fondant and the cakes on Thursday. I spent almost the whole day in the kitchen with a few breaks and plenty of unanticipated challenges, all of which could be mitigated if I had planned things properly. But given that it was my first time playing with fondant I will brush them aside. We all learn from mistakes don’t we?
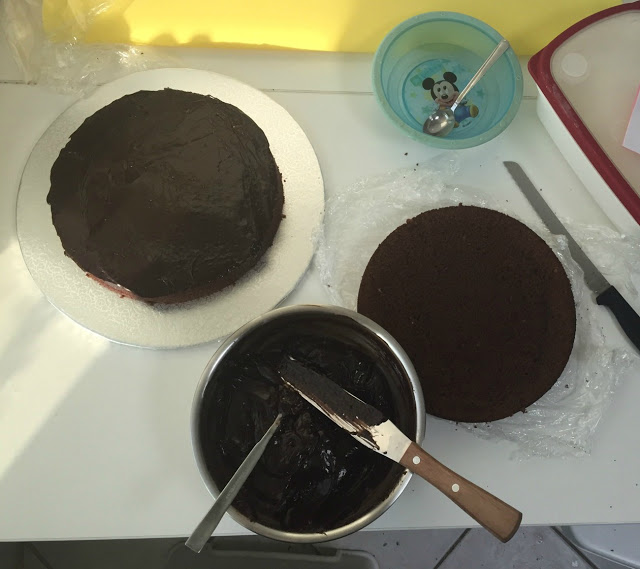
Pic 1: Two 9″ cakes waiting to be frosted with ganache and stacked to form the base tier
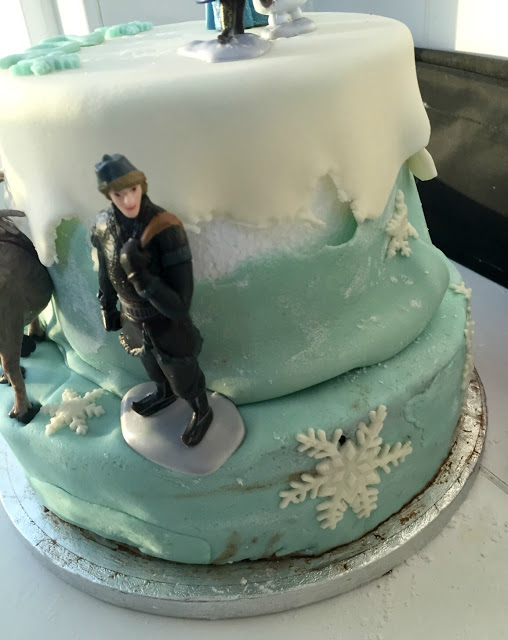
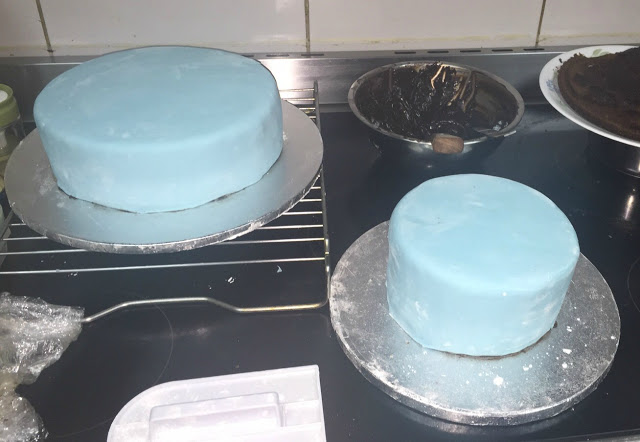
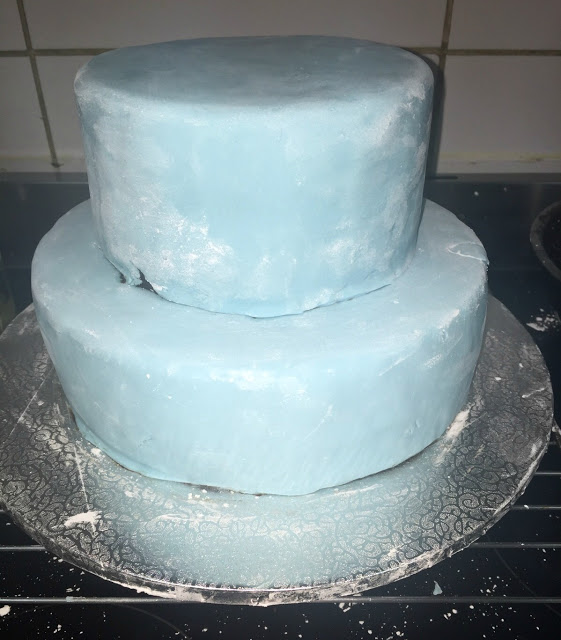
Pic 2: The base and top tiers, stacked and covered separately. Waiting to be assembled
Pic 3: The assembling done with the help of a large cake server (spatula with a rectangular blade). This was the tricky part
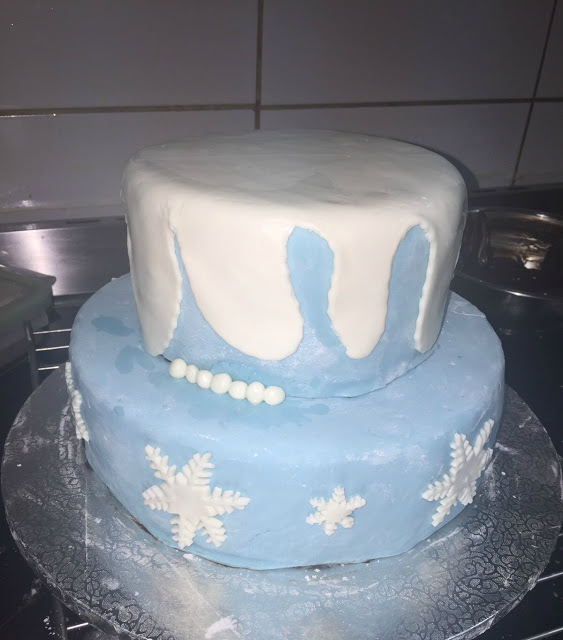
Pic4: My favourite part : decoration! The fondant pearls were added to cover up the gap between the two tiers
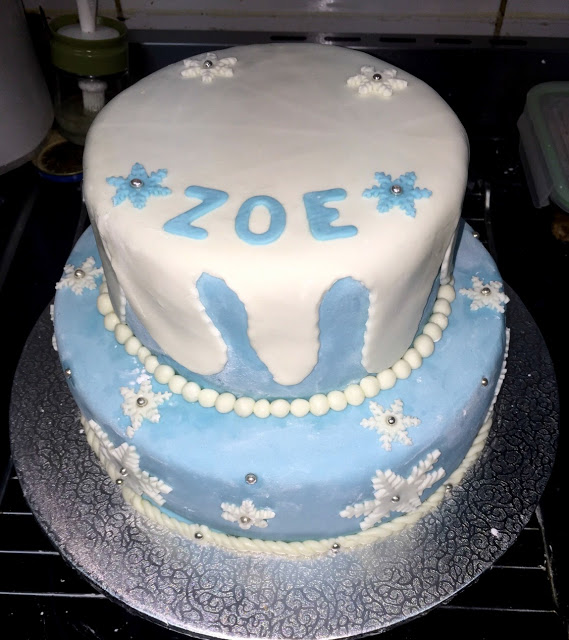
Pic5: Tada! All done. The end of the decoration programme!
Having Cherie on whatsapp was a huge blessing. She helped me cross every hurdle that I faced and by evening, although I was really tired I was happy with the results. I have learnt an incredible amount of things in a span of two weeks thanks to my beautiful friends, who were angels in disguise. It is so heartwarming when people you have never met in your life actually go out of their way to help you. This somehow restores my faith in humanity every time.
So thank you so much Cherie and Trevs for your immense help. I couldn’t have done this without you. Love you both!!
A special note of thanks to my cousin Melissa Sacrafamilia and Jolene D’Costa who chipped in with some useful tips!
My Regrets
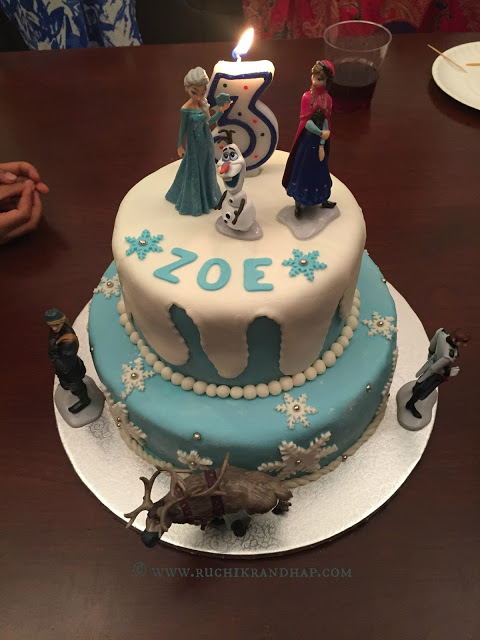
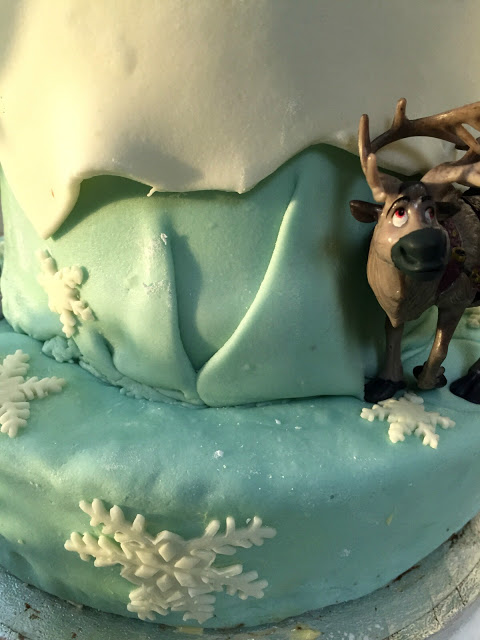
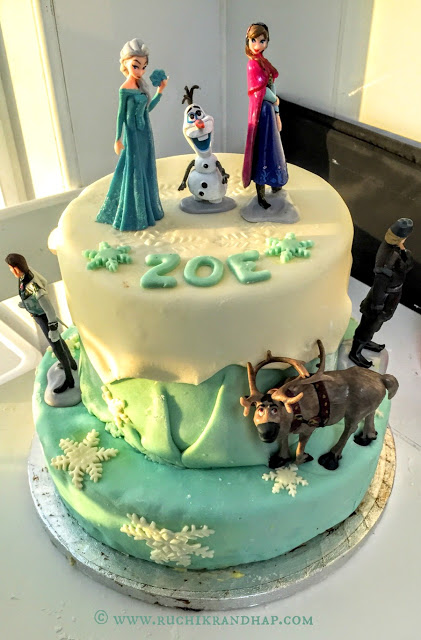
Not having taken a proper picture of the final cake on the day of the celebration was my only regret. I just didn’t seem to schedule 5 mins for it! Horrible! The only picture I have is the one posted above, clicked from my iPhone
My Learnings
A few tips for anyone who wants to try their hand at making fondant covered cakes:
1. Plan and select your cake design well ahead of time – There are plenty of ideas online. Google and Pinterest are a huge help
2. Watch videos on Youtube to understand how you can work with fondant
3. Buy or borrow the necessary tools, it is half the battle won.
4. Have a dedicated workspace that is large enough to roll out the fondant that is always rolled out a little more than how much your cake needs to be covered with
5. Plan to bake and decorate the cake at least 1-2 days before the day of celebration. Killing yourself at the last minute is stupidity.
6. Organize your workspace before you begin. Keep all ingredients handy. Don’t run around like a headless chicken after you have taken the plunge (especially while making the fondant).
6. Don’t lose your patience or confidence if things don’t seem to go right. If you have planned well in advance, just breathe and relax. With a little patience and time you can do it!
7. In times of crisis, look around and ask someone who has worked with fondant before. The kind of help you may receive will surprise you!
Cake Decorating Supplies That You will Need (For a Beginner)
1. Ingredients (depending on whether you will make marshmallow fondant or the regular one that needs icing sugar, liquid glucose, cornstarch and meringue powder depending on the recipe)
2. Fondant rolling mat (optional – I bought mine from Tchibo)
3. Fondant Rolling pin (a long, smooth wooden or plastic one – Available at Happy Party ME, Tavola and Lakeland)
4. Fondant cutters of whatever design you choose (design and alphabet cutters are available)
5. Gel based food colours – Available at Tavola, cheap and best
6. Cake boards of various sizes and cake box
7. Fondant smoother (optional but useful)
Where to Buy Your Cake Decorating Supplies in Dubai
1. Tavola – at Mirdiff City Centre & Mall of the Emirates
2. Lakeland – at Mirdiff City Centre & Mall of the Emirates (personally, I believe this place is too expensive)
3. Happy Party ME – at Deira, near Avari Hotel, Clock Tower Roundabout – I picked up the Frozen theme figurines, cake board, alphabet and snowflake cutters from here. Call on 04-2948845 if the website doesn’t open.
4. Bake Planet – at Al Rais metro station
5. Tchibo – at Oasis Centre, Mall of the Emirates & Mirdiff City Centre (although their collection is not very extensive, they do have some nice fondant cutters)
6. Wilton store at the Gold & Diamond Park, near the FGB Metro
7. Daiso at Oasis Centre, Lamcy Plaza, Mirdiff City Centre, Dubai Mall
8. Carrefour Supermarket outlets at Mall of the Emirates, Deira City Centre, Mirdiff City Centre
Or Just Buy Online from Ebay.com or Amazon.com
Leave a Reply