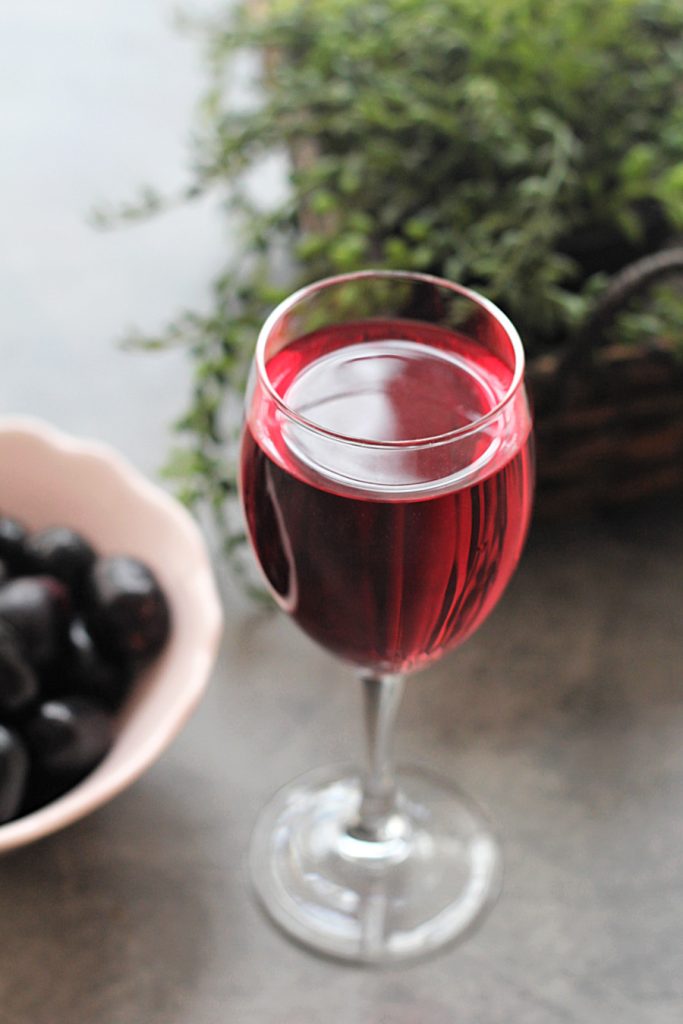
Jamun wine is a delightful and unique beverage that captures the essence of the delicious purple fruit, Jamun (also known as Java plum/black plum or Indian berry). With its rich flavour and vibrant colour, making homemade Jamun wine is a rewarding experience. In this comprehensive guide, I will take you through the step-by-step process of crafting this exquisite wine in the comfort of your own home.
Step 1: Selecting Fresh and Ripe Jamun
To create the finest Jamun wine, start by choosing fresh, ripe, and high-quality Jamun berries. Look for berries with deep purple hues, as they are packed with natural sugars and flavours essential for the fermentation process. Avoid overripe or underripe berries, as they may affect the wine’s overall taste. Also, ensure that the berries are not infested. Farmers who do not use pesticides at all may end up with a crop that is mostly infested with worms so it is essential to source the berries from someone who has at least used eco friendly/non toxic bug repellants.
Step 2: Cleaning and Preparing Jamun
Thoroughly wash the Jamun berries in cold water to remove any dirt or impurities and any traces of bug repellant sprays. Once cleaned, remove the stems and any spoiled berries. You can choose to keep the seeds, as they add a distinct flavour, or deseed the berries for a smoother wine. I have used them as is. Removing the seeds is an extra step of effort which can be skipped.
Step 3: Crushing and Fermentation
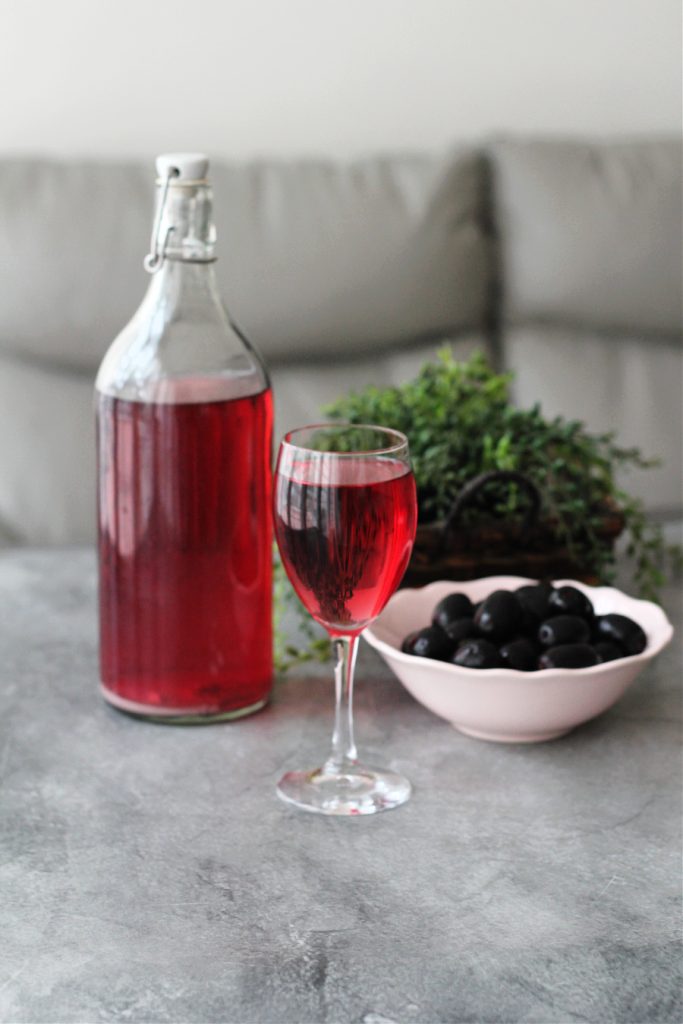
Using a sterilized container, crush the cleaned Jamun berries gently to release their juices. You can add sugar to the berries and crush everything together with your hands or use a masher. Then add the water and bring the mixture to a gentle boil. Turn off the heat and let it cool down till lukewarm. Add the yeast and mix well to initiate fermentation. Transfer the mixture into a clean and dry glass or ceramic jar and keep aside for 21 days stirring once a day.
Step 4: Straining and Secondary Fermentation
After 21 days, strain the fermented juice through a muslin cloth or fine sieve into a sanitized container. Cover the container with a lid to allow carbon dioxide to escape while preventing oxygen from entering. Let this mixture further ferment for around 10-12 days during which time the sediment will settle to the base of the container.
Step 5: Bottling and Aging
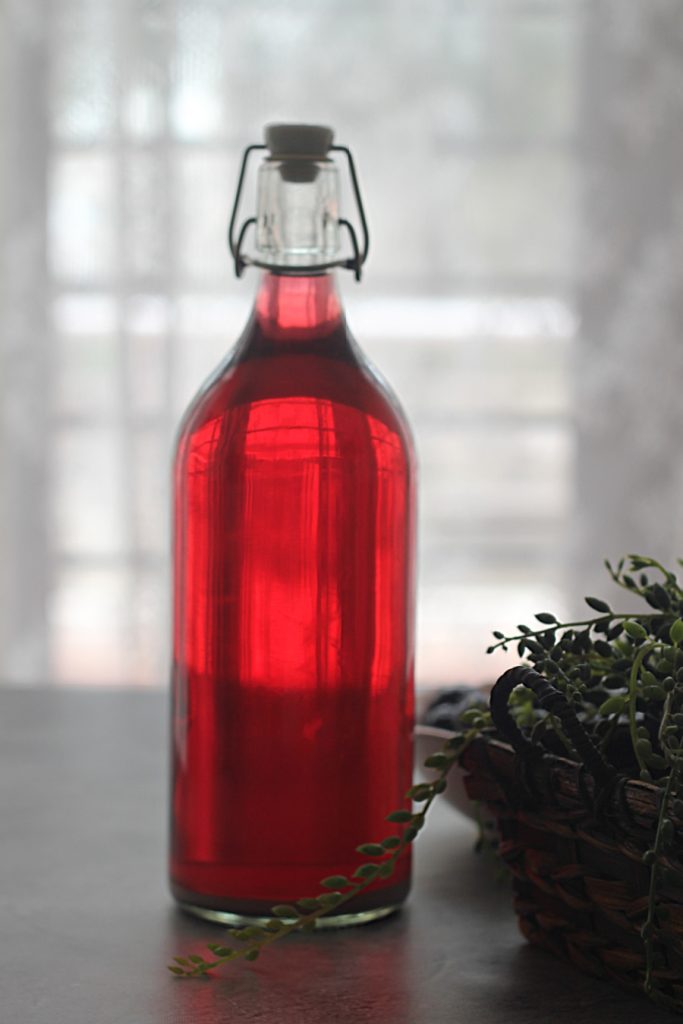
Once the primary fermentation is complete, siphon the wine into clean, sterilized bottles. Seal the bottles tightly and store them in a cool, dark place for secondary fermentation and aging. Let the wine age for at least 6 months to a year to enhance its flavour and aroma.
Crafting Jamun wine is a labor of love that rewards you with a delectable, homemade wine infused with the essence of ripe Jamun berries. By following this step-by-step guide, you can create your very own batch of Jamun wine to savour and share with family and friends. Enjoy the journey of winemaking and relish the delightful results!
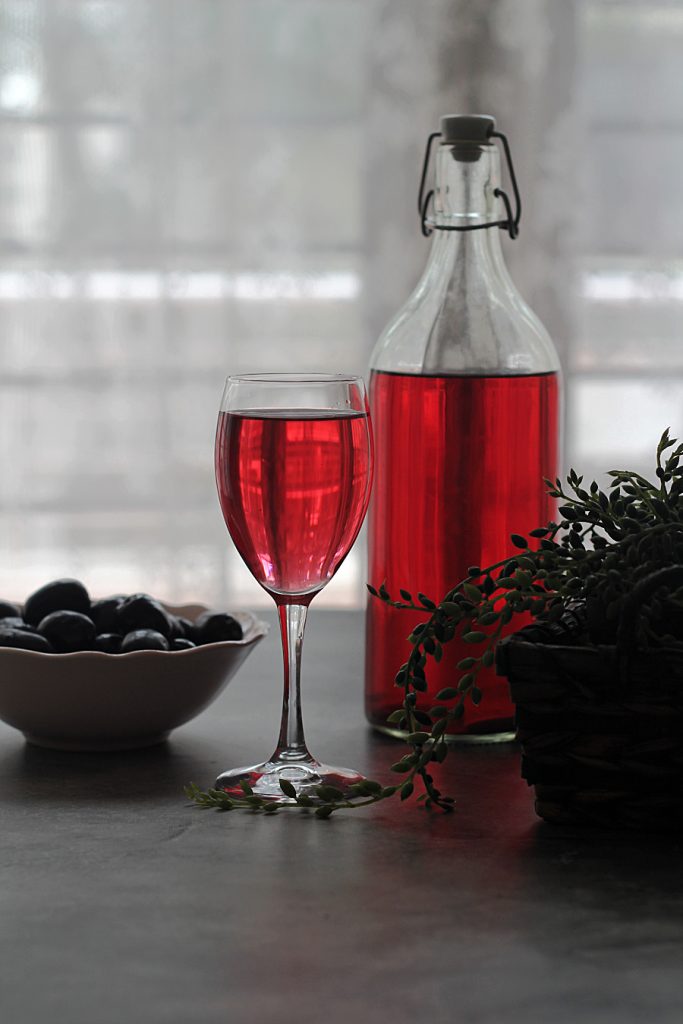
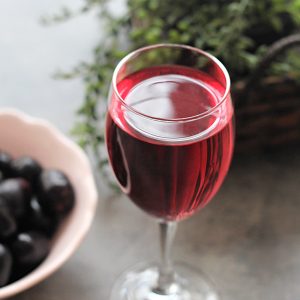
Jamun Wine | Java Plum Wine
Ingredients
- 750 grams java plums
- 750 grams sugar
- 6 cups water
- 1.25 teaspoons instant yeast
Instructions
- Wash the java plums in 2-3 changes of water to remove dirt and impurities. and transfer into a large pot or saucepan
- Add the sugar and squash everything together. Leave the stone/seed in the pan
- Pour the 6 cups (1.5 litres) of water into the pan, stir to mix and bring it to a gentle boil
- Turn off the heat and cover with a slotted lid to help the mixture cool faster. When lukewarm, add the yeast and stir to mix
- Transfer the mixture into a clean and sterile large glass or ceramic jar and cover with a lid but do not fasten it. Keep in a cool, dark place for 21 days stirring the contents once a day with a long wooden spoon
- After 21 days, strain the mixture through a muslin cloth or fine sieve into a glass or steel pan. Cover the pan and let it sit for another 10 days
- After 10 days, siphon the liquid into a clean and dry bottle. If you don't have a siphon just gently pour the clear liquid into the bottle taking care not to disturb the sediment that has settled at the bottom of the pan
- Seal the bottle with its cap or cork and place in a dark area to age. Enjoy the wine when it has aged for at least 6 months.
Video
Disclaimer
The nutritional values are only indicative.
Great recipe…. what kind of yeast to be used? the one that is used for baking can be used?
Hi Sadhana,
Yes, I always use the common yeast which we use in baking. If you can source wine yeast nothing like it but I have never used it