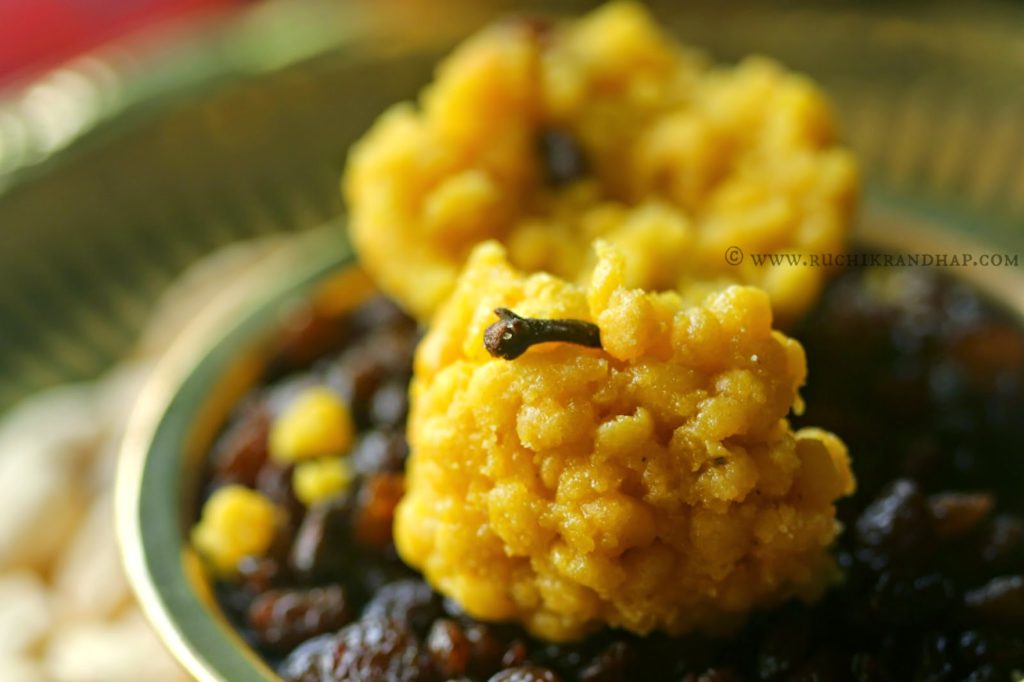
Since the past few days I have been contemplating what my next post for the Kapi Falhaar series should be. Since I have decided to try making most of the goodies that are popularly available in Mangalorean bakeries I decided that I would include in this series, not just savouries but sweets too. They may not be consumed during tea time but are very much a part of the snack platter in most homes, especially when guests arrive. During my growing up years the boondi laddoo was a common sweet that was stocked up at home without the need for a real occasion. It was much loved by all and nobody felt the guilt after popping one or two after lunch or during tea time. It was something that was served if you went visiting people. It was also a sweet that would be offered to you on a joyous occasion such as the birth of a baby boy or a festive one such as Deepavali. We as kids looked forward to it during the sweet distribution right after the flower-shower/offertory ceremony during the nine days of Novena of the Blessed Virgin Mary (Mother Mary’s birthday on the 8th of Sept). The mithai (mitai) laddoo as we call the boondi laddoo in Mangalore is one sweet that has no particular reason or season to be eaten and enjoyed so it stands to be one of my most favourite sweets of all time.
A few years ago I tried my hand at making them at home. This was when I was still expecting my second baby and I almost got them right. However, due to exhaustion after a tiring day, I wanted to finish frying the last batch of boondis (gram flour droplets) and I guess I overcrowded the pan so much that the whole programme flopped. Late last year, the man and I decided to start making Mangalorean sweets for the blog (during Diwali) and since it is his favourite too we enthusiastically set about to experiment with a small batch. After referring to a million websites and a thousand books for the right proportions I jotted down what I believed was the right formula for those melt in the mouth mithai laddoos. After a couple of hours of frying and soaking up in the sugar syrup, the boondis turned out good, well almost. They were terribly sugary as I had prepared the sugar syrup way ahead of time and by the time I was done frying the boondis, the syrup had begun to crystallize. Damn! Anyway, nobody was complaining. We finished the highly crystallized laddoos in a matter of minutes. They were just about 10 of them to finish and we both have a sweet tooth the size of Mt. Everest.
In a few days we decided to try it again, lest we forget the changes we had to make. This time around we had lots of helping hands thanks to our family Whatsapp group on which we advertised our mithai laddoo making programme and offered a stipend of free laddoos to anyone who was willing to get their hands dirty in hot syrup. One by one the cousins poured in and we had too many cooks and a lot more hands that helped shape laddoos amidst happy chatting and plenty of selfies that were posted on the group to make the absentees miserable. This was attempt# 3 – Perfect mithai laddoos that tasted oh so wonderful. Warm, delicious and perfectly sweet. Sadly the laddoos disappeared faster than the shutter speed of the mobile cameras that took the selfies. No pictures for the blog. Sigh!
Somehow the laddoo making programme was abandoned after that due to our busy schedule during Christmas. Come February, I decided to embark upon this delicious journey yet again. However, to my horror I couldn’t find the piece of paper I had written the accurate recipe on. I wanted to tear my hair in frustration but the husband said ‘Never fear, when I am here’. In other words, he was just as keen as I was to make and eat them – all in the name of the blog. So we set out to try them again. Attempt# 4 was a disaster again as the syrup was too much and we had to squeeze out the excess from the boondis before shaping them into balls. Trust me, it can be a terribly painful and frustrating job if you have too much boondi, one pair of hands and not enough time to finish making them. Since I am a delicate doll when it comes to handling hot food, I washed my hands off the laddoo-shaping programme and made him do all the work whilst stealing a few bites here and there. Attempt# 4 was near perfect and since we had doubled the batch we had enough laddoos to stuff ourselves and give some to my cousin who was not part of the selfie-laddoo fiesta in November.
This time around I decided to note down every single detail and try the laddoos again in the next couple of days. The last and final programme resulted in beautifully delicious, perfectly soaked boondi laddoos. Every bite transported us straight to laddoo heaven and that’s all I have to say. Nothing can beat homemade boondi laddoos. Every speck of the laddoo is worth your sweat and blood. Errr, I meant, the hard work, of course!! Now I know why the laddoos prepared fresh by the ‘adigebhatta’ (cook/halwai) in the backyard of my Brahmin neighbours house during the Brahmopadesham of their son tasted out of the world! I can never forget that taste and I am so glad that I was able to replicate them and recreate those memories after so many decades!
If you are a mithai laddoo lover, please try these. Quick!
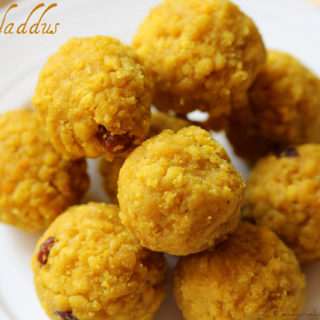
Mithai Ladoo | Boondi Laddu
Sweet balls made from gram flour, sugar & aromatic spices, a traditional Indian gluten free sweet
Print
Pin
Rate
Equipment
- boondijarni (special perforated spatula to make boondis) OR a regular round perforated spatula
- a extra perforated spatula (to scoop out the fried boondis)
- rubber spatula or round spoon to spread batter over the boondi jarni
- large plates lined with kitchen tissues to place fried boondis
- small, deep frying pan
- pan to make the sugar syrup
Ingredients
For the batter:
- 3 cups (300 grams) gram flour / chickpea flour (besan/kadalehittu)
- pinch of baking soda
- pinch of salt
- a few drops of liquid yellow food colouring * see note#1
- 2 cups plus 3 tablespoons water I used a total of 325 ml of water * see note#2
- oil for deep frying
For the sugar syrup:
- 3 cups (600 grams) granulated sugar * see note#4
- 1-1/4 cups water * see note#5
For garnishing/flavouring
- 2 tablespoons raisins cashew nuts are optional
- 3-4 cardamom pods husked and powdered
- 2 cloves powdered or 3-4 whole cloves
- 2 teaspoons ghee for frying
Instructions
- Sieve the gram flour, salt & baking soda into a bowl and add 1-1/2 cups of water little by little and whisk or stir vigorously with a spoon until the mixture looks like dosa batter- this way you can prevent lumps from forming. Continue to add the rest of the water until you get a loose, flowy batter *see note#2
- Add the food colouring 1-2 drops at a time and whisk until you get the desired colour. We used about 4 drops to get a bright yellow-custard like colour. Keep the batter aside.
- Heat the oil for deep frying on a medium high heat. To test readiness of the oil dip the back of a spoon into the batter and hover it over the oil – if the drop falls easily into the oil and sizzles back up within a few seconds and holds perfect round shape, the batter and oil is perfect for frying.
- Holding the boondi jarni at a height over the frying pan, pour some batter into it. Using the spatula or round spoon make circular motions to aid the batter to drop into the oil. Stop when the pan is sufficiently filled with the boondis – do not overcrowd the pan.
- Using the spare perforated spatula give the boondis a quick mix and let them fry for not more than 12-15 seconds – we need them just cooked, not crisp. If they are too crisp they will not absorb the syrup and break when you form the laddoos. Remove the fried boondis onto a plate lined with kitchen tissue. Wipe the jarni clean with a kitchen tissue or wash and pat dry between batches if possible – this is done to unclog the jarni perforations (holes) as gram flour batter dries up quickly.
- Continue frying the boondis till all the batter is used up. Make sure that the heat of the oil is maintained – not too hot, not too cool.
- Next, make the sugar syrup by placing the sugar (3 cups) and the water (1-1/14 cups) in a pan, stir only until the sugar is dissolved. After that let the mixture come to a rolling boil. Check for 2 string consistency by dipping the spoon into the syrup and dab a drop of it with your index finger. Press this drop of syrup between your index finger and thumb. If it forms two strings, without breaking, your syrup is ready. Remove pan from heat. see note#6 & 7
- Transfer the boondis into this hot syrup, add the flavouring – cardamom powder and cloves (or powder) and give it a gentle mix – don’t use too much pressure or you could crush the boondis. Let them soak up the syrup until the mixture is cool enough for you to handle. You must shape the laddoos when the mixture is still reasonably hot.
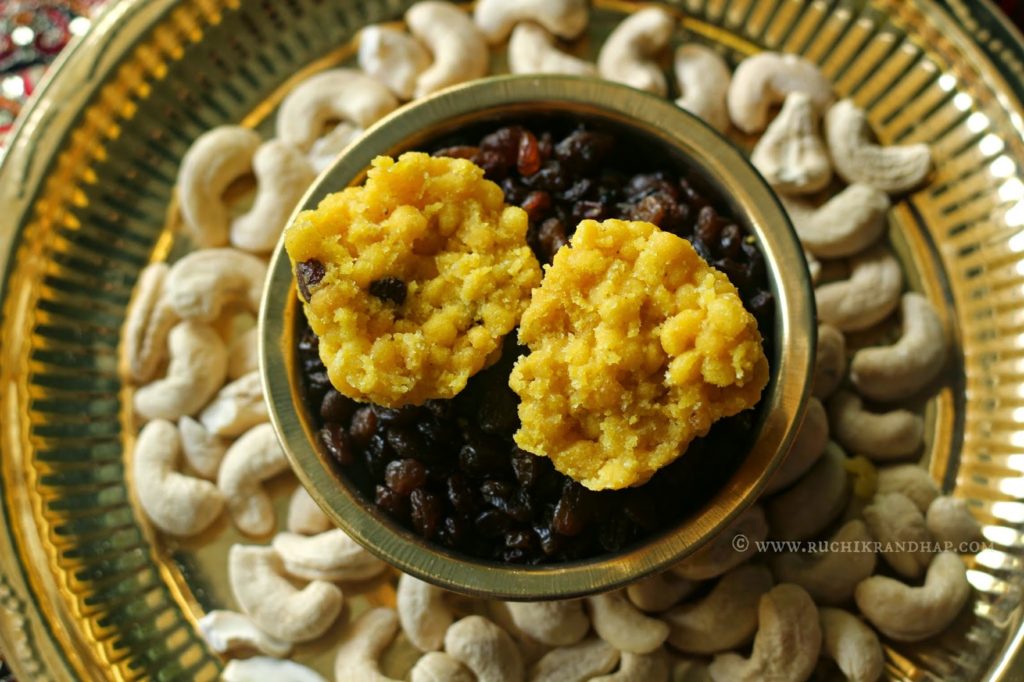
- In the meanwhile heat some ghee in a small pan and fry the raisins till they turn golden – quickly remove them before they burn and add them to the boondi mixture. Alternatively you may place just one or two raisins on top of each laddoo while shaping them.
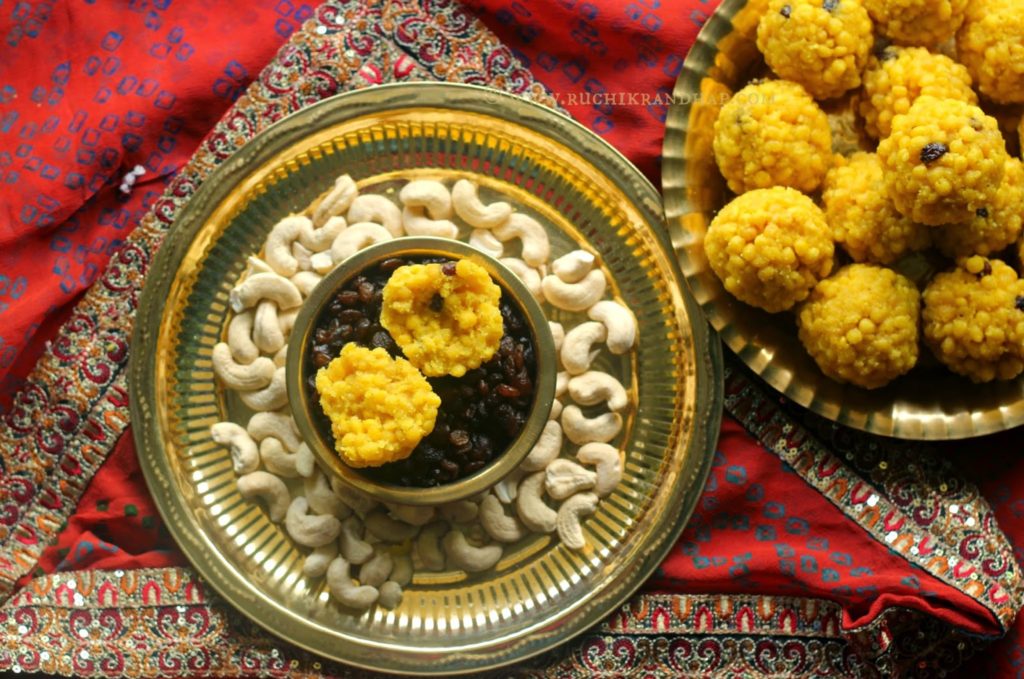
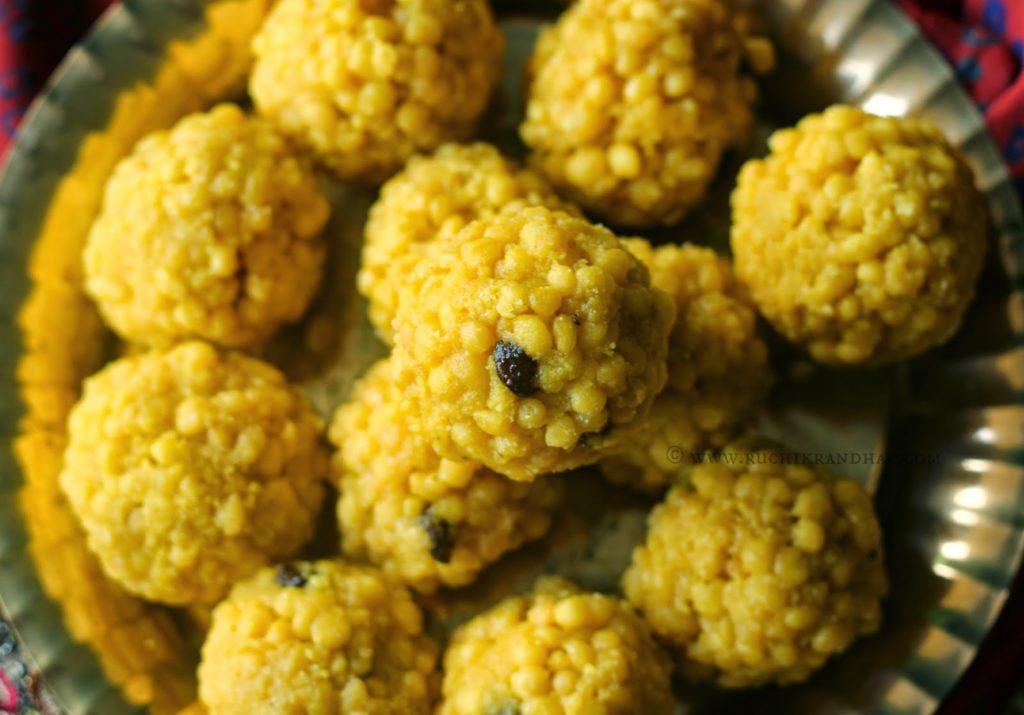
- To shape the laddoos, grab a handful of the hot mixture and give it a gentle but firm squeeze. The excess boondis will fall off after which you can press the mixture lightly into a round shape. Place a raisin/nut on top if desired. Continue until all the mixture is used up.
- Once cooled completely store them in airtight containers.
Notes
Tips to make the perfect boondis:
1. The addition of the pinch of salt to the batter is optional but I always like to add a bit salt to sweets as it helps balance the sweetness
2. There are usually two varieties of chickpea flour available in the market. The texture (fine or coarsely ground) will determine how much water is required to make a flowy batter of dripping consistency. The idea is to get a batter that is thin enough to form droplets when released from a height into the hot oil. If the batter is too thick the shape of the boondi will be ovalish or having tails. If the batter is too thin it wont form shape at all. While making the batter don’t add all the water in one go. You may not need all the water mentioned in the recipe, use just enough to get a flowy batter.
3. Resist the urge to eat the boondis as soon as they are fried. Addictive as they are you may end up eating too many and not have enough for the laddoos 🙂 – which also means that the boondi-sugar syrup ratio can get messed up and the mixture will be too sticky to be shaped (true story!)
Tips to make the perfect sugar syrup:
4. I always like to measure ingredients using a kitchen weighing scale as it gives the most accurate results. Since granulated sugar is available in different textures – fine granules, large granules etc, it is always better to weigh. You may end up using a lot more of fine granulated sugar in a cup measure. 5. To make a syrup of 2 string consistency you need water that is half the volume of the sugar minus a little. Make sure you measure out accurately.
What is 1 string / 2 string consistency? When sugar and water dissolves and begins to boil it turns glossy and bubbles are formed on the surface. The boiling process helps thicken the liquid further. 1 string consistency of syrup is achieved when you take a drop of syrup and press it between your thumb and index finger. If it forms a single thread without breaking, your syrup has reached 1 string consistency. This is required in the preparation of pedas and burfis (badam, pista, kaju) – where the bite is not hard. When you continue boiling the syrup further it thickens some more and if you press a drop of it between your thumb and index finger two strings will form. This is 2 string consistency which is required in the preparation of boondi laddoos. Read more here
Once 2 string consistency is achieved the sugar thickens further and quickly begins to crystallize (turns into a thick granular, opaque paste)
6. Some people make the sugar syrup first but if you are a novice at this and you take too much time to fry the boondis the sugar will crystallize as it begins to cool and will form a sugary glaze on the laddoos
7. For the syrup to thicken and turn into a 2 string consistency it will take you anywhere between 8-10 mins (for this quantity), have patience and give it your undivided attention. Once it reaches the desired consistency you need to take the pan off the heat quickly or the syrup will begin to crystallize. To prevent crystallization, brush the sides of the pan (edges close to the syrup) with plain water.
8. Some people like to add only the required amount of syrup to the boondi instead of adding all the boondi directly into the syrup – you can try this method if you are uncertain of the 1 string – 2 string consistencies of the sugar syrup. You can top up with the syrup if you feel it is required to help the mixture hold shape.
Disclaimer
The nutritional values are only indicative.
Tried this recipe?Please leave a comment & rate the recipe below or share a photo on Instagram and tag me @ruchikrandhap


Perfect post …well explained to follow easily!
@ Delectable Flavours: Thanks for your lovely comment!
just one query 1 cup gram flour is equal to 150 gm but in your ingredient it is 3cups is equal to 300gms little confused.please help
Hi,
I filled up the cup with the gram flour using a spoon and did not scoop the gram flour from the package so it was not densely packed. If you go by this technique of filling up a cup you will get approx 100 grams per cup. Here are a couple of links I found on the web which give the figure almost close to 100 grams per cup
https://freefoodtips.com/how-to-measure-besan-aka-chickpea-flour-gram-flour-without-scales/
https://www.traditionaloven.com/culinary-arts/flours/gram-flour/convert-us-measuring-cup-to-gram-g-of-gram-flour.html
http://www.cookitsimply.com/measurements/cups/besan-flour-sifted-0070-011i3.html
https://www.spiceupthecurry.com/conversion-chart/
Not sure how you got 1 cup = 150 grams?
Thank you so much Shireen for the recipe and step by step explanation!! Mitai ladoo is my favourite and Im not very happy with the ones I get here. I didn’t see this recipe before, or I would have tried it long time ago!! Im preparing the Beetroot Bonda today (Mash already chilling in the fridge). This weekend, Boondi laddoo!!!
I hope you try it out soon Sandy! Can’t wait to have your feedback, fingers crossed because I really hope I captured the steps properly in my instructions (have myself tried and failed several times – so I wish you all the best). Do let me know!
In the ingredient list it says baking soda/sodabi carb but in the method it says baking powder. Could you eade ckarify. Thank you snd god bless
So sorry for the error..it should be baking soda in the method as well. I have corrected it now. Thanks for pointing it out!