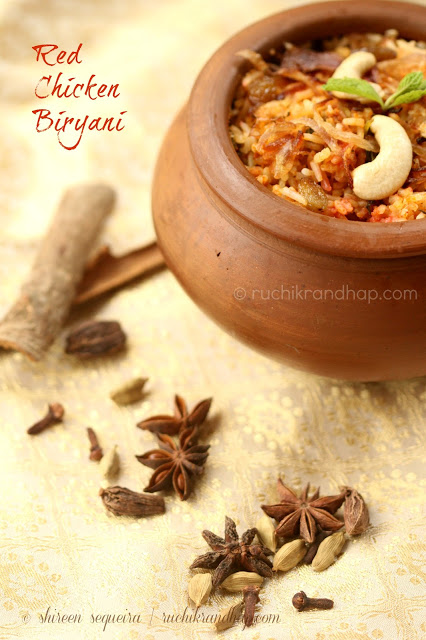
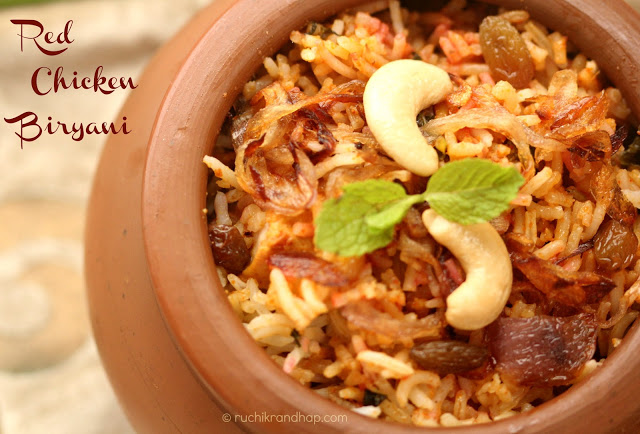
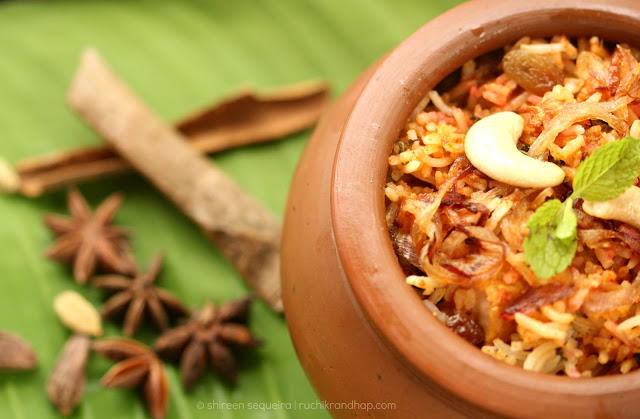
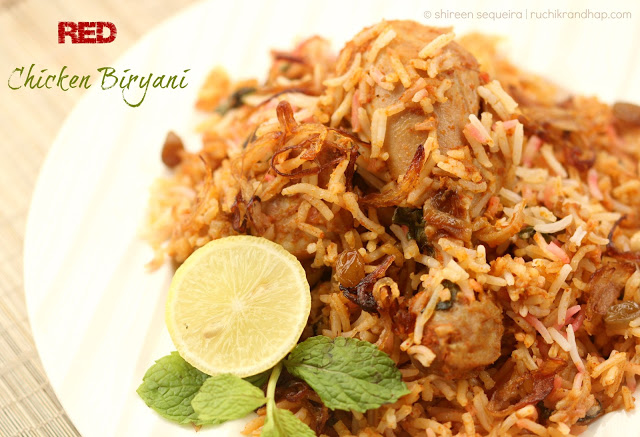
Red Chicken Biryani
Marinating time: 2 hours or overnight | Prep time: 30mins | Cooking time: 20 mins+45mins (to cook on dum)
You Need:
- 1 kg chicken, mutton or beef on the bone
- 2 big potatoes (optional)
- salt to taste
For the marinade
- 2 tablespoons red chilli powder* see note#1
- 1 tablespoon coriander powder
- 1 tsp cumin powder
- 1/2 tsp pepper powder
- 2 tablespoon ginger garlic paste
- 1 tsp garam masala powder
- hung curd made out of 400gm thick curds/yogurt * see note#2
- 2 medium sized onions sliced, browned & crushed (or ground to paste) * see note#3
- juice of 1/2 lime (optional)
- salt to taste (approx 1 level tsp)
For the rice
- 3 cups basmati rice * see note#4
- 8-9 cups of water
- 3 cloves
- 2 inch piece cinnamon
- 5 peppercorns
- 2 green cardamoms
- 2 black cardamoms
- 1 star anise
- 1/2 tsp shah jeera (black cumin seeds)
- 1/2 tsp saunf (fennel seeds)
- 1 bayleaf
- juice of 1/2 lime
- 2 pinches of sugar
- salt to taste
For the layering
- 2 large onions finely sliced
- 1 fistful (approx 3/4 th packed cup) mint leaves
- 1 fistful (approx 3/4th packed cup) coriander leaves
- a few strands of saffron soaked in 2 tbsp warm milk
- 2-3 drops of red food colouring dissolved in 3 tbsp rose water or kewra (screw pine essence) *see note#5
- 6-7 tsp melted ghee (or as required) (optional)
- 1/4 cup raisins (kishmish) (optional)
- 1/4 cup cashewnut halves (optional)
Method:
Soak the rice
Wash rice 2-3 times until the water runs clear and soak for at least 30 minutes if you are using superior quality rice. I used Lal Quila Basmati rice which is an aged rice.
Prepare the marination
Cut chicken or mutton into medium sized pieces, wash, drain and keep aside. Marinate it with all the ingredients mentioned under ‘For the marinade’. Cover the pan/bowl with cling film/wrap or aluminium foil and refrigerate it overnight or at least for 1-2 hours.
Prepare the garnishing
Heat ghee in a large heavy bottomed pan (the one to be used to make the rice) and on a low flame fry the raisins until they puff up (do not burn), remove and add the cashewnuts and fry until golden. Remove and keep aside. Fry the sliced onions till golden brown and remove.
Soak the saffron in the warm milk and the food colouring the rose water or kewra. If you wish you may use red and green food colouring dissolved in separate bowls.
Prepare the rice * see notes for alternate method.
In the same pan toss in the whole spices mentioned under ‘For the rice‘ and fry half a minute. Add the rice, reduce the flame and fry for another two minutes. Add the water (plenty of it), salt to taste, juice of 1/2 a lime and bring the water to a boil. Reduce the flame and cook until the rice is 3/4 th cooked (this will take approx 5 mins) – to check, crush a grain of rice between your thumb & index finger, if it breaks into 3 parts, its done just right.
If you wish, you can skim the whole spices that are floating on top before you drain off the water. After draining spread the rice on large plates.
Prepare the chicken/Mutton
In another heavy bottomed pan, heat 2 tsp ghee and add the marinated chicken and 1 cup water. Cook on a medium flame till the chicken is done (you may add the potatoes halfway through the cooking time). Check taste and add salt and/or lime juice if required. Turn off the flame and keep aside. If you are using mutton, you can transfer the marinated meat to a pressure cooker instead of a pan and pressure cook on a high flame till the first whistle goes off. Reduce flame to sim and continue to cook for 12-15mins (cooking time may vary depending on the quality and tenderness of the meat) or 15-18mins – please use your judgement here – do not over cook the meat as it will continue to cook when placed on dum.
Layering & cooking on dum
Use the same large pan that was used to prepare the rice. Grease the sides and base with ghee. Add a first layer of cooked rice. Next sprinkle the coloured water, roughly torn mint and coriander leaves, chicken (or mutton) pieces and curry, saffron milk, raisins, cashewnuts and fried onions. Drizzle 2 tsp ghee all over the surface. This is the first layer.
Repeat the process to make another two layers. Seal the mouth of the pan with aluminium foil (or you may use dough) so that no steam can escape. Place a lid that fits perfectly over it and place the pan on a tawa/skillet which has been placed on a very slow fire. Cook for 40-45minutes on dum
Serving
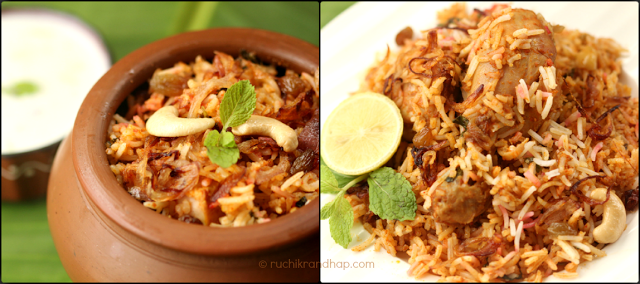
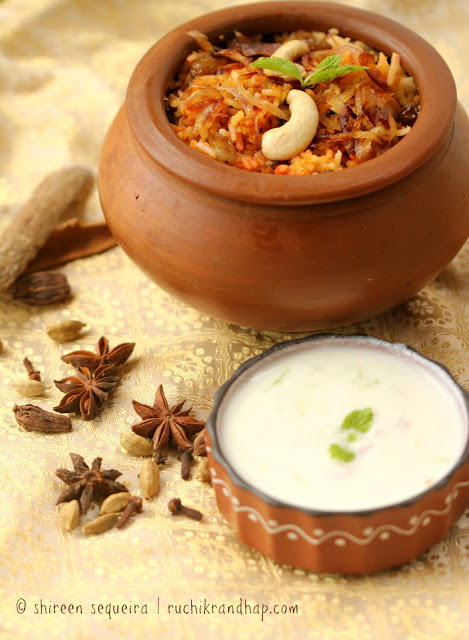
Open the pan after 45mins and carefully fluff up the rice with a fork. Garnish with fried onions, raisins, cashewnuts, a sprig of mint and serve hot with raitha, salad and/or papad
Notes:
1. Adjust the use of chilli powder to your taste. For a moderately spicy biryani you may use Kashmiri chilli powder which is low on spice but gives a great colour. You can use Theeka Lal (by MDH Masalas) for a real spicy flavour. I suggest that you marinate the meat with 1 tablespoon of chilli powder and add more if desired once the meat is cooking. You can always add more later and do a taste check.
2. 400 grams of yogurt yields about 200-250 grams (approx 1 cup to 1-1/4 cups of hung curd). Adjust the curd during the cooking stage if you desire.
To make hung curd – Place a thin muslin cloth (bairas) over a bowl, transfer 1 tub (400gm) curd/yogurt onto the centre of the cloth and gather the ends of the cloth together to form a potli. Secure the ends (put a knot) and hang it from a small height so that the extra whey (water) dribbles down – place a bowl underneath to collect this. Keep for 45 mins-1hour so that all the water drains away. This is hung curd.
3. If you are not marinating the meat in advance then you can crush the browned onions – otherwise you will need to make it separately the previous day and crush/grind them to a paste for best results. Alternatively, if you don’t have the time to fry and crush the sliced onions, skip this step and fry the onions directly at the stage of cooking the meat (in a pan or pressure cooker)
4. For dum biryanis always use the best quality basmati rice so that you have an evenly cooked (not overcooked) grains of rice that don’t stick to each other.
5. Usage of artificial food colouring is not recommended if you have small kids, you may skip the colour altogether and use just the rose essence or kewra essence. Kewra can be quite strong, so use your judgement here.
Updated Notes – To make biryani without ‘dum’ technique
If you want to make a more flavourful and yet a less elaborate biryani, you can skip the ‘dum’ technique as given above (where you need to cook rice in plenty of plain water and then layer it with the meat and finally place on a slow fire till the rice is fully cooked). Instead, just prepare the meat first and when it is done, retain about 1-1/2 cups of gravy in the pan along with the meat. Remove the rest of the gravy and measure it. Add a balance of plain water – this is your total liquid mixture. Liquid mixture should be double the quantity of the rice used. For example, for this recipe if you are using 3 cups of rice, then you need 6 cups of water or liquid to cook that rice. So if you have got like 2 cups of gravy, add 4 cups of plain water to arrive at 6 cups of liquid mixture. If you have chicken or vegetable stock you may use that in the place of plain water, it will make your biryani even more flavourful.
Cook the rice by frying it in a little ghee, whole spices like cinnamon, cardamom, cloves etc and then add the freshly boiled liquid mixture. Give the whole rice+liquid mixture a good stir and let it come to a rolling boil. Then cover the mouth of the pan with aluminium foil and place a well fitting lid over it. Reduce the heat to a complete sim and keep a timer for 5 minutes. After exactly 5 minutes, turn off the heat and let the pan sit undisturbed for a further 15 minutes. Then remove the lid, stir the contents gently with a fork, cover the pan again for 2 minutes and then your biryani is ready to serve! Enjoy!
Hey, this recipe is certainly different from the 'usual' biryani recipes. I noticed the use of hung curds and saunf. That must make a difference to the taste and moistness too no? Im going to try this but will need time :)) Lovely blog, am bookmarking now.
Cheers
Harshika
dubai
love the pic Shireen…I love biryani…..actually I love rice dishes and this one looks simple…and the mud matka looks really nice
Hi Shireen, I love Biryanis… I just cannot resist a good biryani & yours looks super! The mud pot gives it an earthy feel… what a co-incidence I have two similar pots & the food tastes awesome in them. The rice always remains moist & succulent in them. My aunt used to make it this way but I will try your version… Thank you for this recipe. 🙂
The name of the dish itself makes me hungry.
Love biryani n this looks lip smacking
Biriyani…so much work but the reward is heavenly. this looks awesome.
From the clicks itself I can make out that the Biryani turned yummy
Love chicken biryani, absolutely mouth watering
http://shwetainthekitchen.blogspot.com/
Ohh mine, would love to dig into that pot. Looks super tempting n delicious. Nice presentation and well captured clicks. Following you from now, do visit mine at your free time.
EID MUBARAK to you and family too!!!!!
Wow! What a relief for not having to grind so many masalas. The Biryani looks lovely, must have a go at this
The biryani is sure different and I like the saunf addition!
Hey Shireen, just wanted to share with you that I am making chicken biriyani today (own version) and have picked up a couple of tips from here.
Got Lal Qila rice (didn't know about aged basmati being better).
Have kashmiri chilli powder and didn't want a strong red colour sans the pungency so have added a few chopped green chillies along with it in the marination.
Thank you for these two useful tips!
Zany
Sounds delicious Zany! I'll wait for you to tell me how it turned out 🙂 Good luck n happy eating!
Absolutely delicious, even if I say so myself. Lal Qila was definitely a good choice, it is so fragrant. Next time, am going to try with organic basmati.
The chillies in marination did the trick of giving it the kick :-).
Zany
You can use Green chilly instead of red chilly powder. Just make a paste with green chilly, ginger and garlic in the mixer and add it while cooking chicken. This will make the rice look soo clear and extra taste when cooked..!
@ Shawn: Thanks for your suggestion but this recipe is called as red biryani because of the red chilli powder. If you replace the chilli powder with green chilli you won't get the desired colour
shireen pl enlighten me…
in yr updated notes, you mentioned that the meat be taken out with 1 1/2 cup
gavy and kept aside but then after, you went on to explain the preparaton of
the rice — my question being,
when do you add the meat that was kept aside?
– was confused, pl help!
@ Maria. K: My updated notes is only if you are making the biryani without using the 'dum' technique. The meat that is kept aside is fully cooked. The gravy is removed to help flavour the rice while cooking. Once rice is done you will layer it using the meat that was kept aside and the fully cooked rice. One layer of rice, second layer of cooked meat, rice again and meat again in the final layer. Hope this helps. I didn't mention it again as it was an updated note only to help people who didn't want to make it using the dum technique
I too was confused after reading the additional comments! Might be of help somewhere there
Hi Nina,
My updated notes is only if you are making the biryani without using the ‘dum’ technique. Pls let me know if you need more clarity
Sorry, my comment was cut:)
Just add a sentence to say that meat separated from gravy should now be added.
Thanks Shireen!
Ah ok 🙂 sure! no probs! Take care!
Hi Shireen,
Thanks for the lovely recipes, especially the manglorean one. Please can you give me the ingredients of the garam masala as taste varies depending on the garam masala used.
Thanks
@ Sunita: Thanks for your lovely comment! Unfortunately I haven't tried making my own garam masala. Will surely post the recipe when I've tried it out!
It is amazing and wonderful to visit your site.Thanks for sharing this information,this is useful to me…
Thank you!
For the marinade, do we have to fry the onions and then grind them? What does browned and crushed mean?
I have replied to this query Neetha!
Hi Shireen,
For the marinade, u have mentioned that the onions need to be browned and crushed. Does it mean the onions have to be fried and crushed, say with a pestle?
Hi Neetha,
You need to fry the onions till golden brown & crisp. I usually make it in bulk & freeze. Comes handy whenever I make biryanis or other North Indian style gravies. Once crisp you can simply crush them in your palm by applying a little pressure. If they are not crisp enough you can use a mortar & pestle